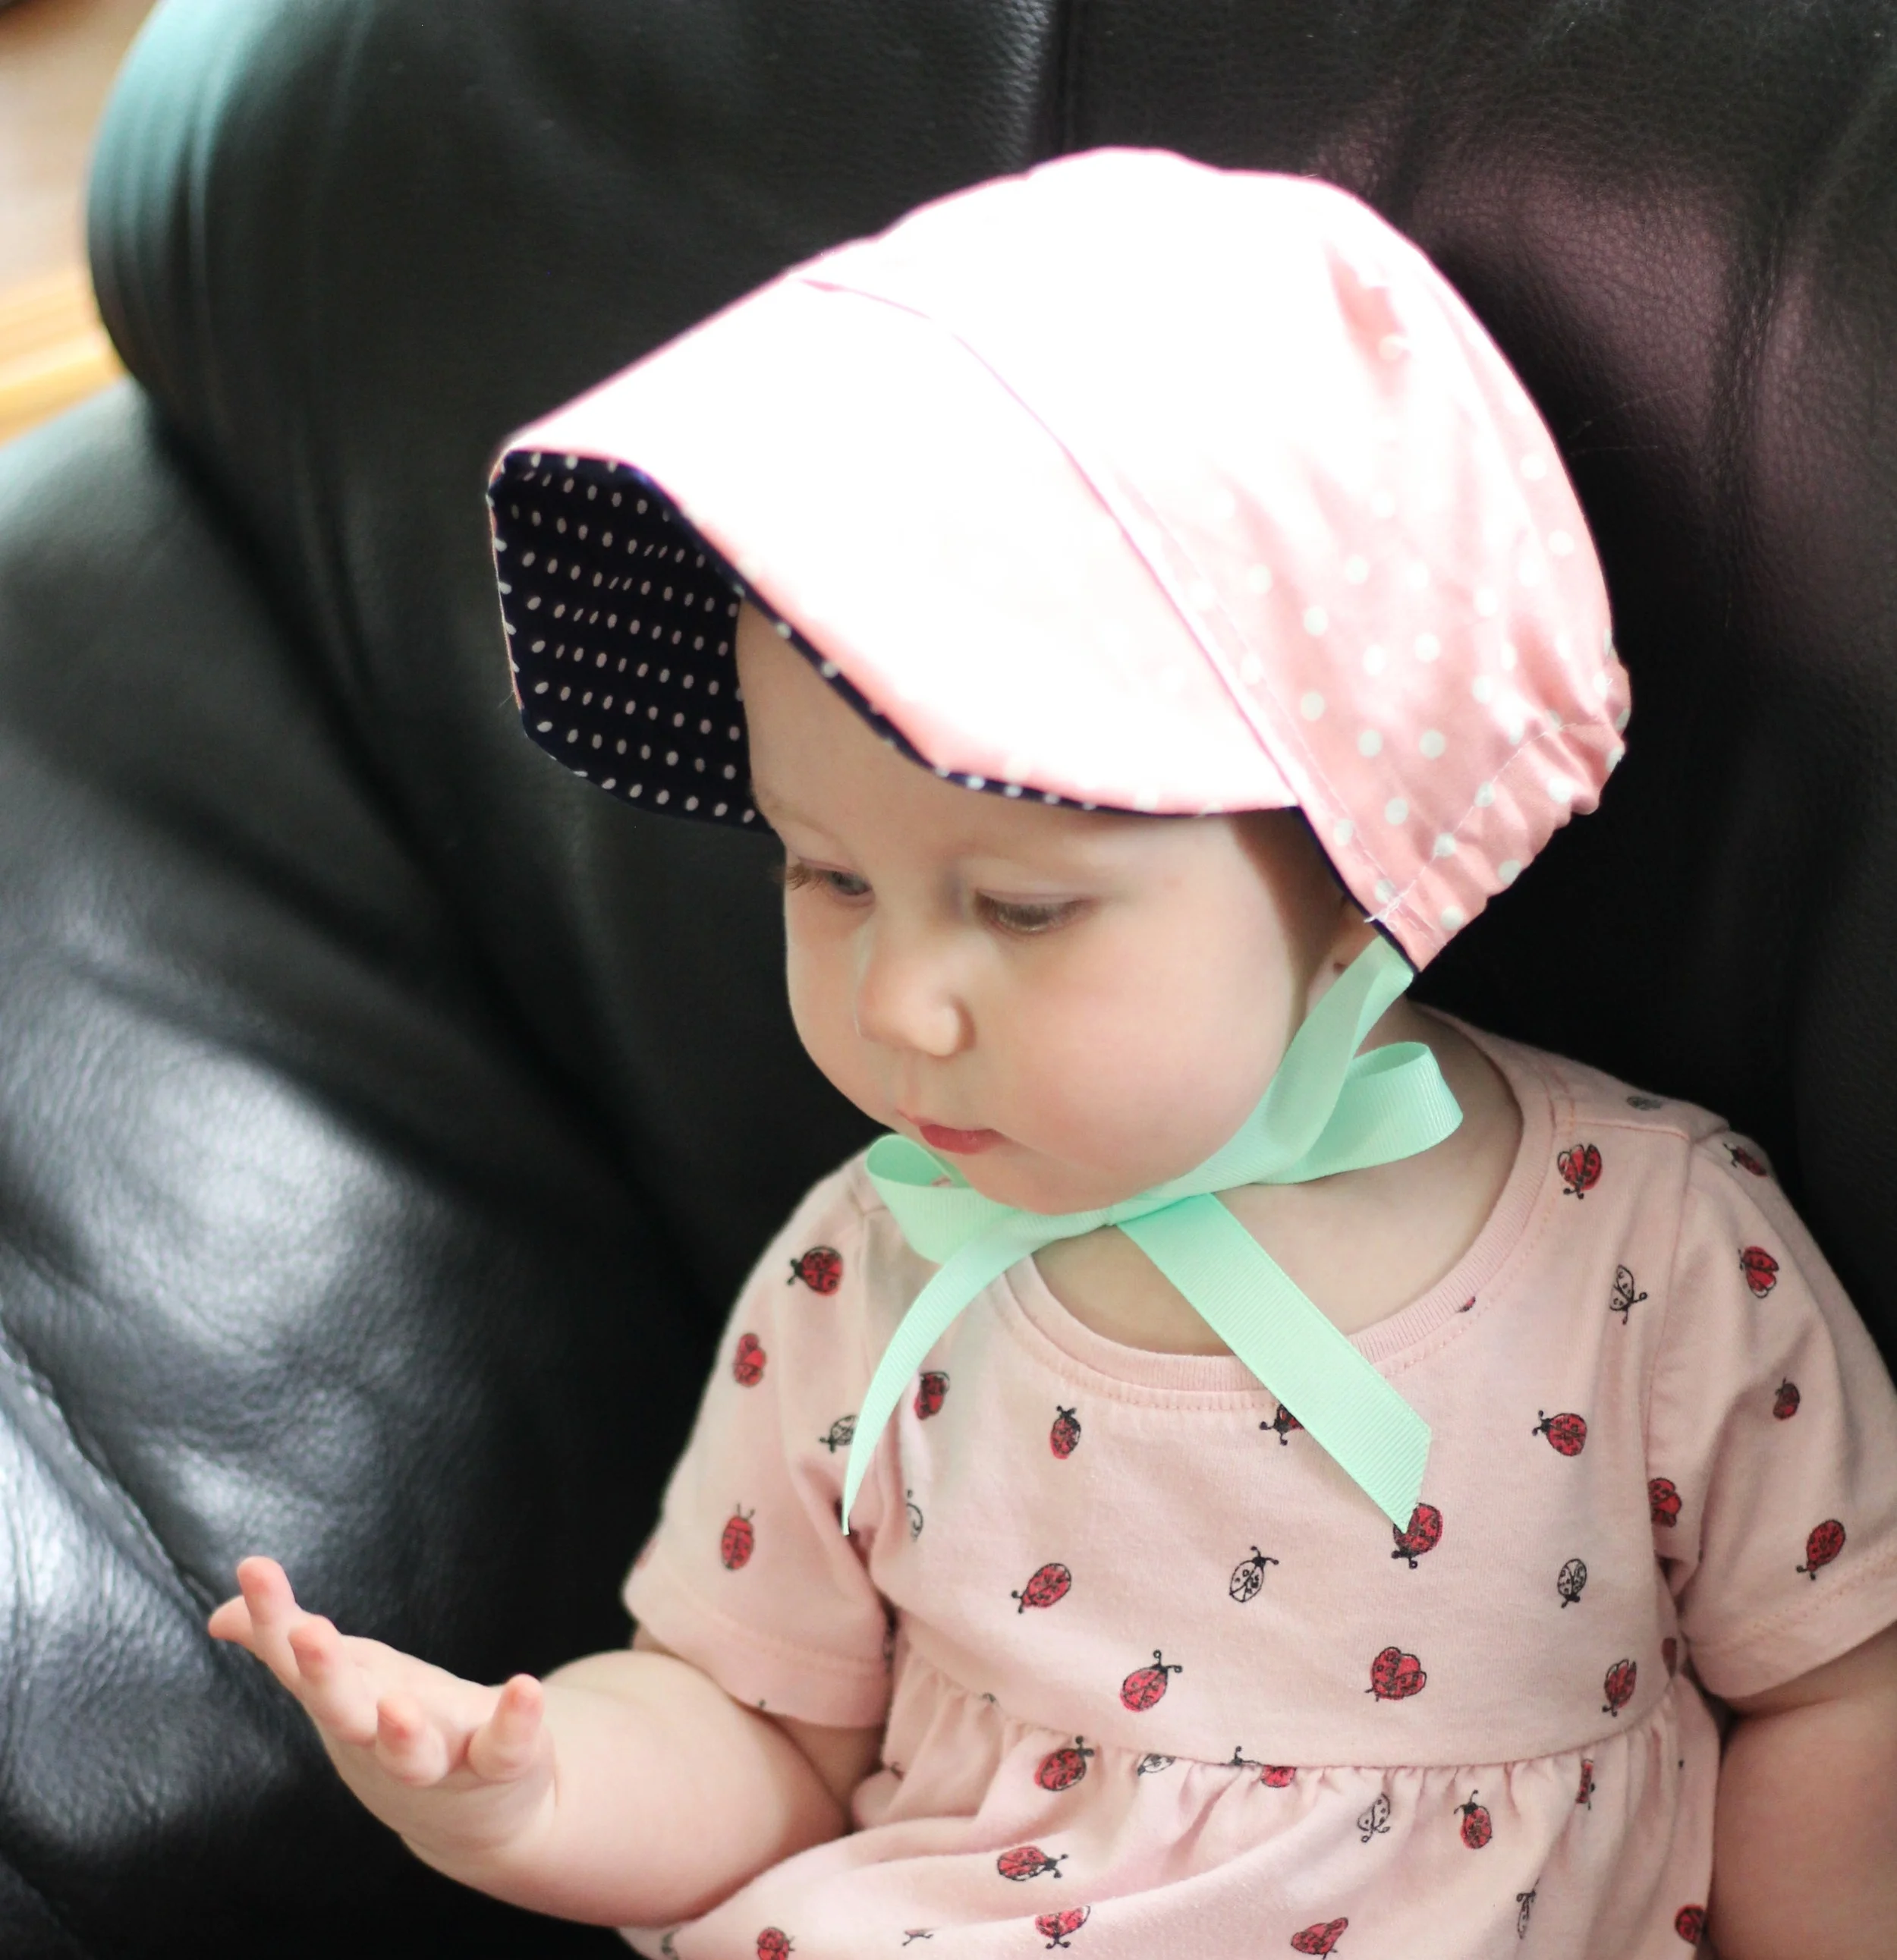
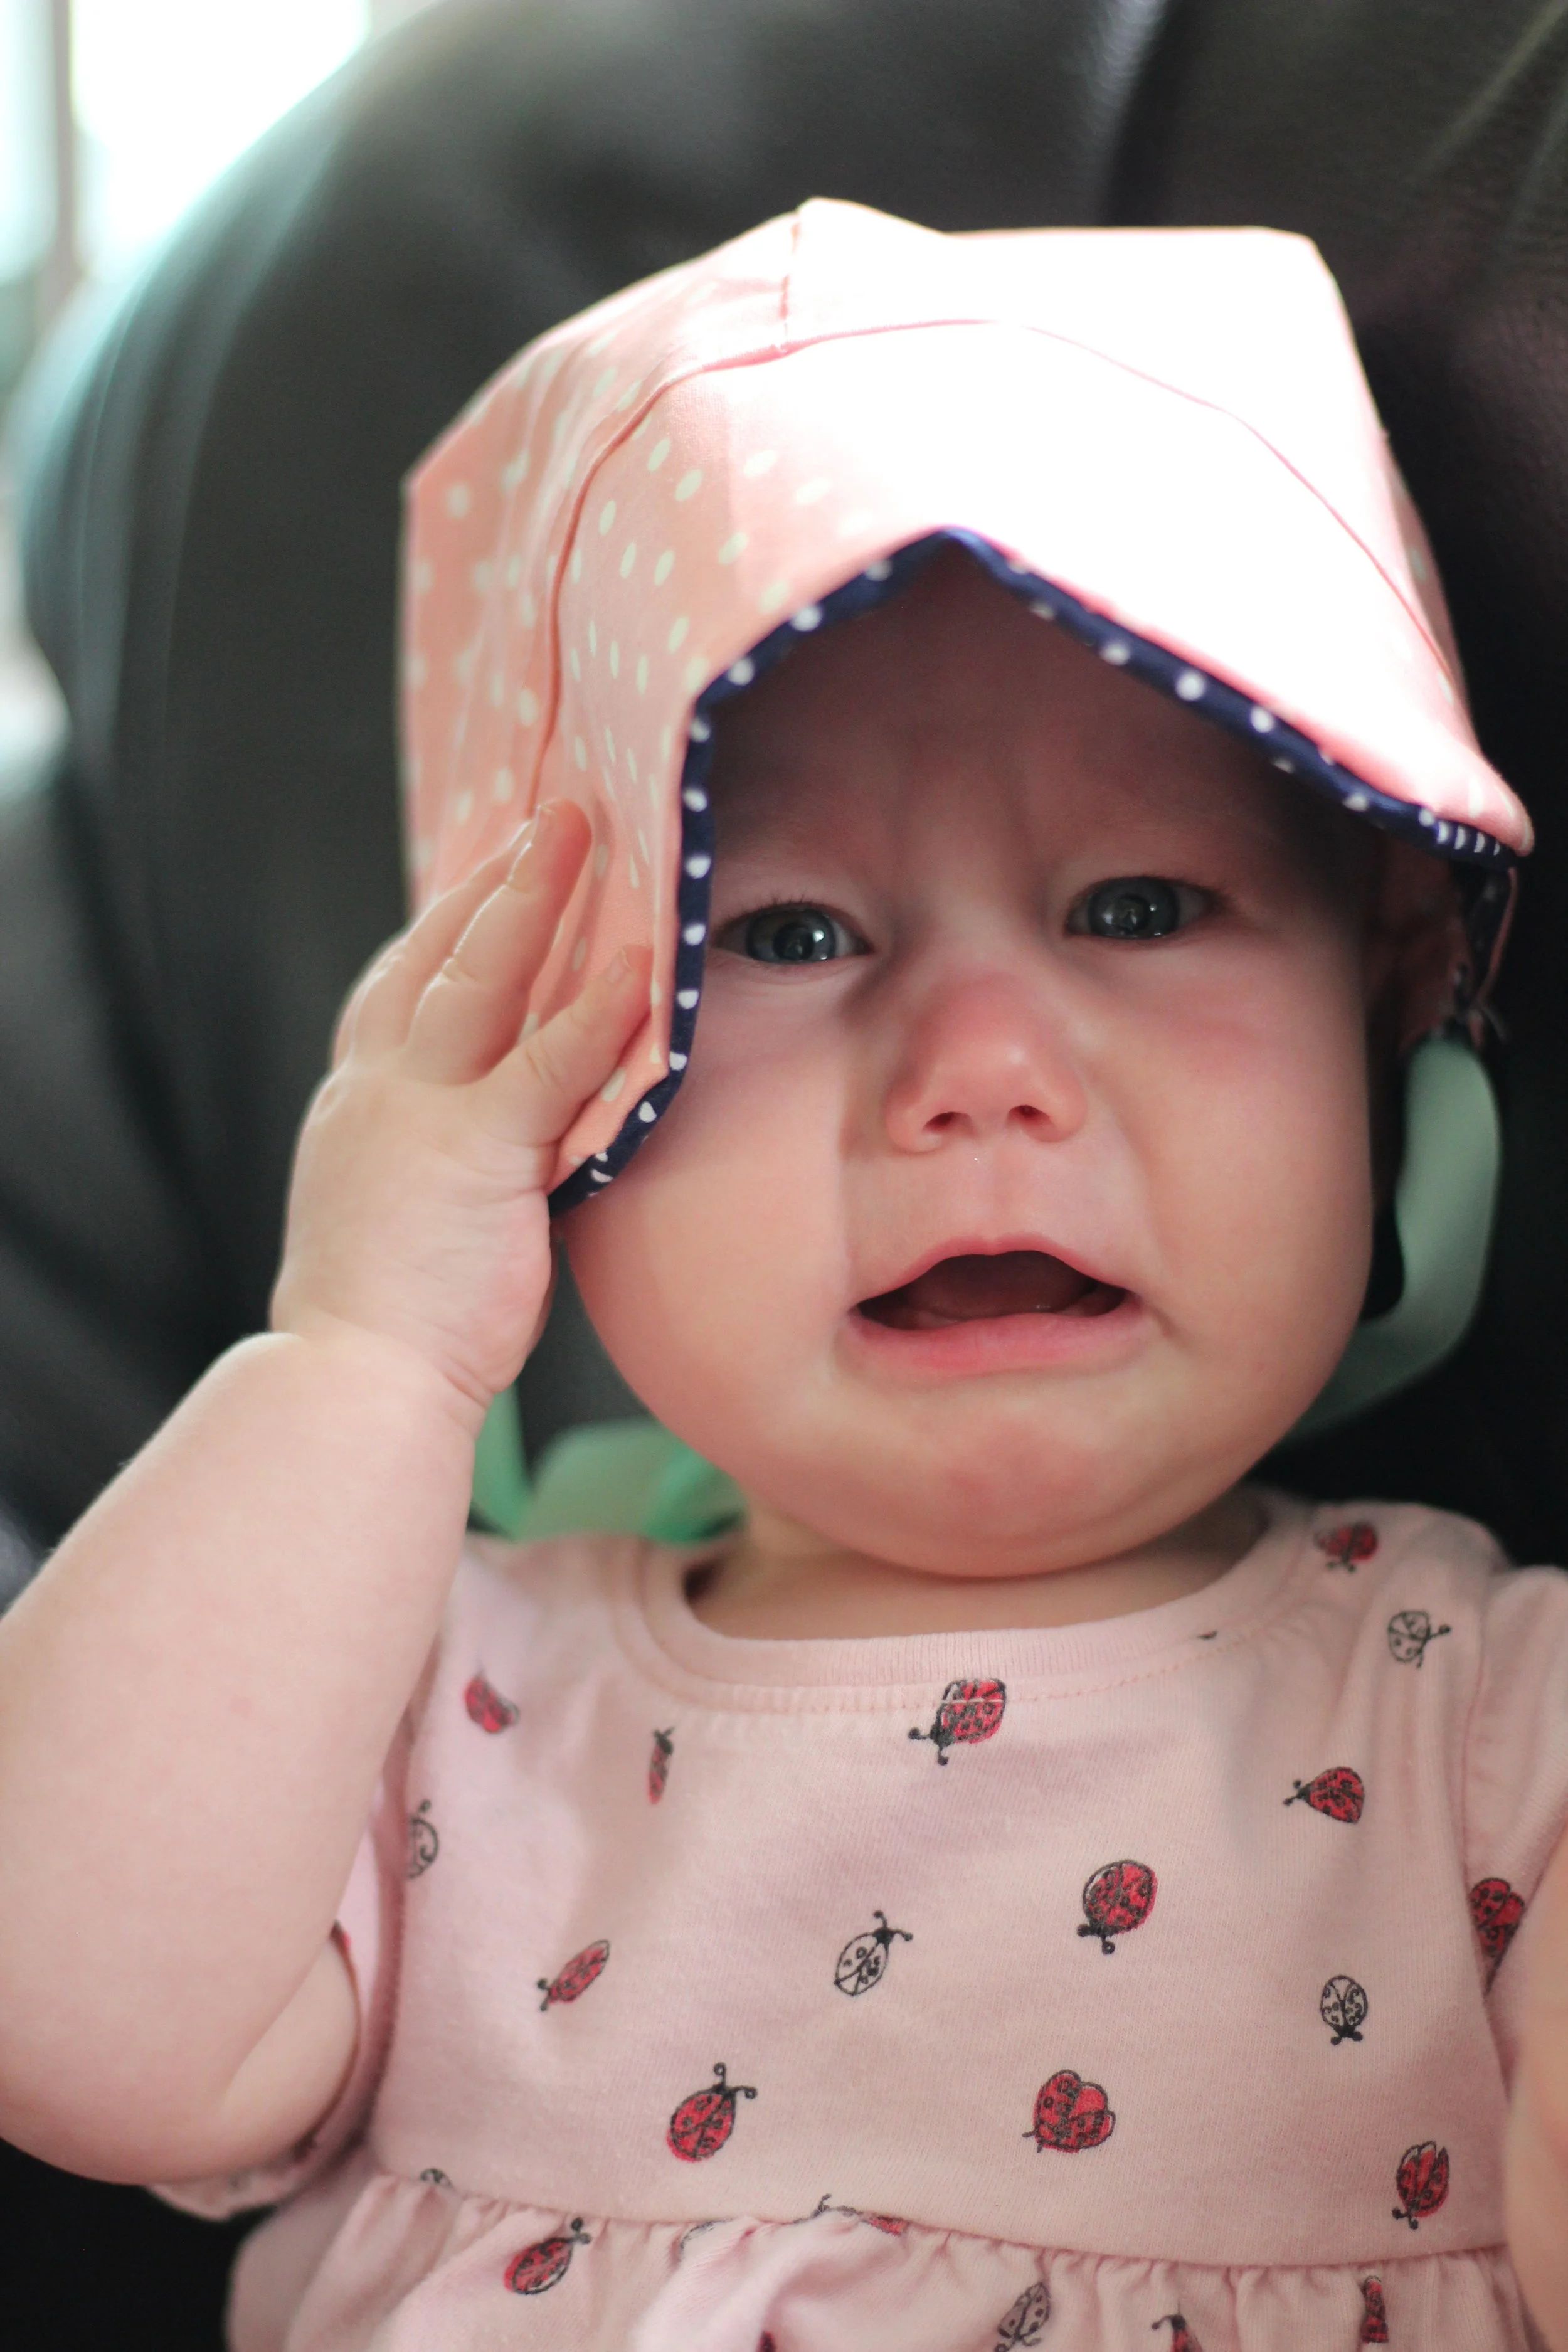
I'm still obsessed with bonnets. I've made two different styles and this one may be my favorite.
Not only is it adorable but its extremely practical for baby as well. The strings are very functional and not only can you tie them under the chin or behind her head (so it doesn't bug her) but pulling on the strings helps to fit it to size.
You will need:
Two coordinating fabrics, cut 1/4 yard each.
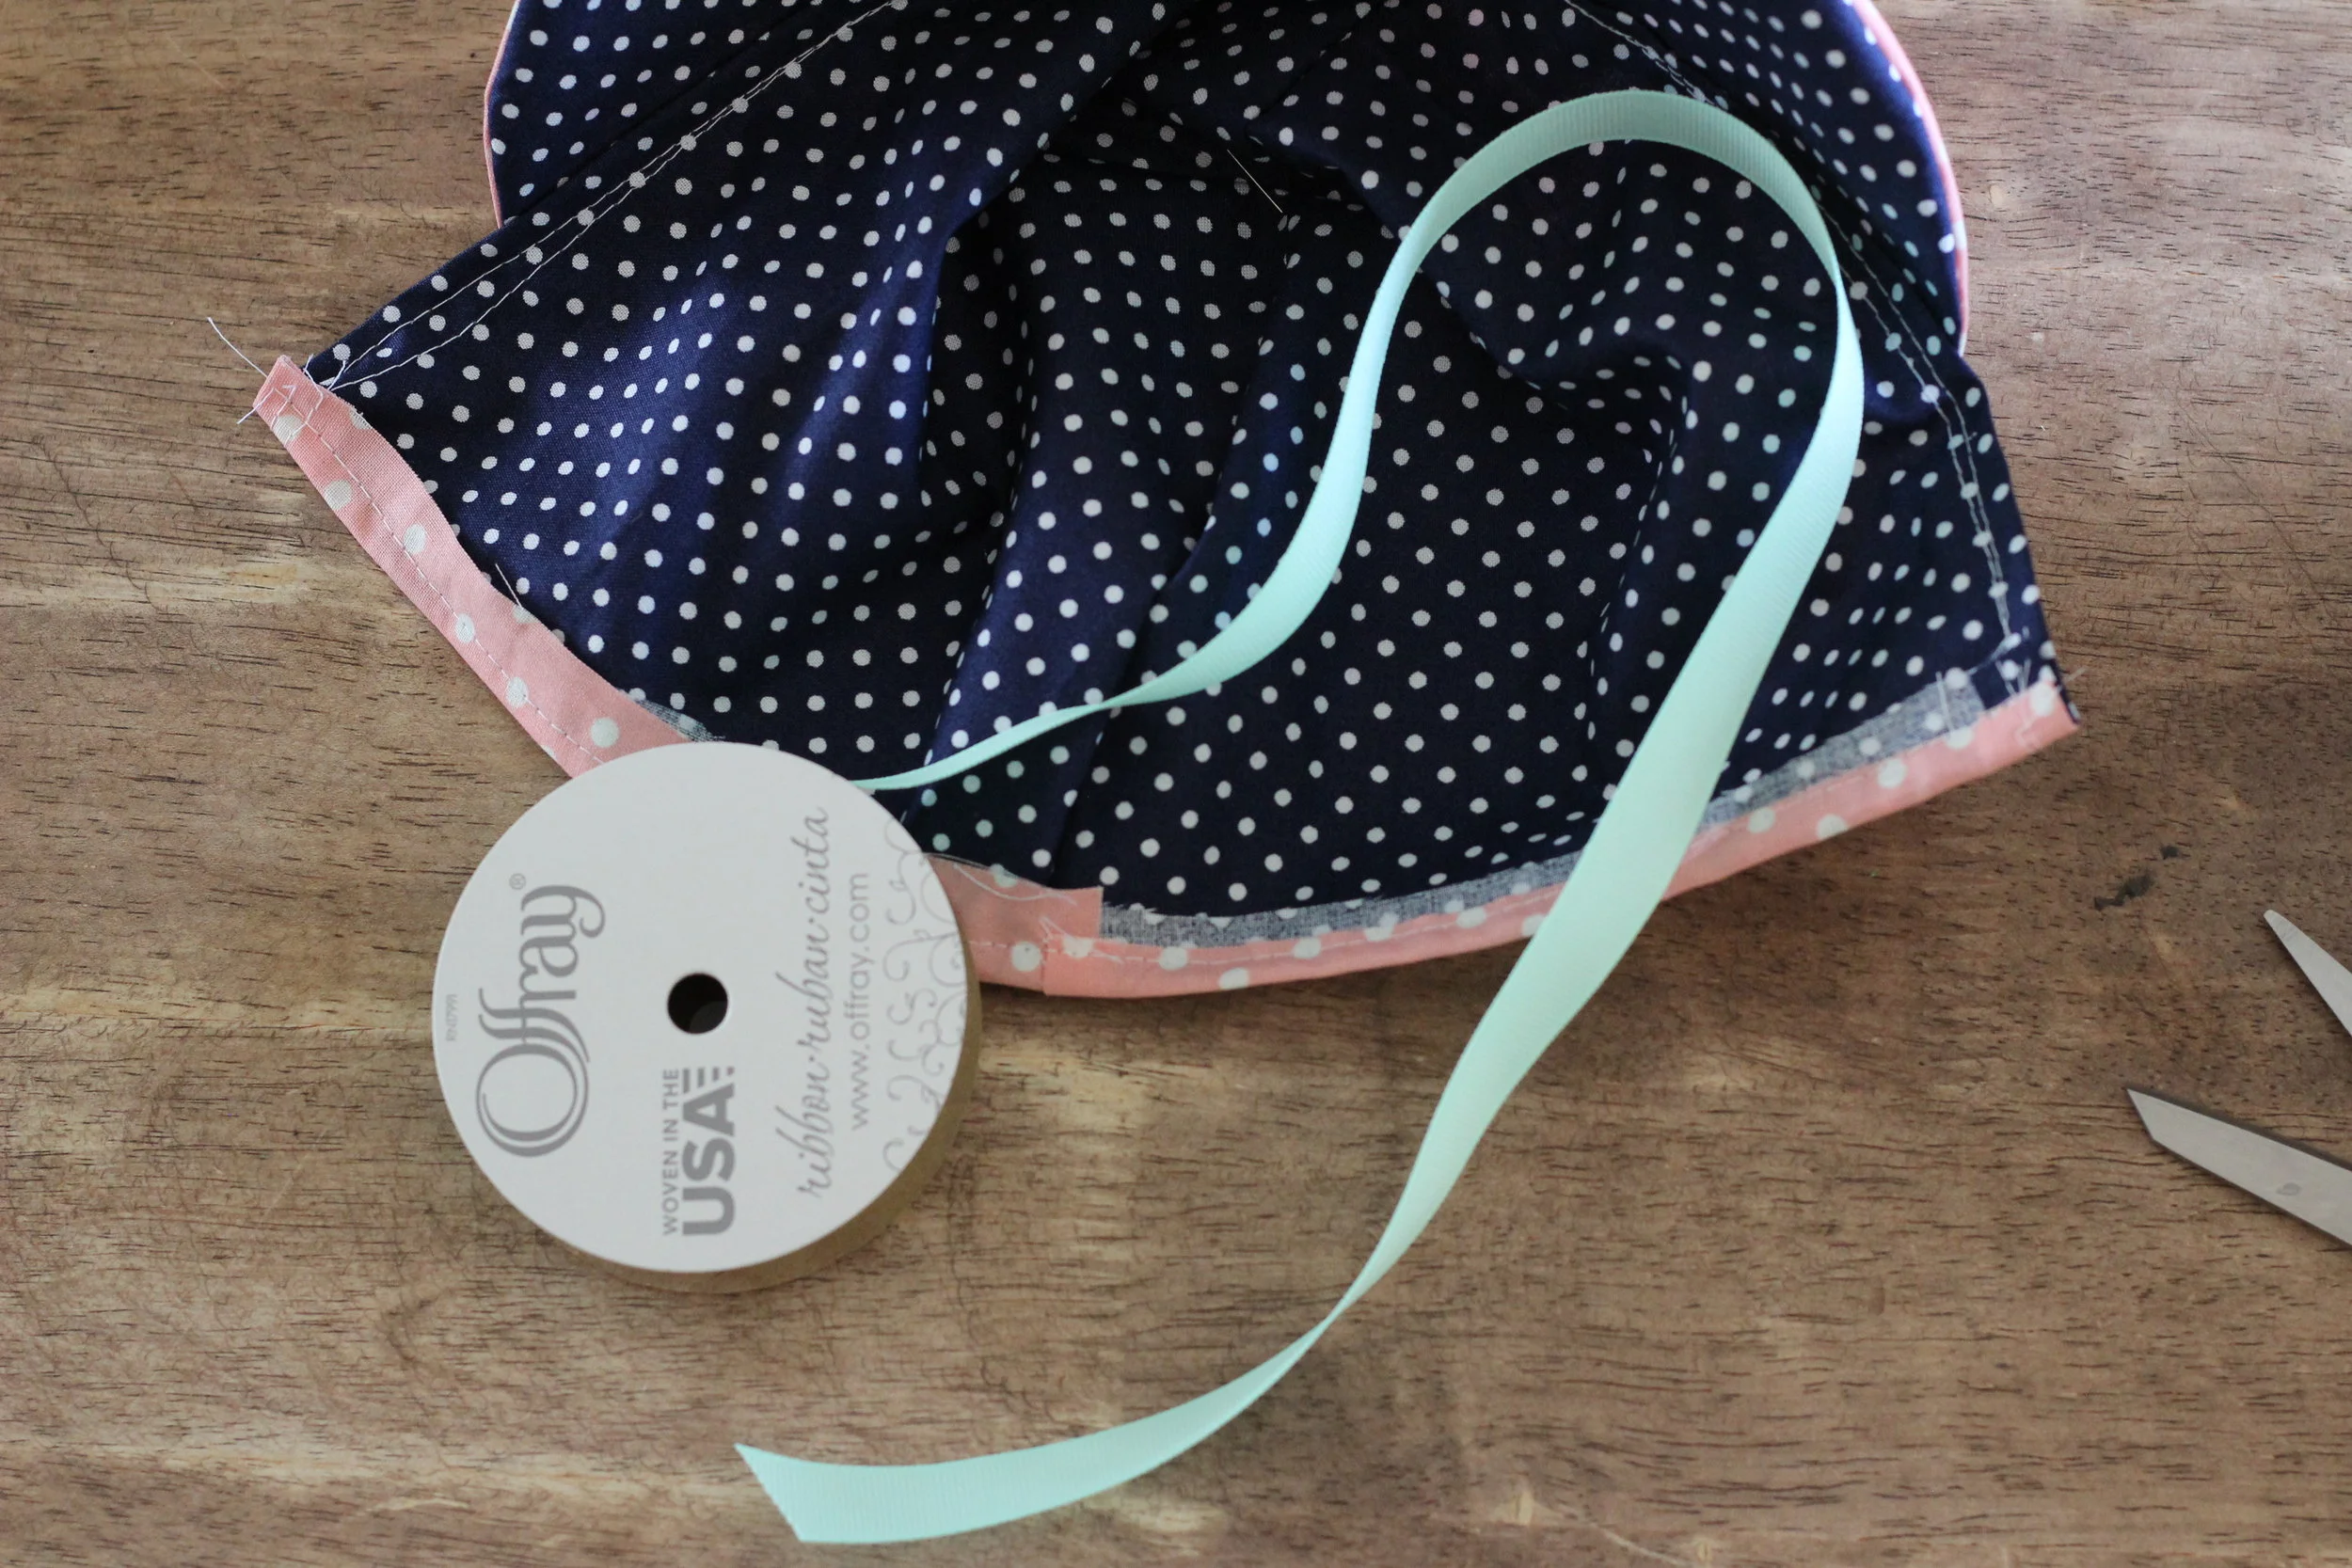
Coordinating ribbon
Interfacing
Baby jacket with a hoodie, preferably a size or two ahead of your baby
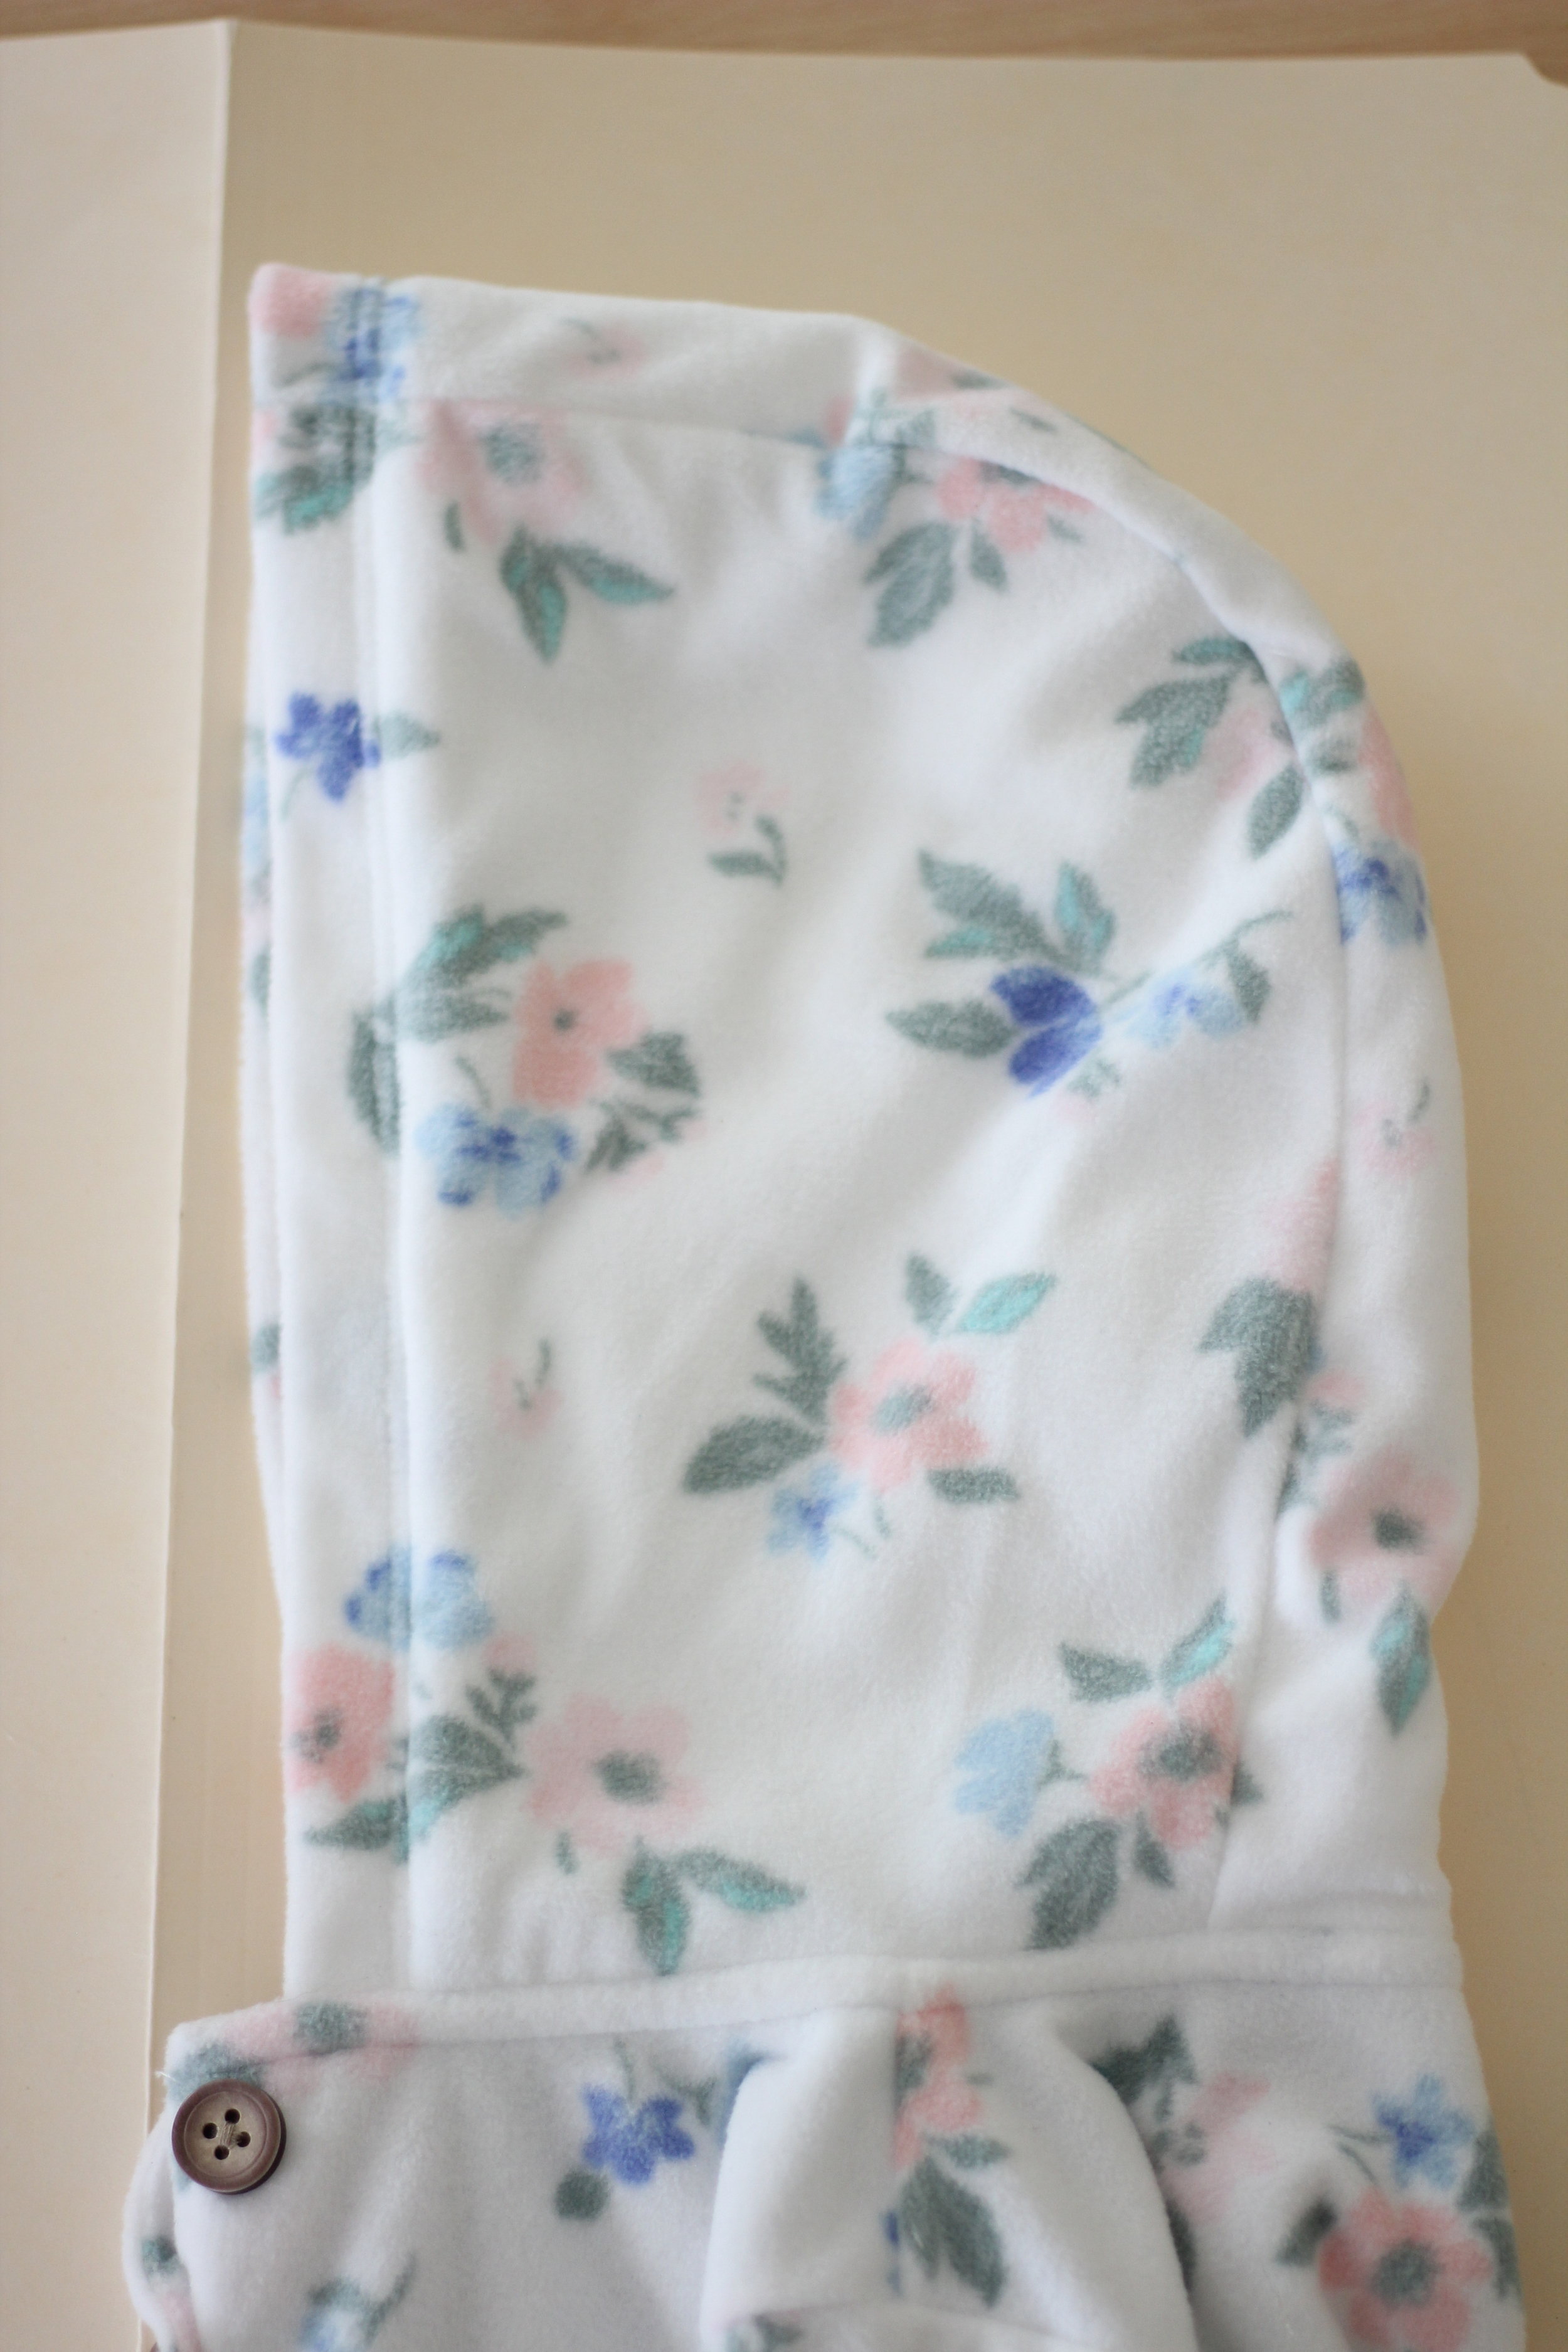
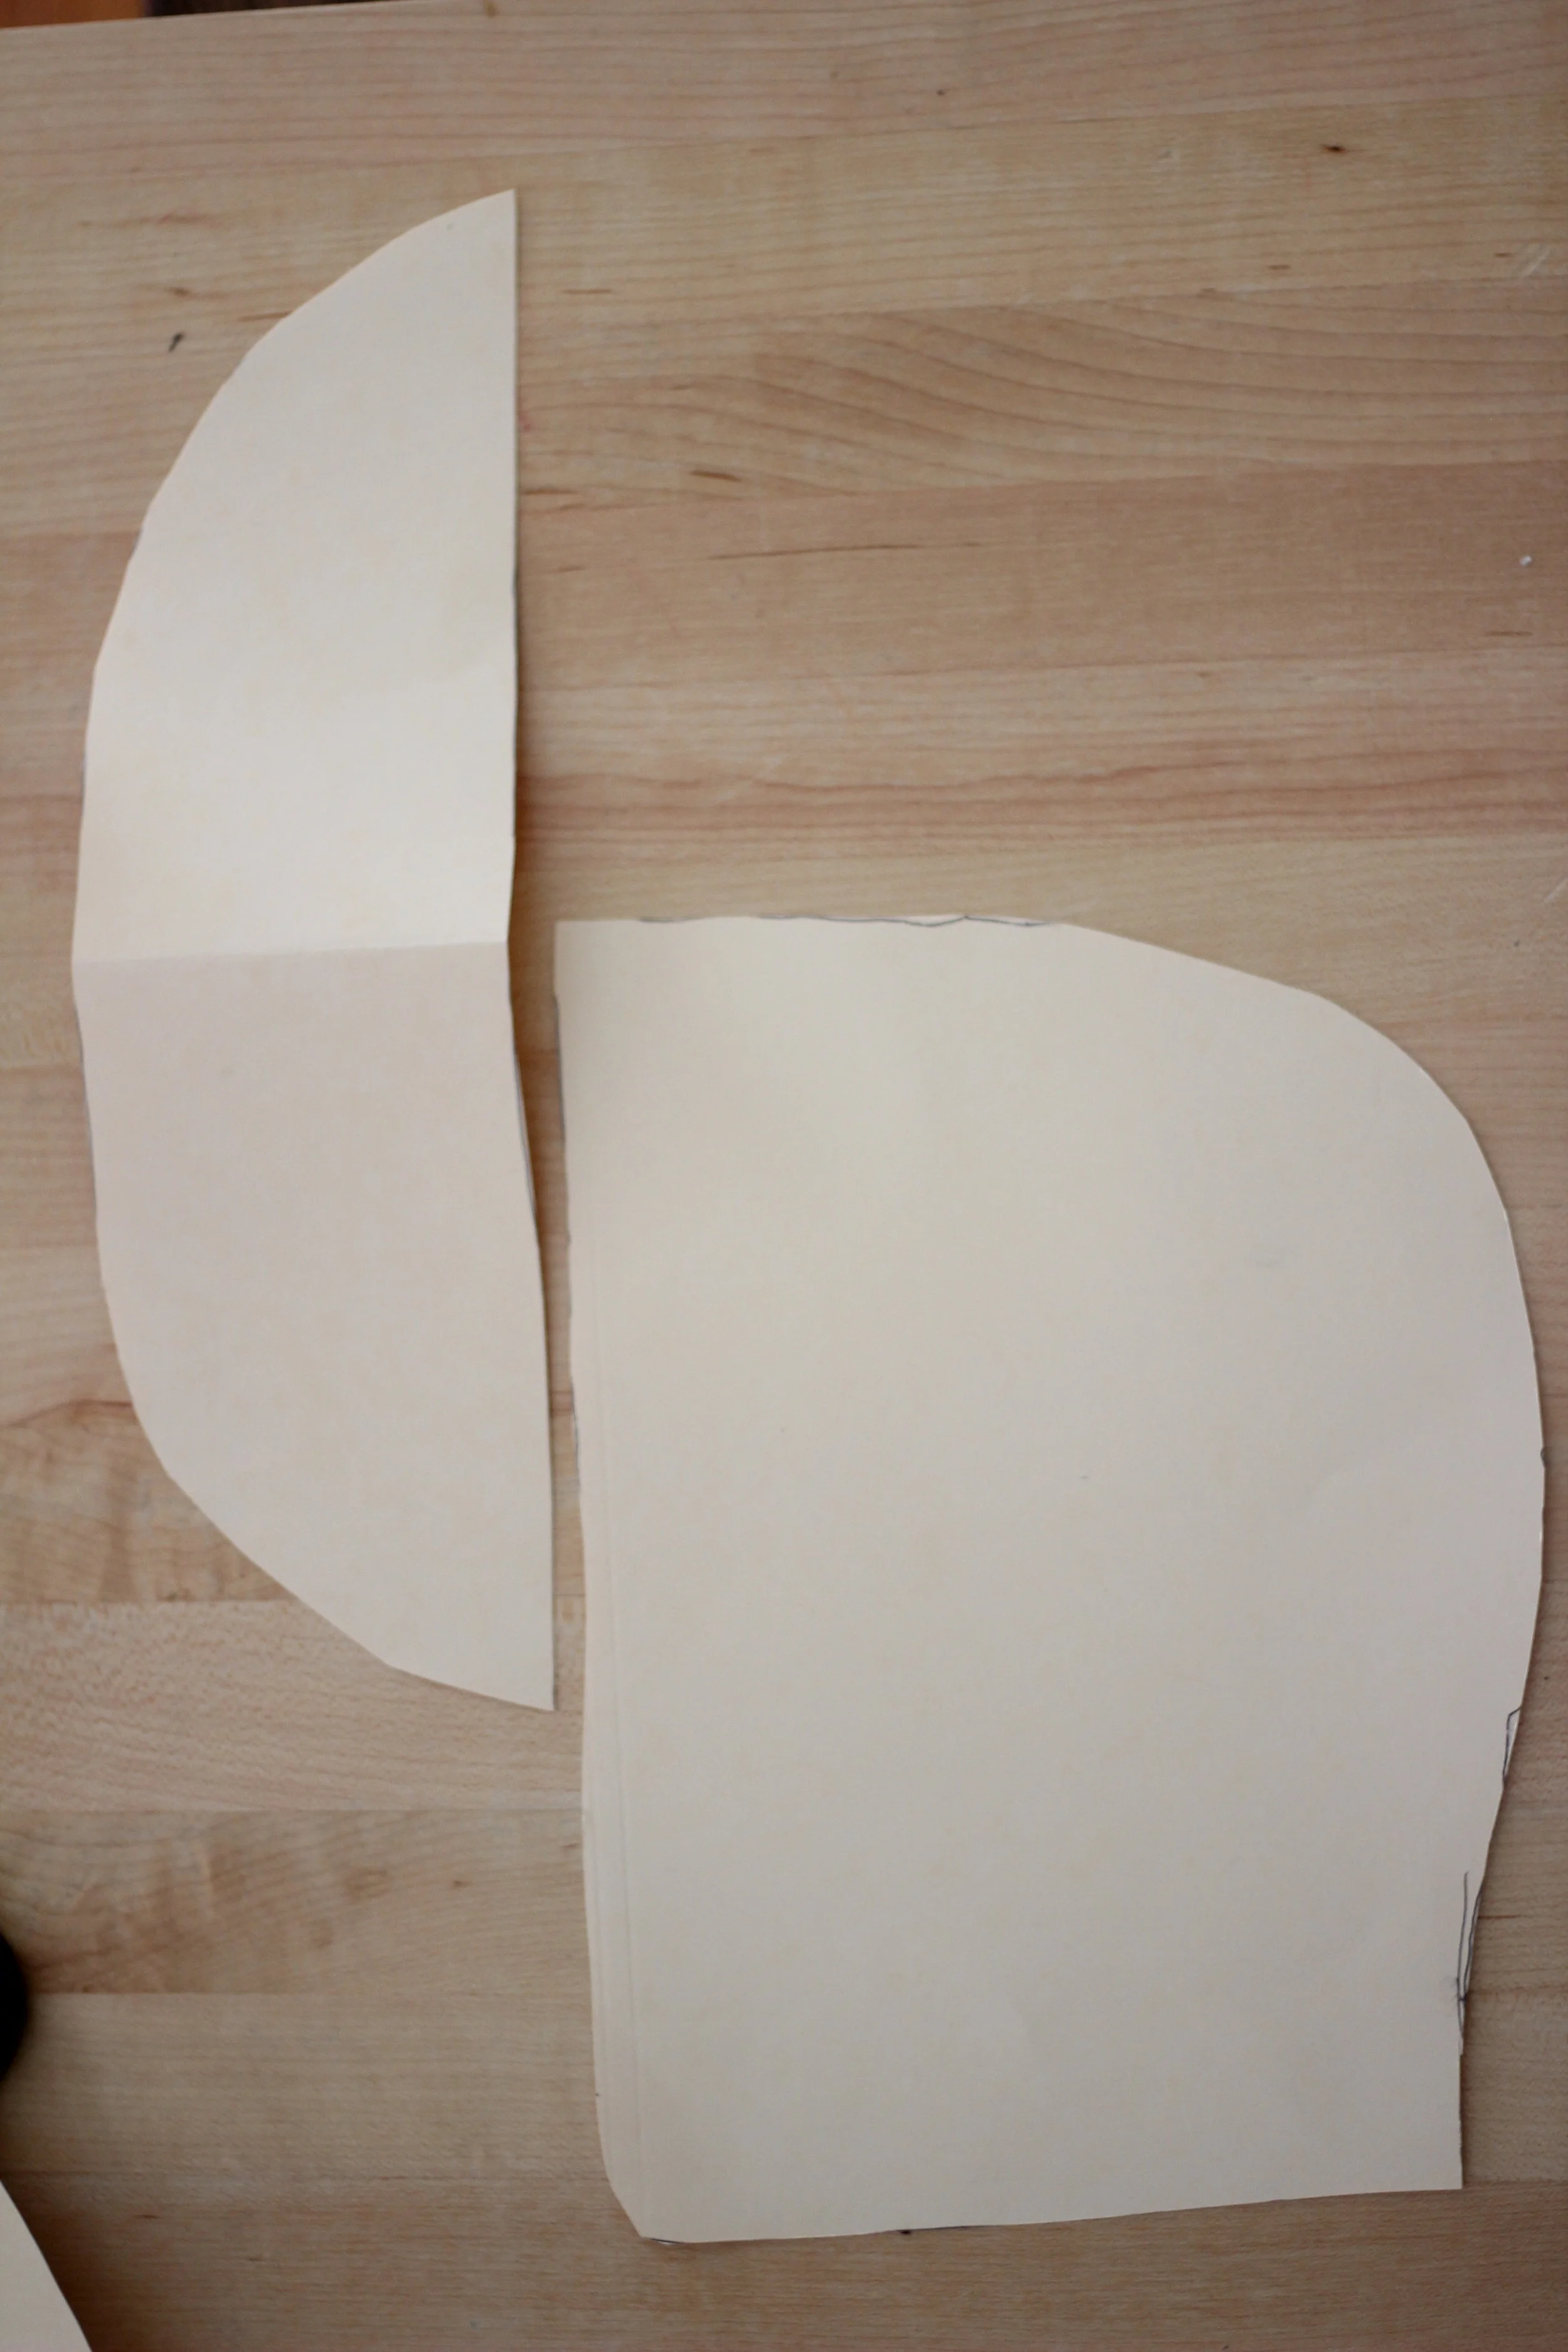
Instead of going off of number measurements for newborn size, etc. Simply trace the hood of baby's jacket, preferably a size or two ahead of her. Trace it on a piece of thick card stock or a Manila envelope works great too. Cut out. Trace for the brim and cut out. I made mine about 11 X 4".
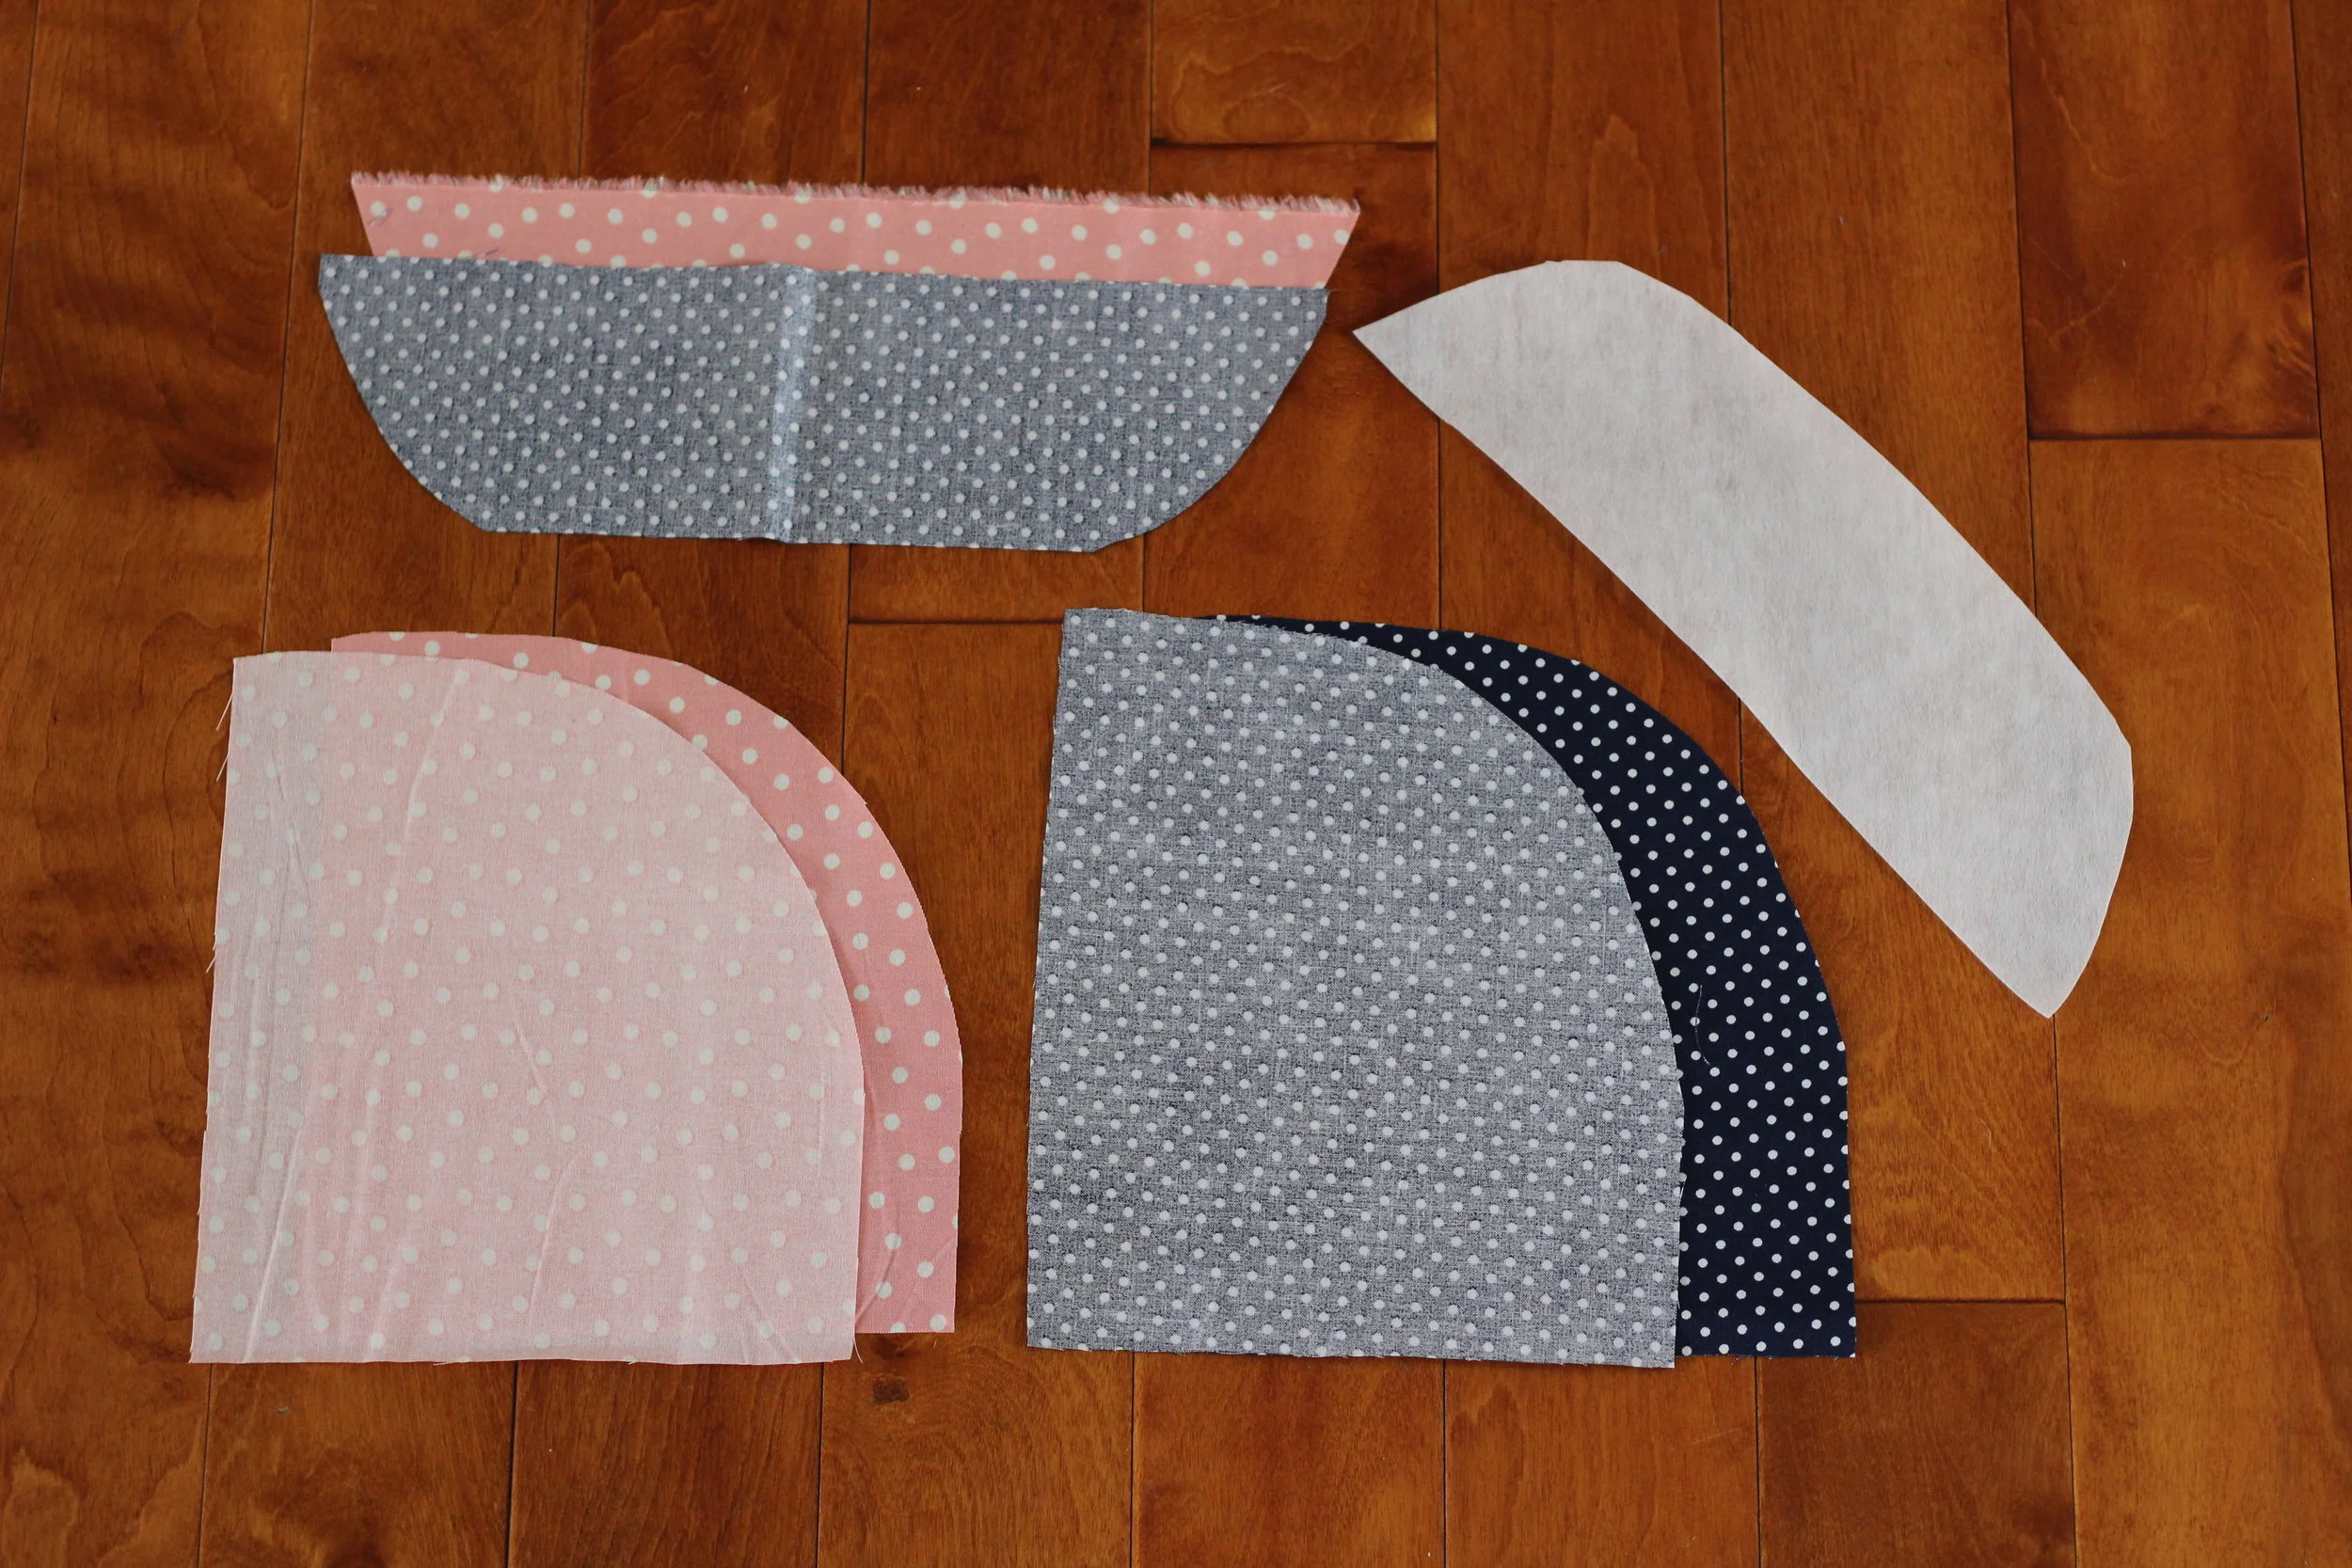
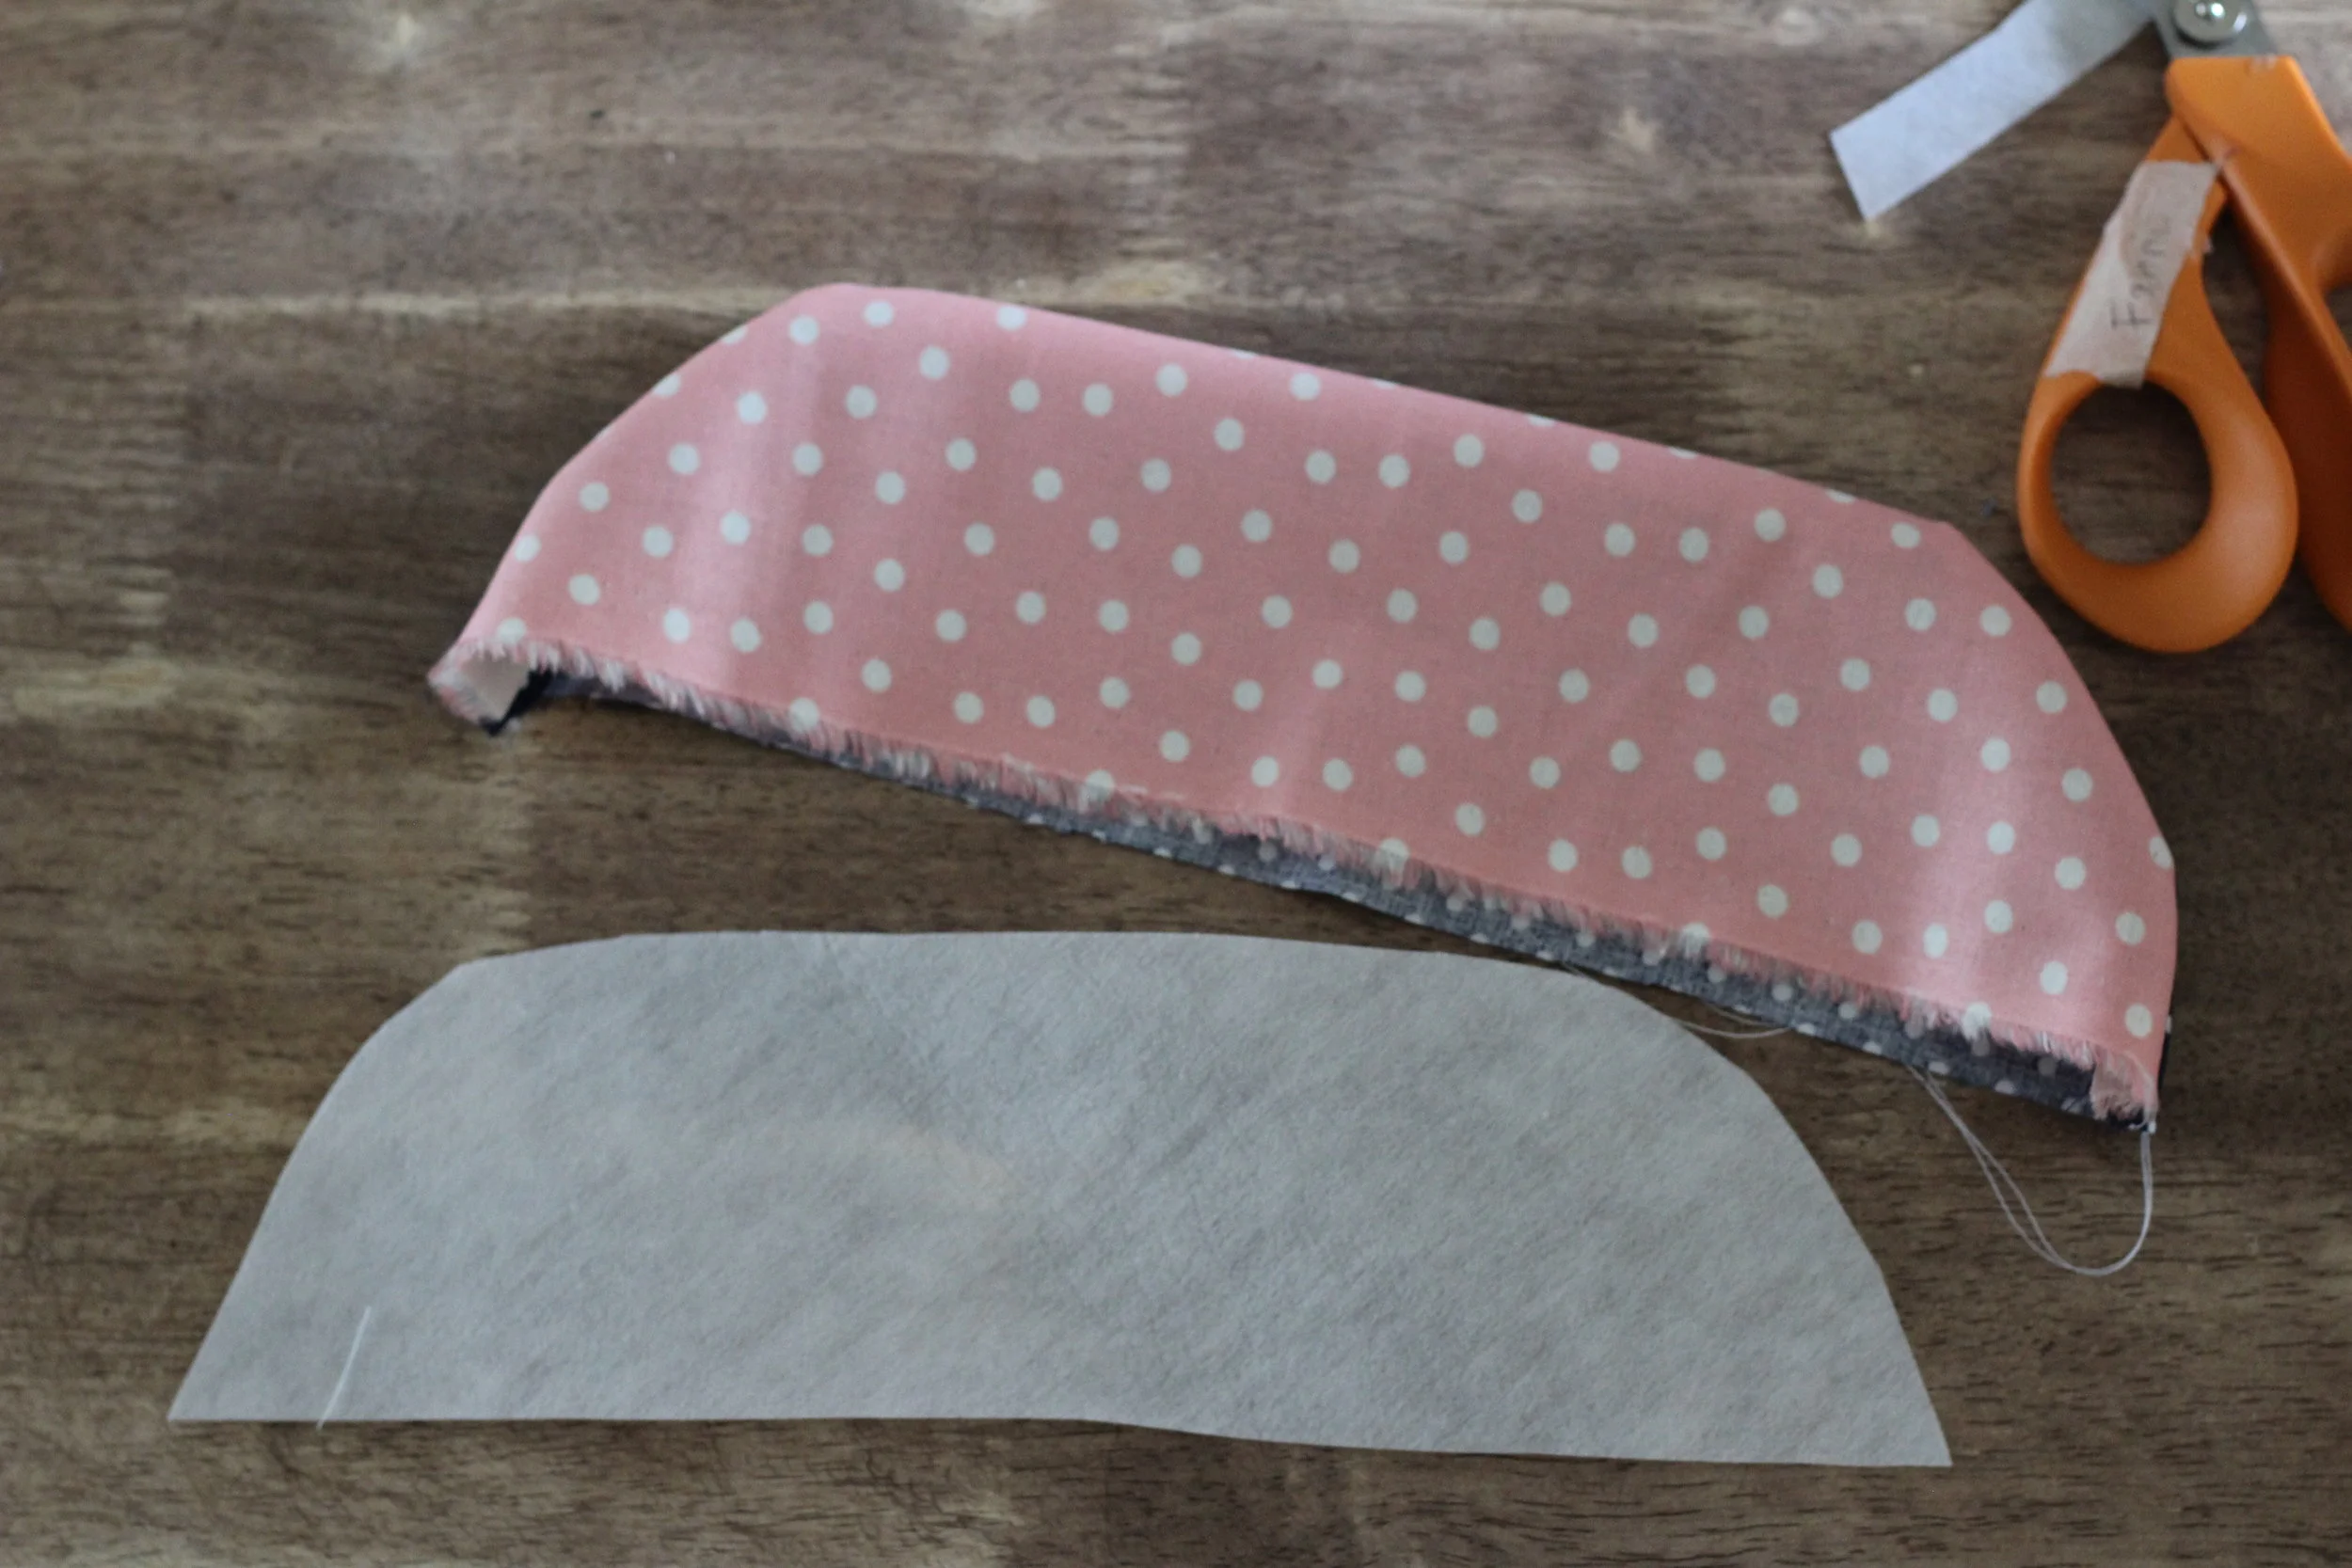
Next, cut out two pieces each of coordinating fabrics so that right sides are together. You will have four pieces altogether of the hood part. Then cut out one of each different fabric print of the brim, with the right sides together. Cut out another brim from the interfacing.
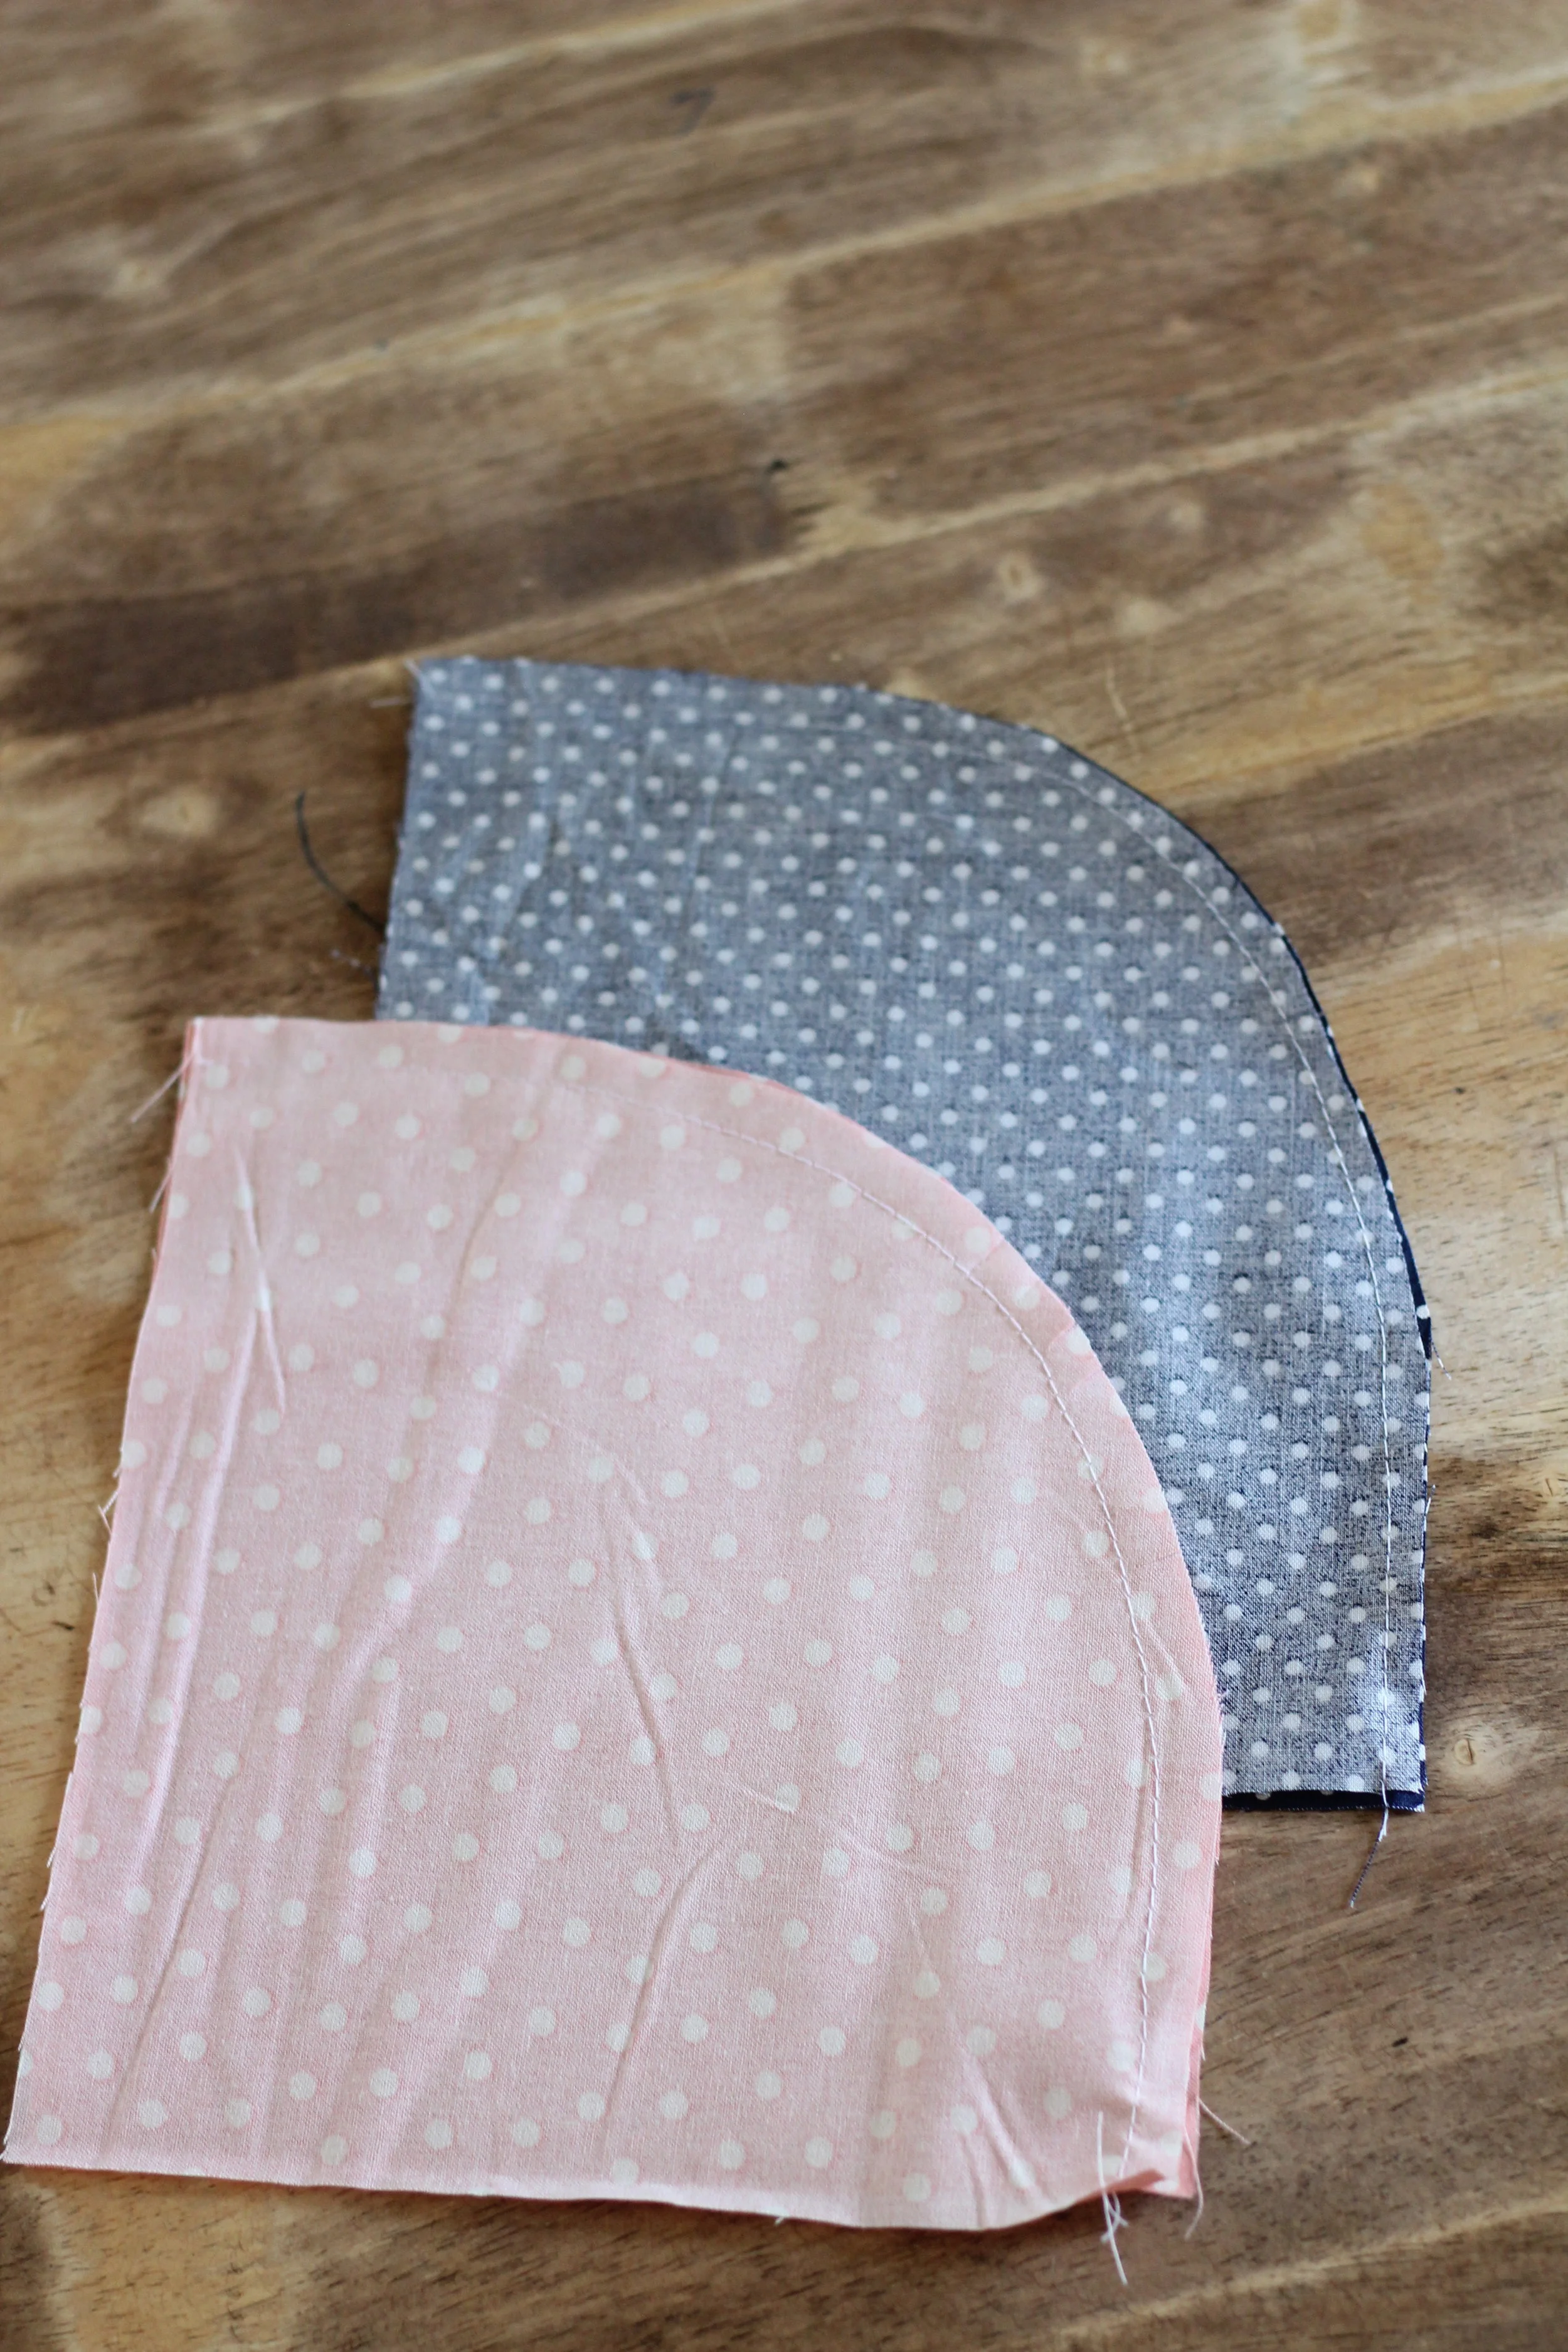
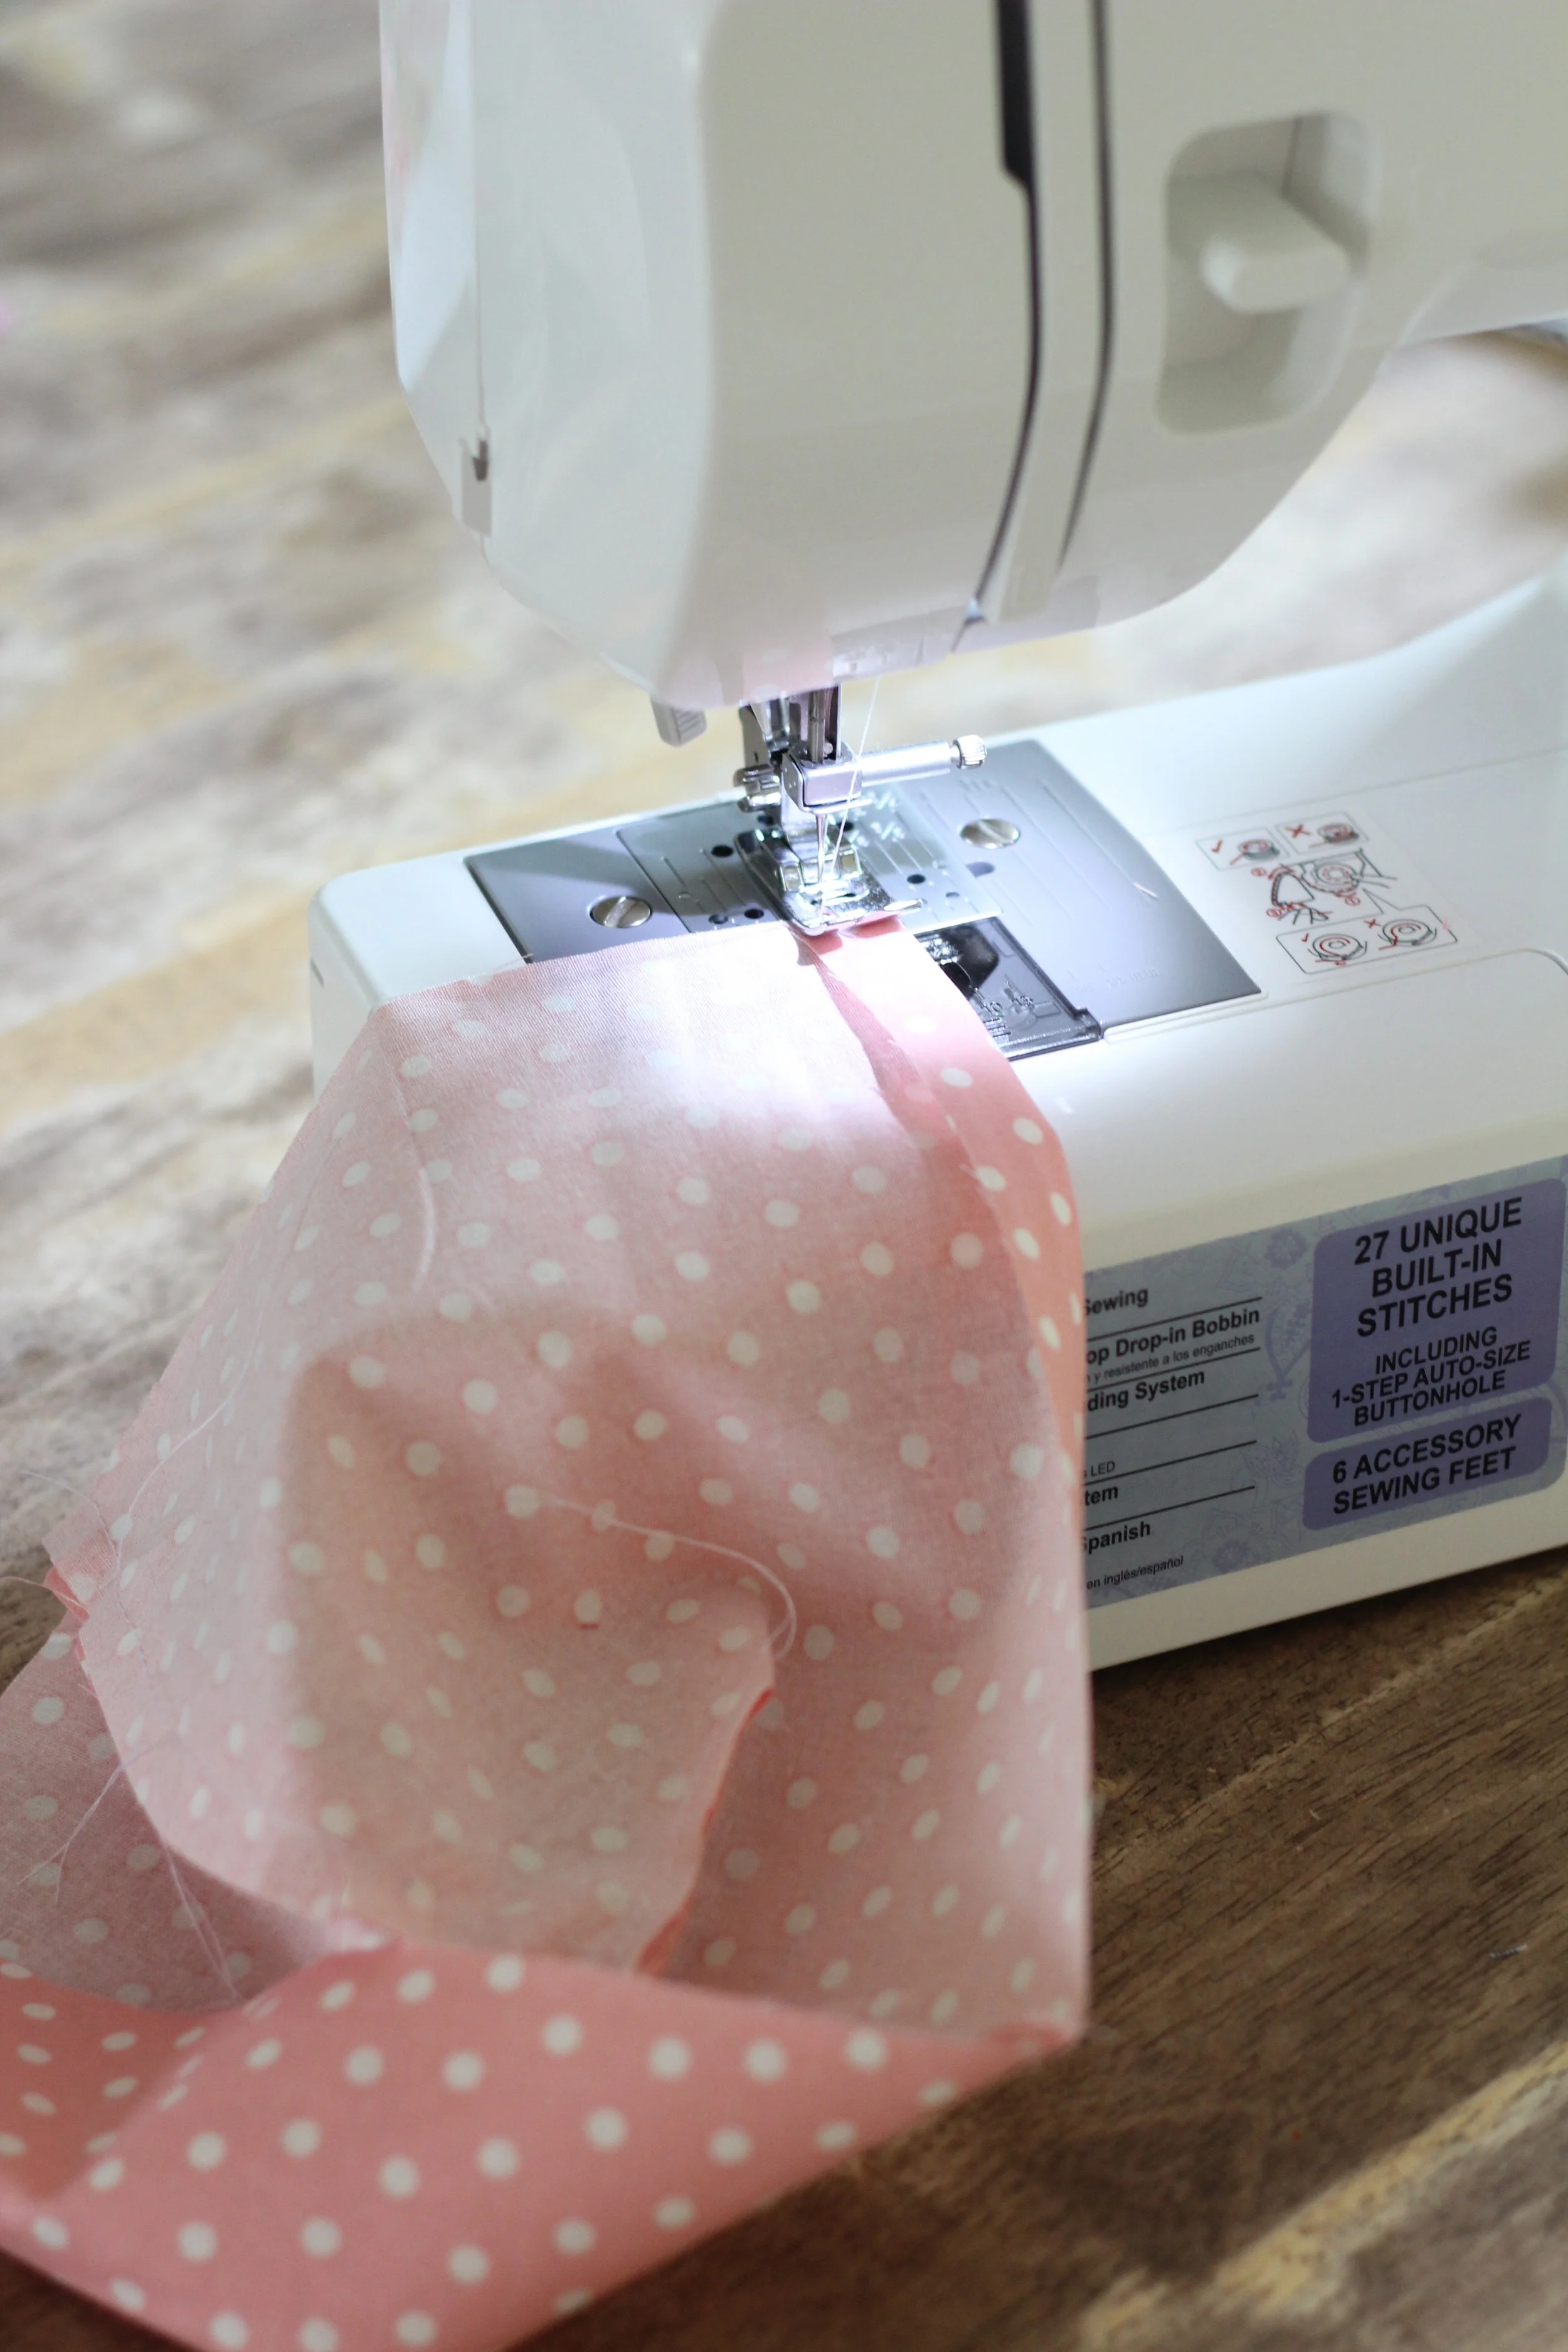
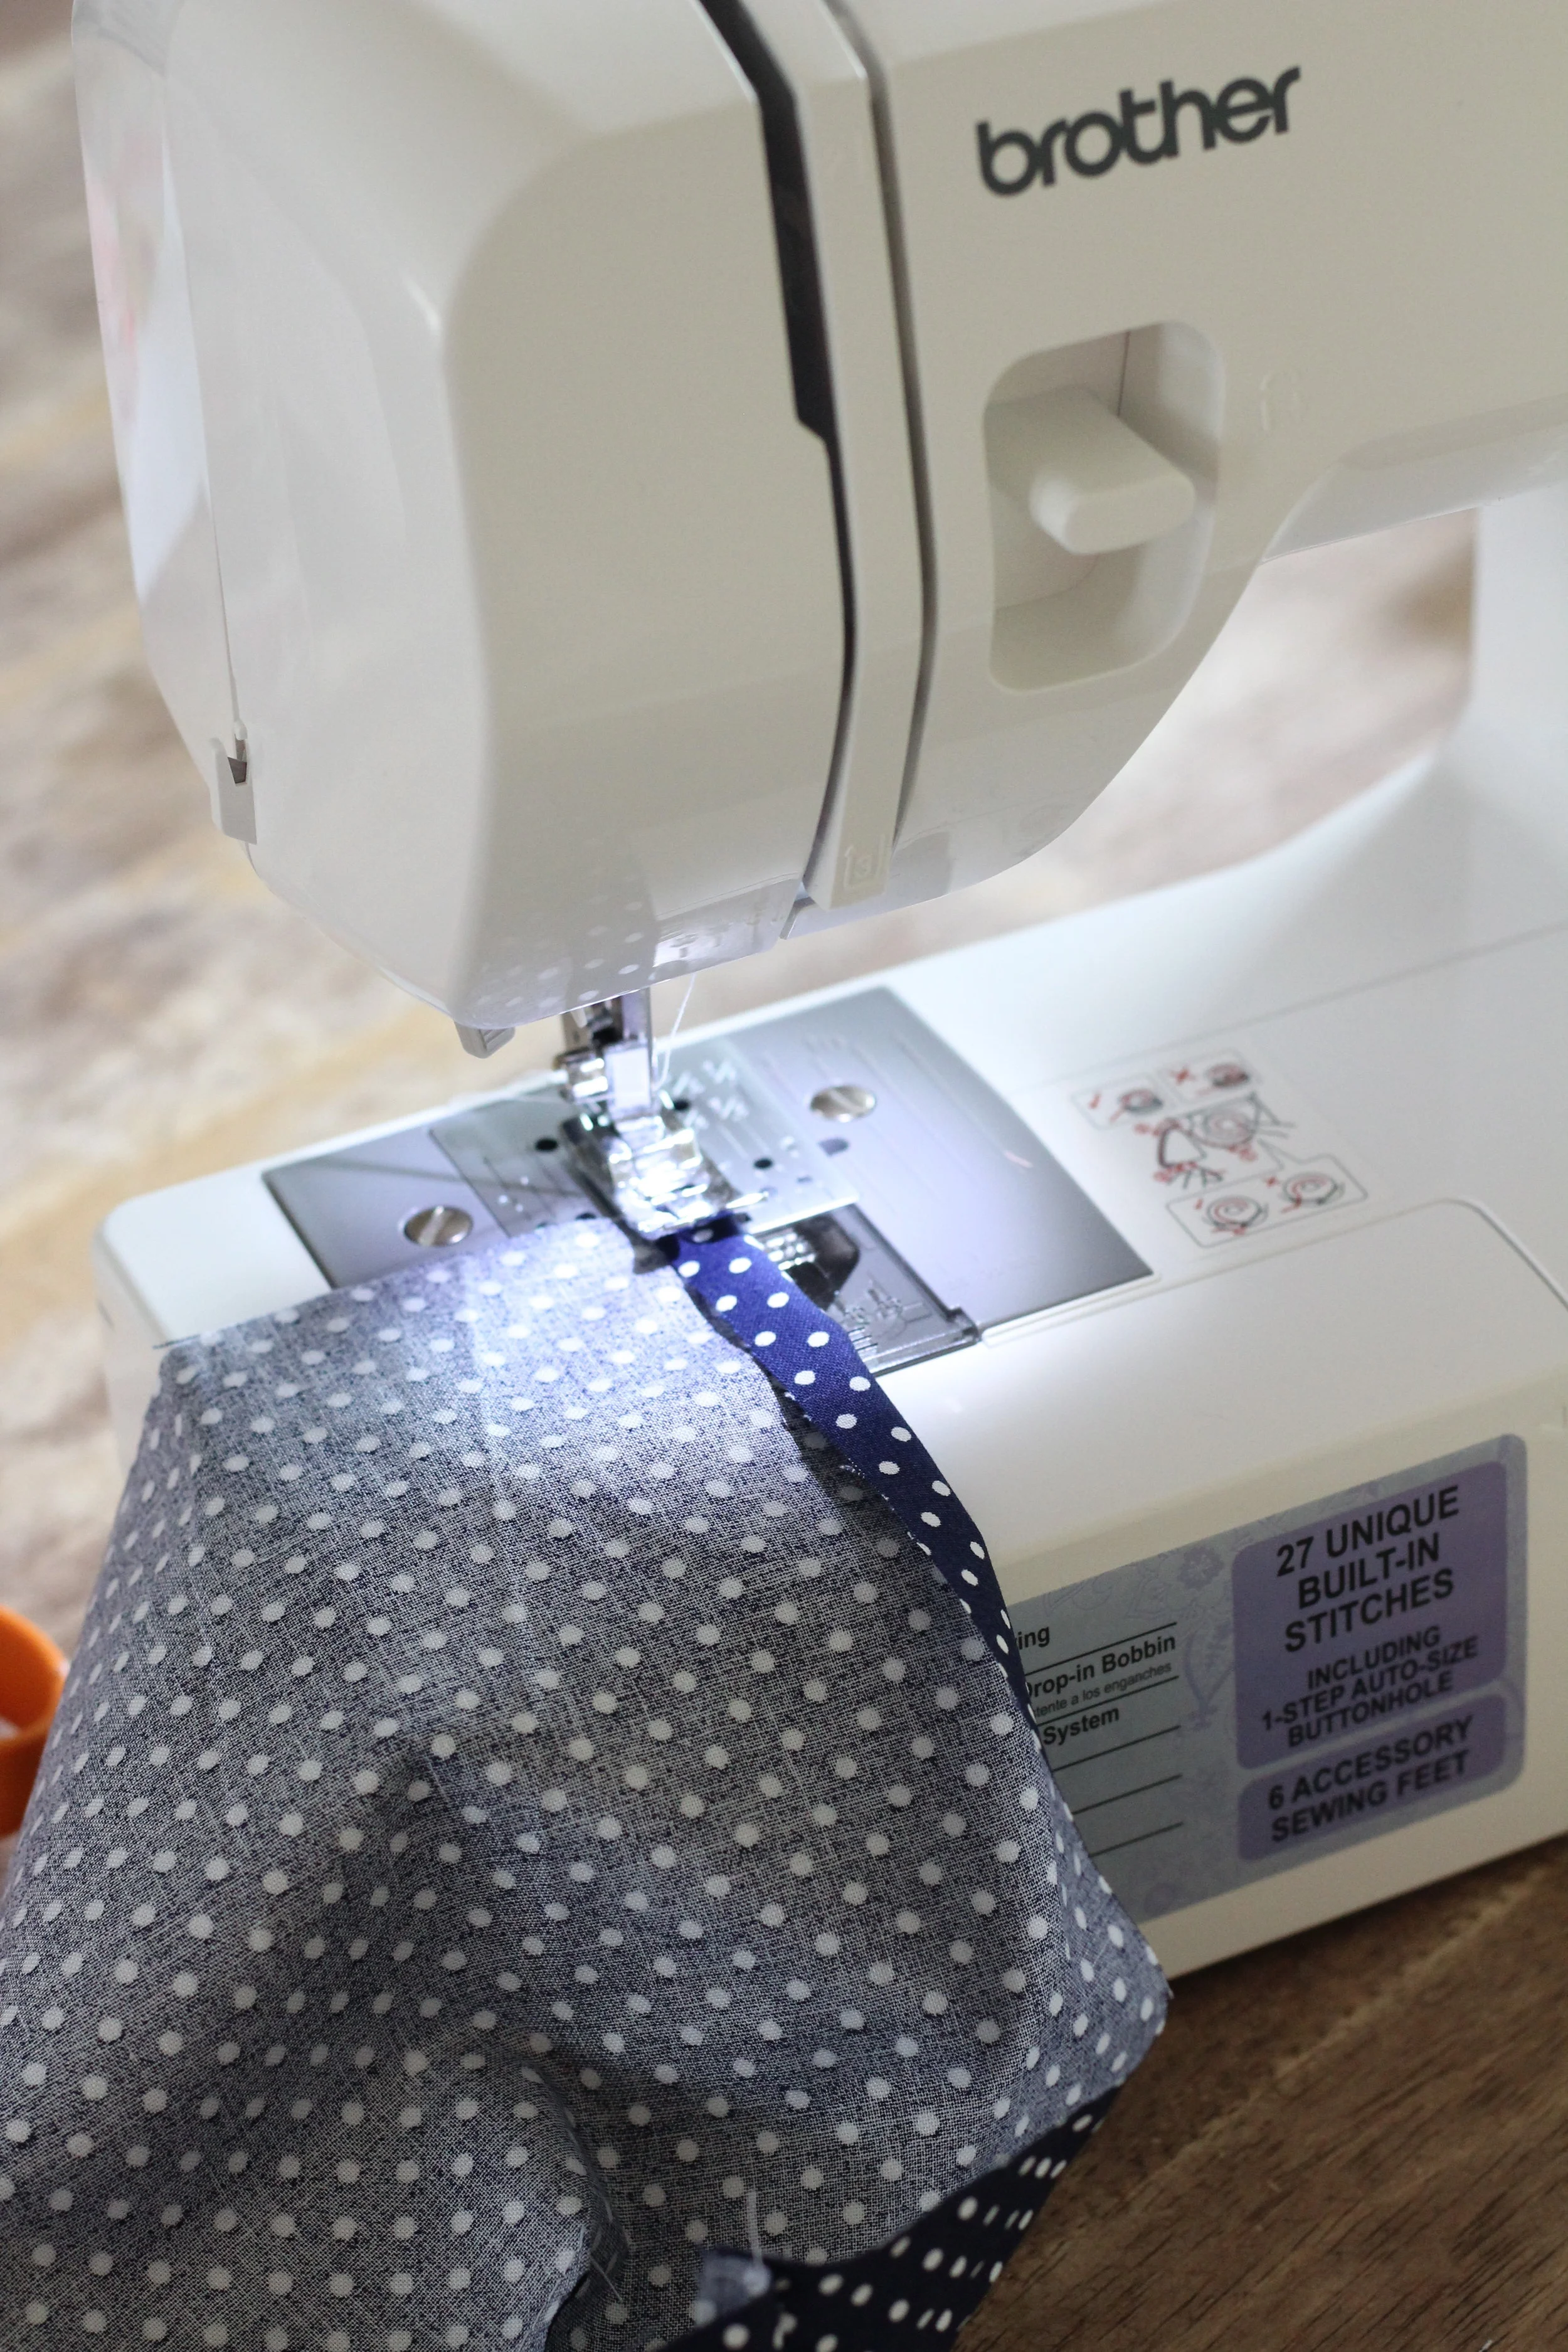
Sew with 1/4 seam allowance.
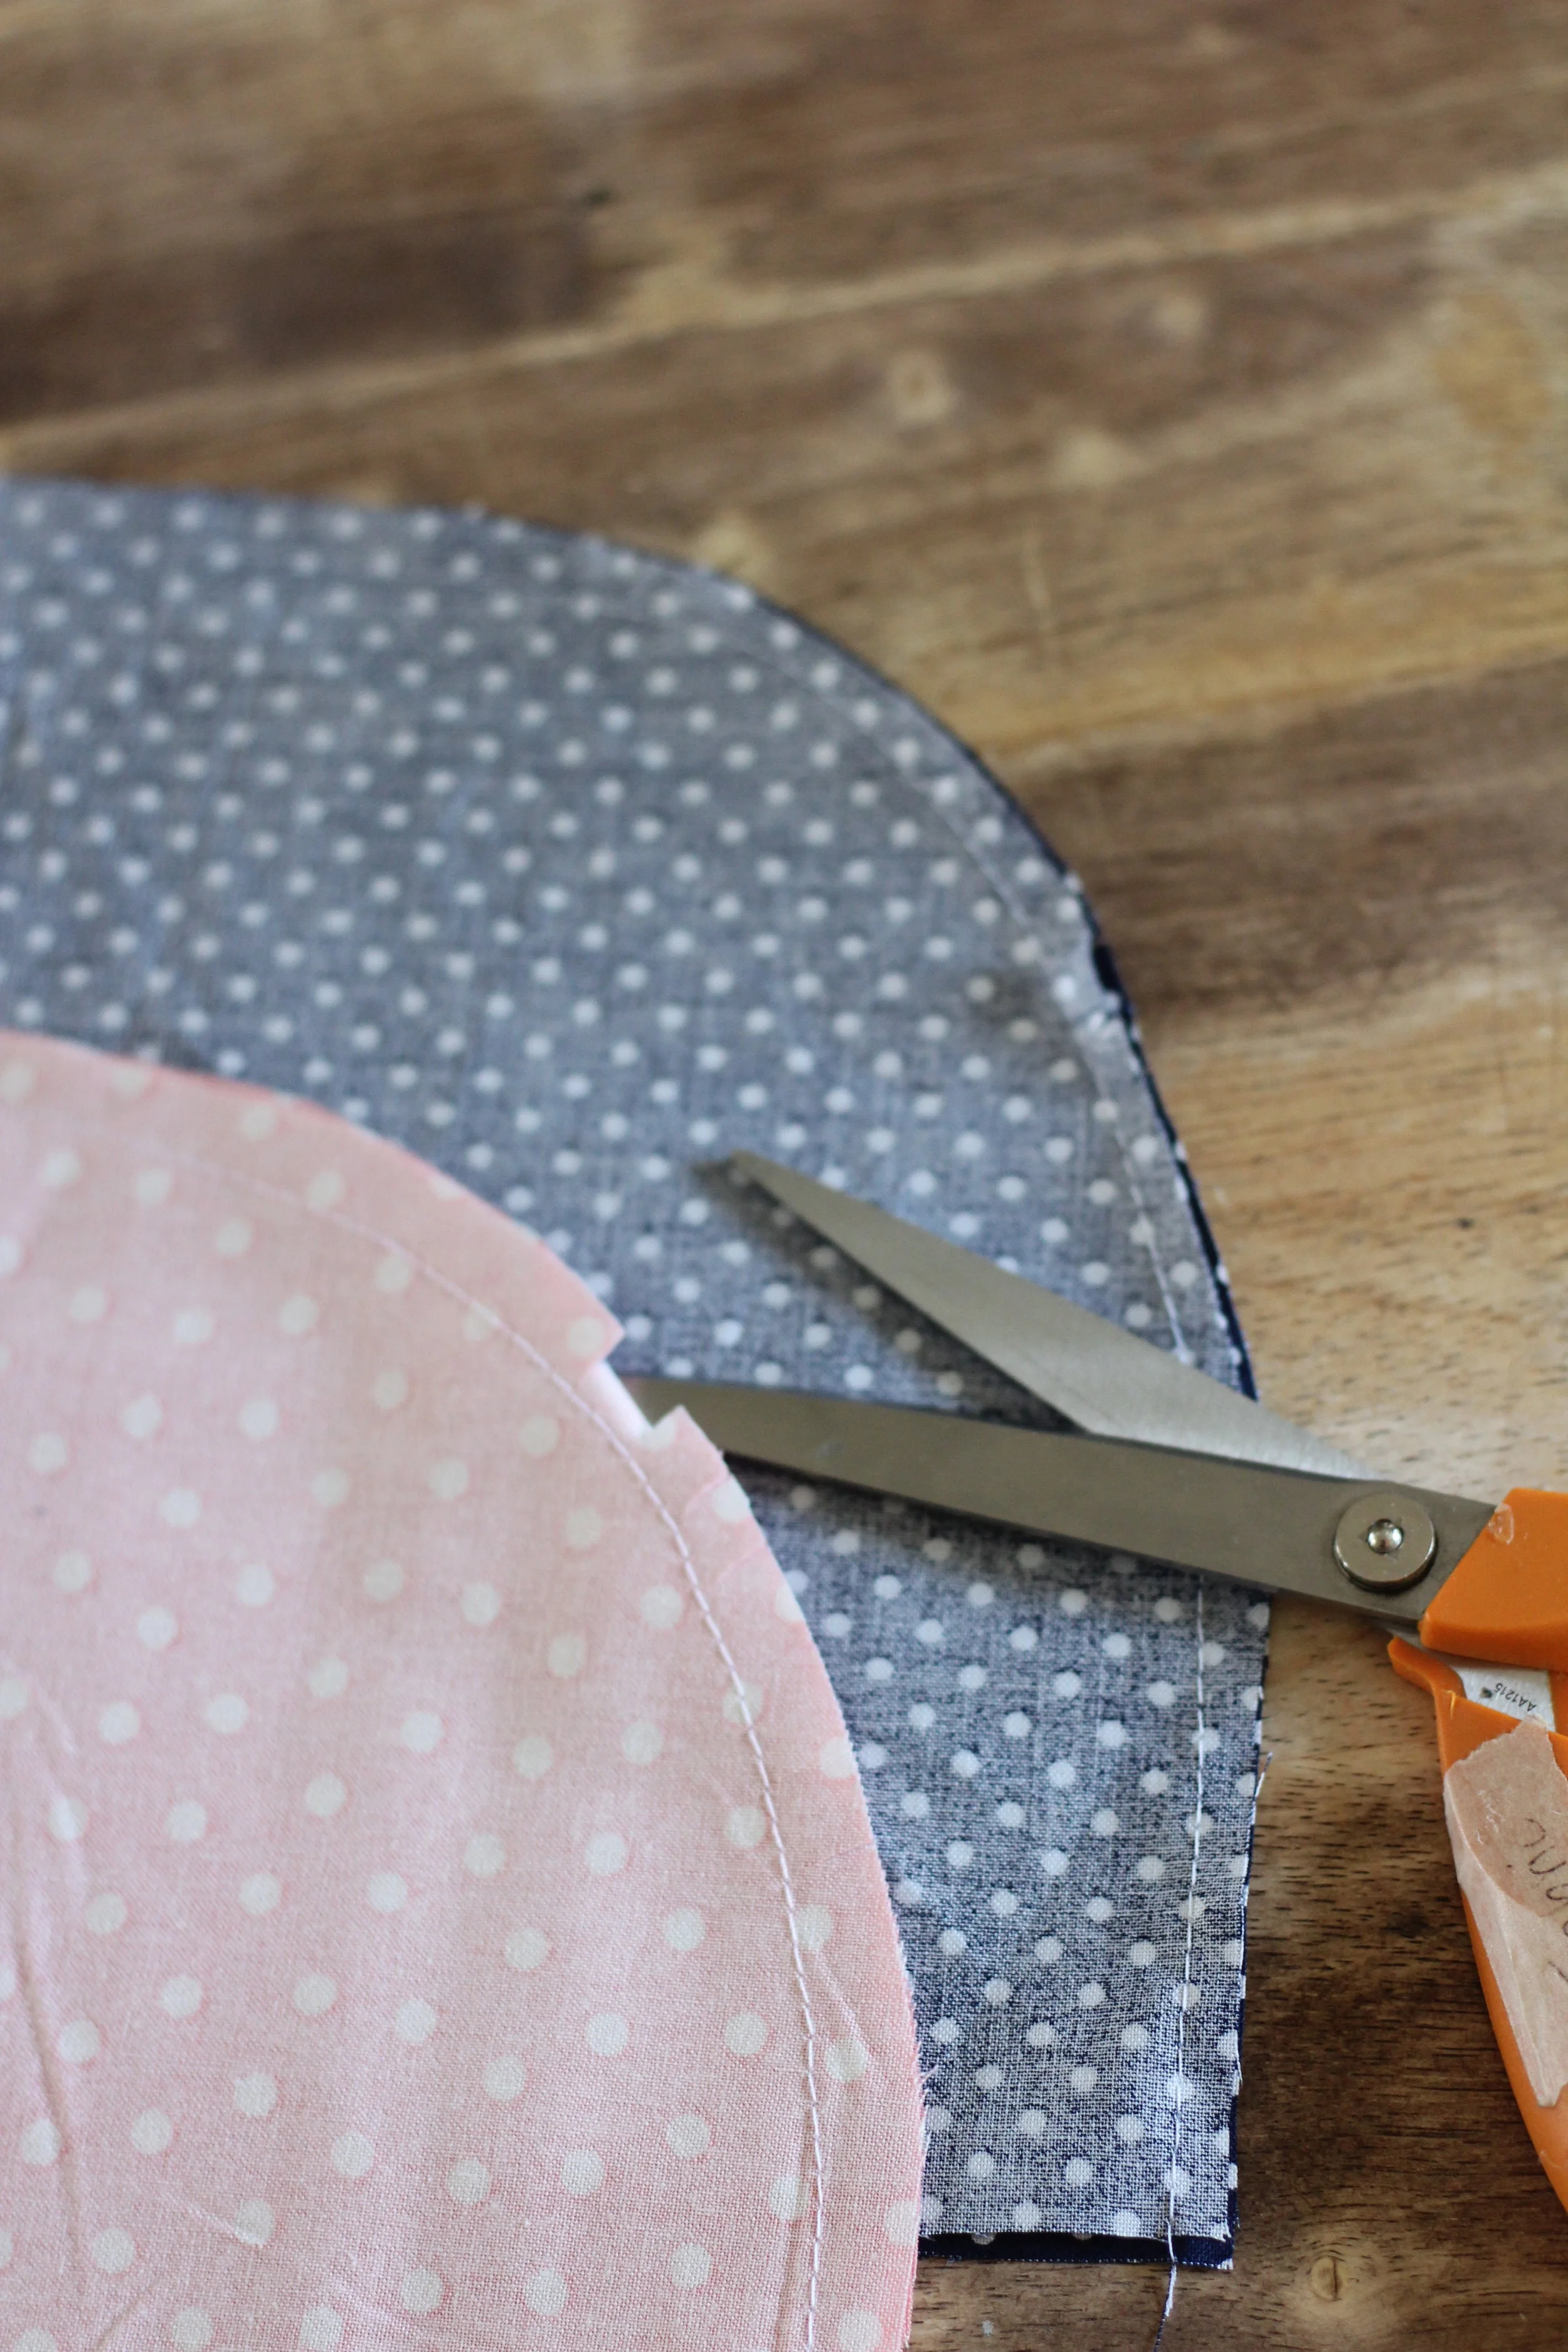
Make tiny snips in the curve of the hood pieces. This will help it from pulling weird.
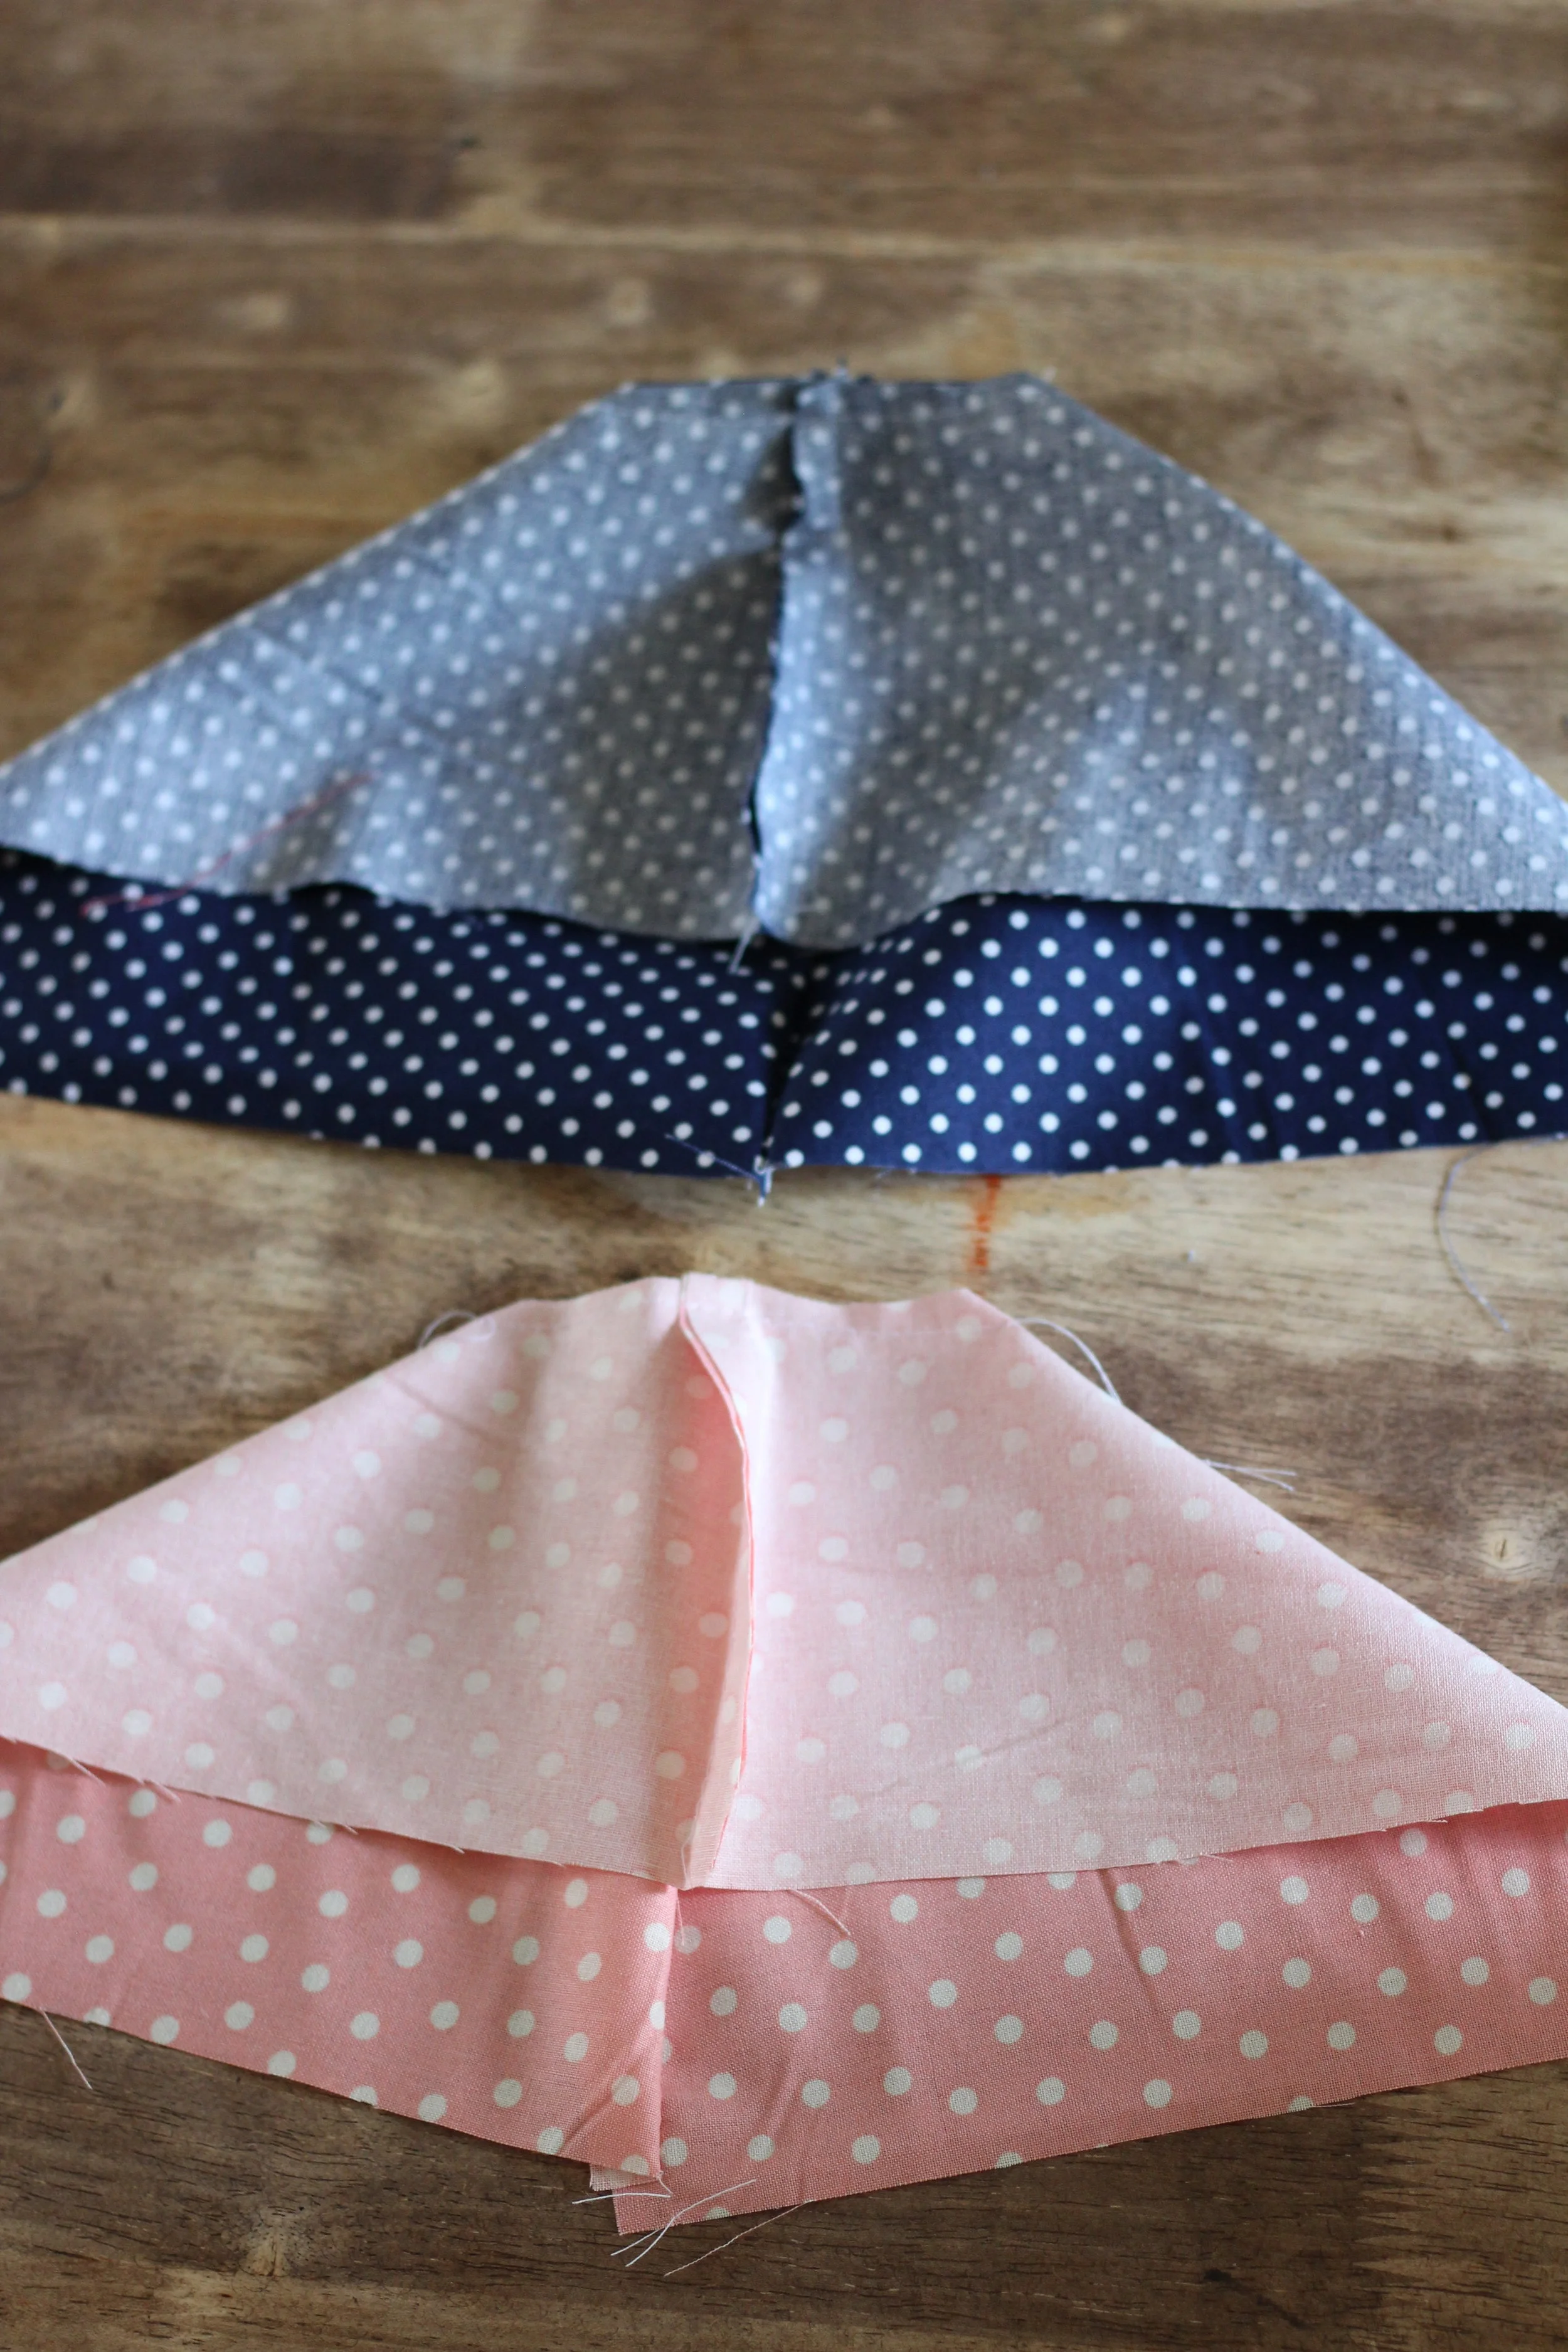
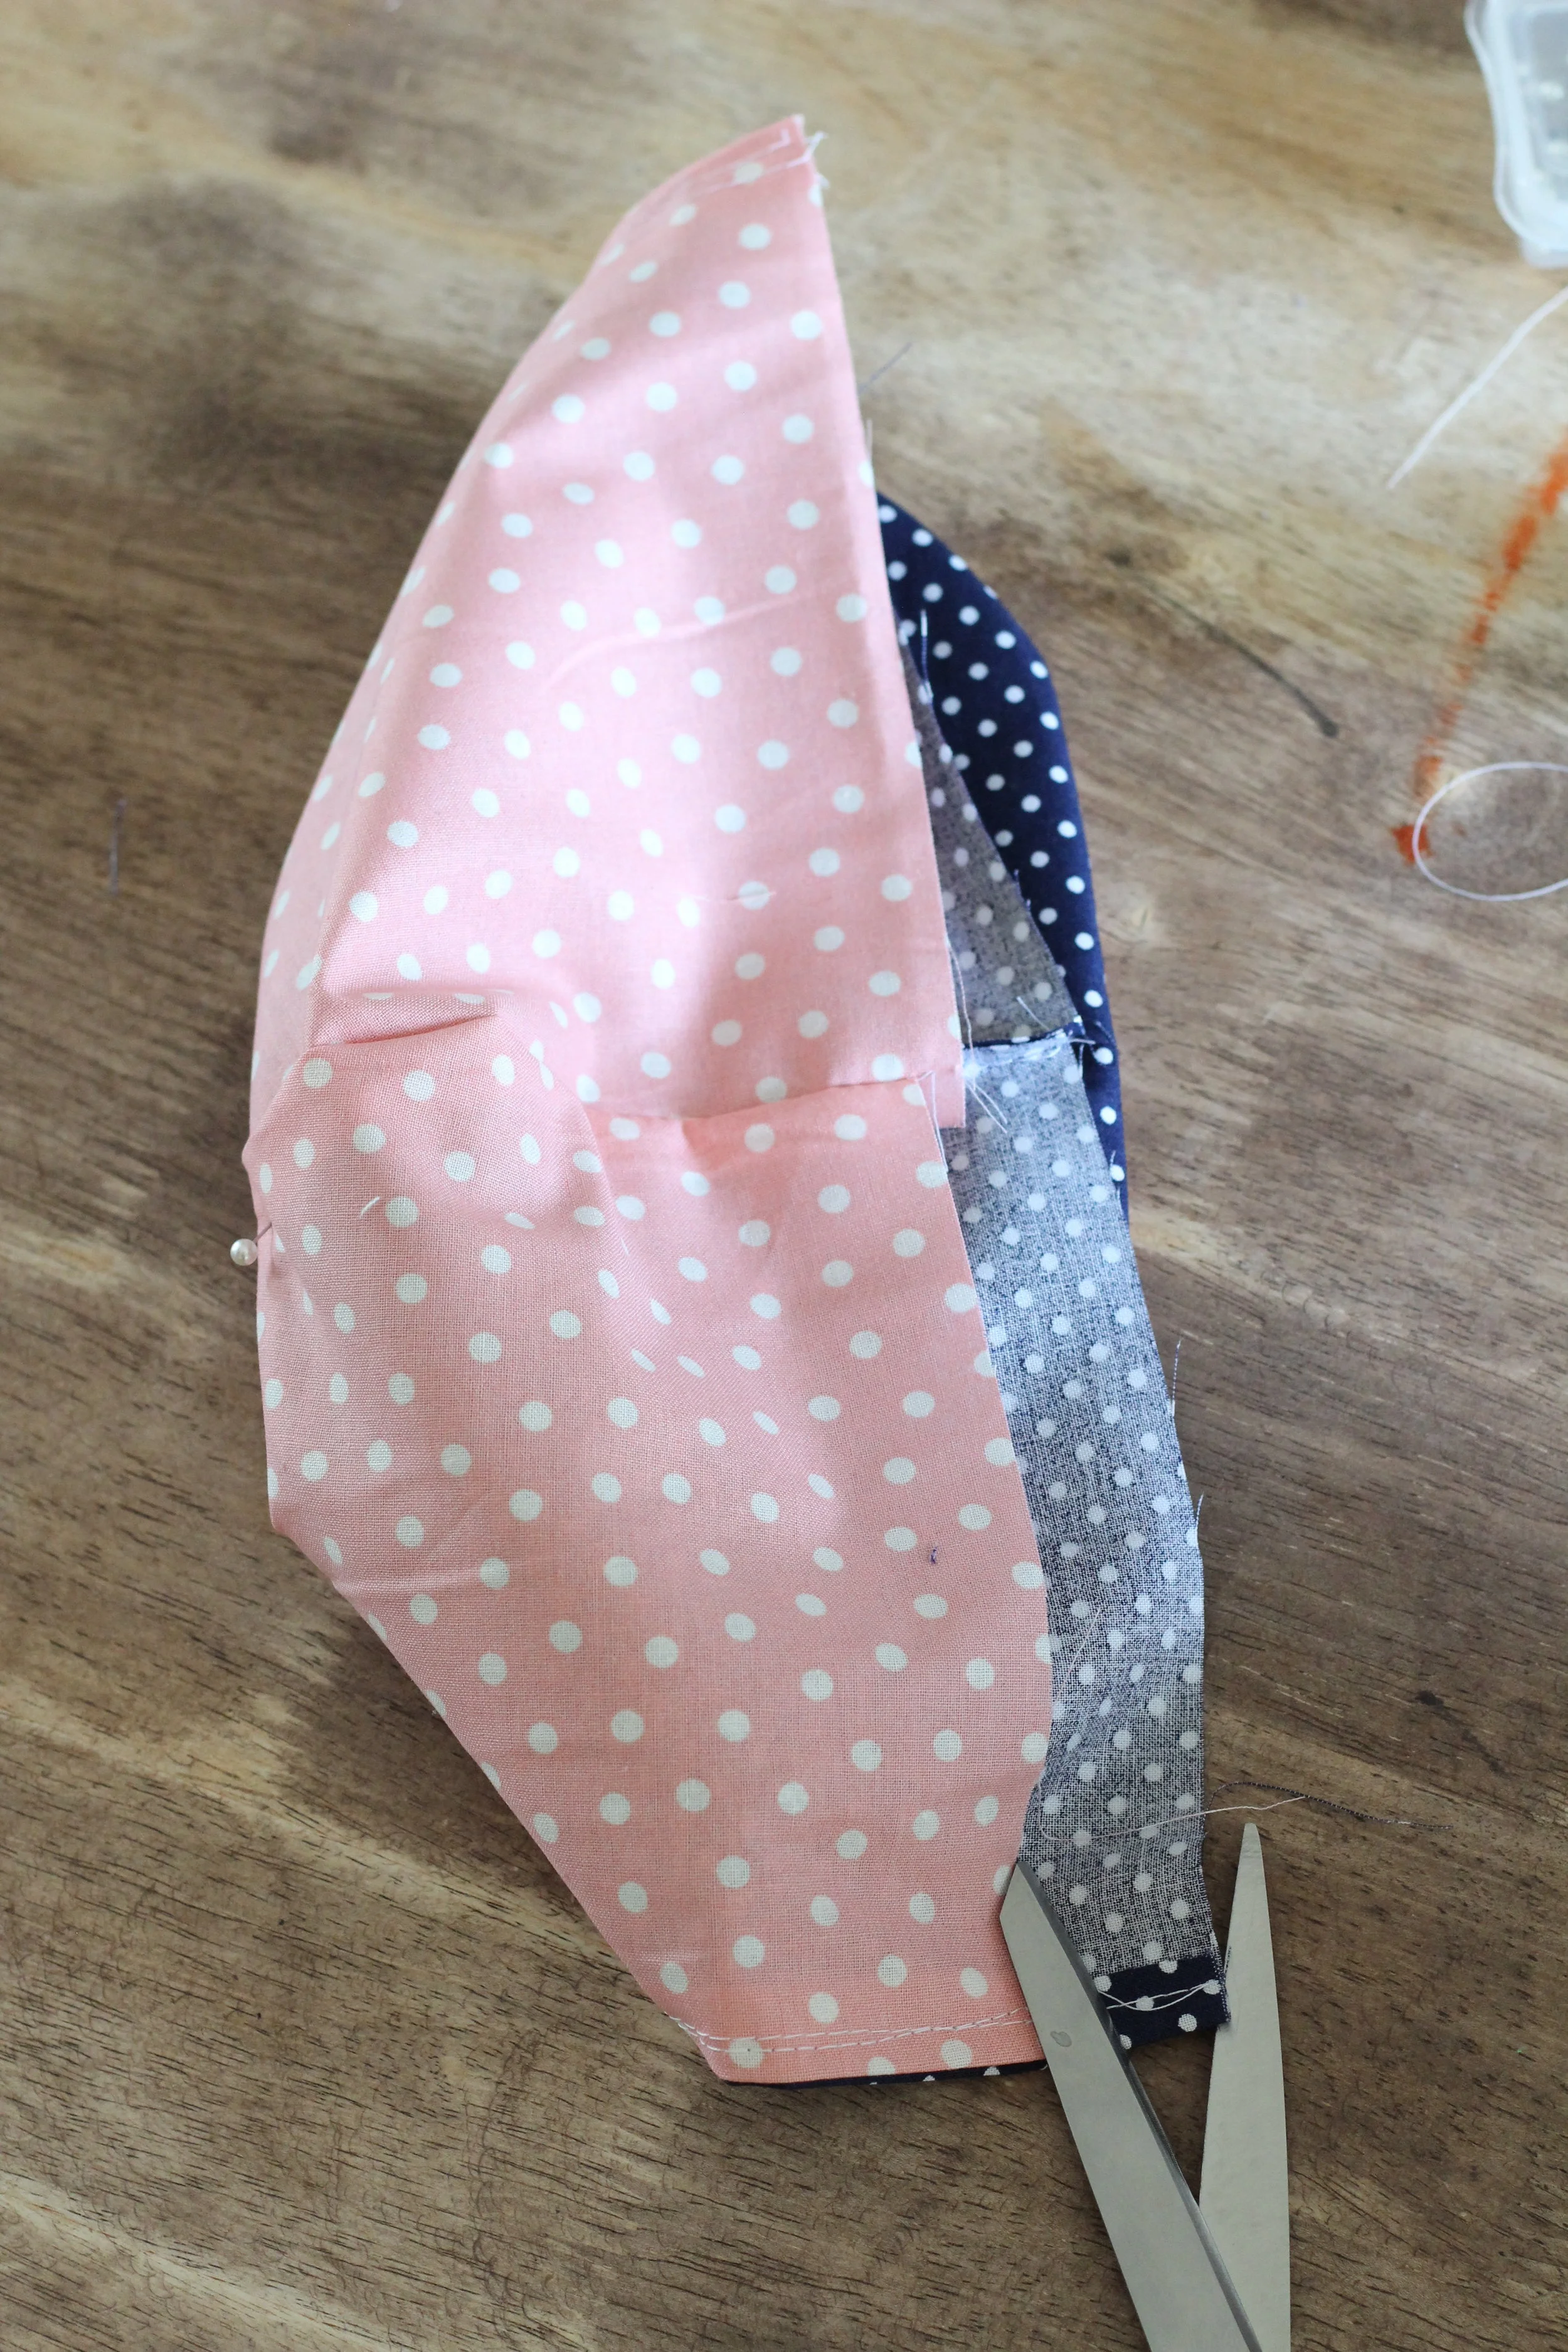
Next lay the seam flat and sew a straight line across the top of the hood about an inch from the top. Snip off the top above the sew line.
Do the same to both of them.
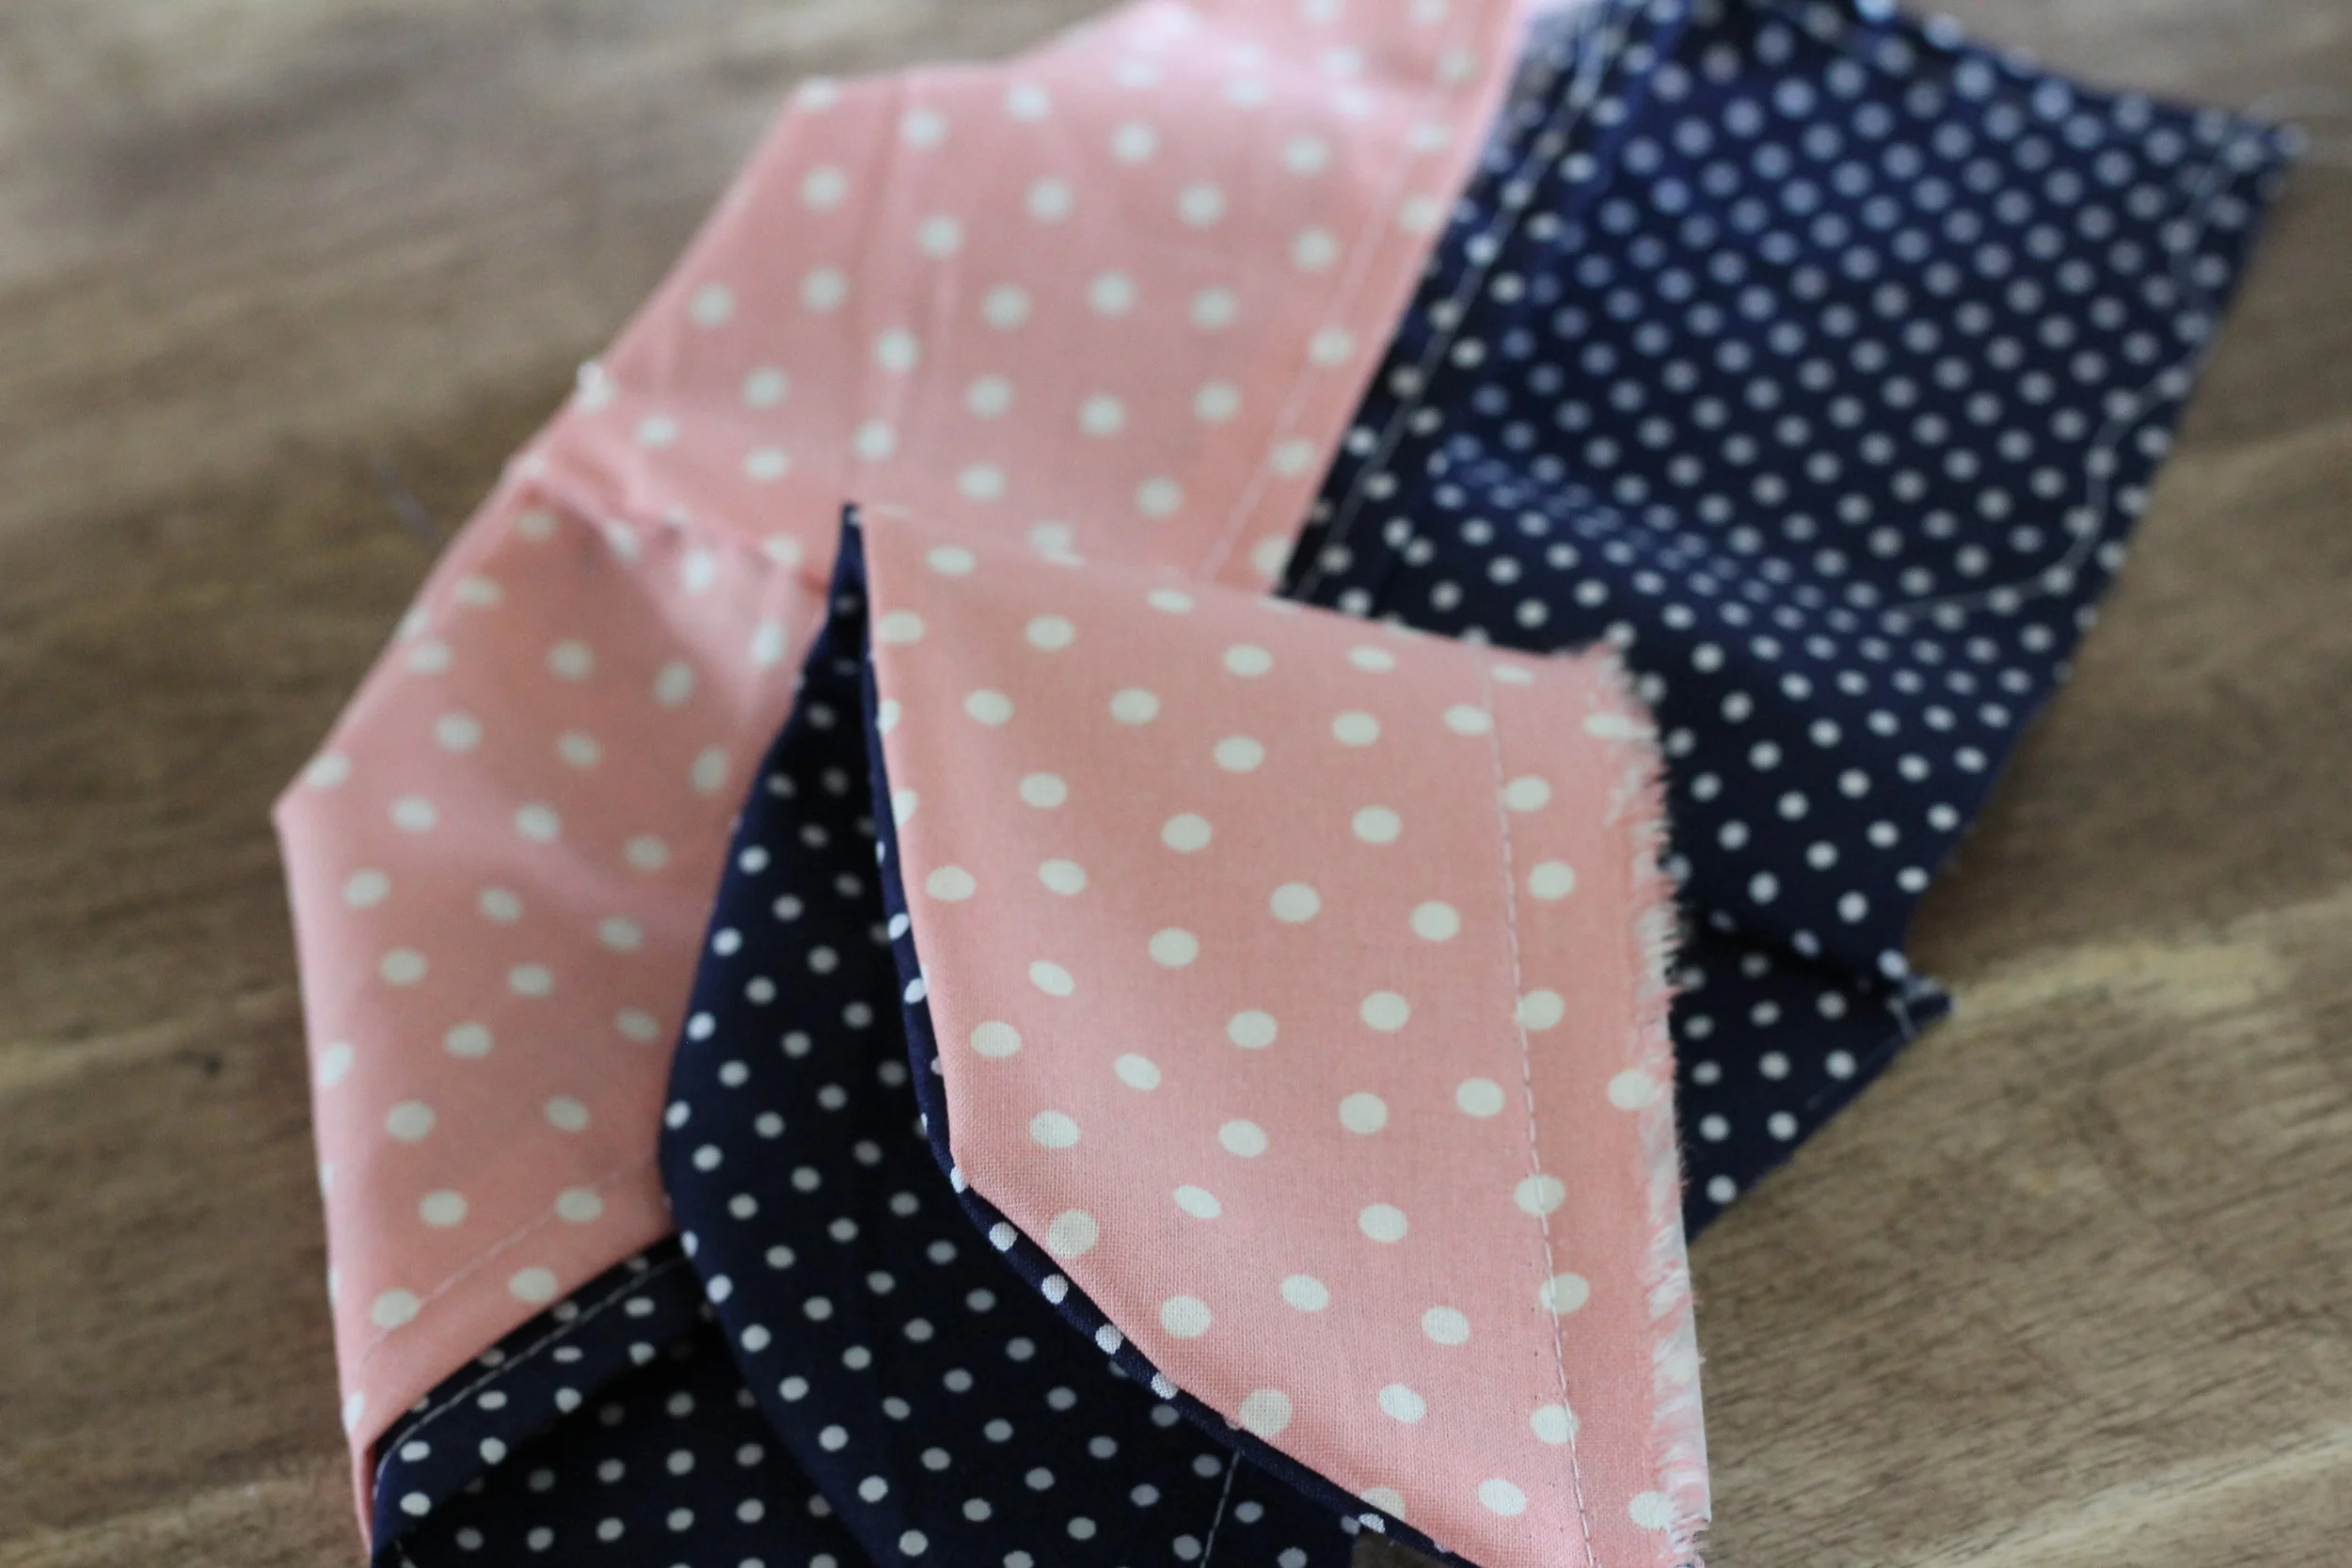
Tuck the edge in and sew all the way around the front of the hood.
Do the same to the coordinating hood.
Take the brim and turn inside-out so the right sides are facing out. Tuck the interfacing in and sew seams together.
This is the trickiest part but seams of the hoods together, with the wrong sides together, and tuck the brim in so that the brim color matches with the hood color. Then sew.
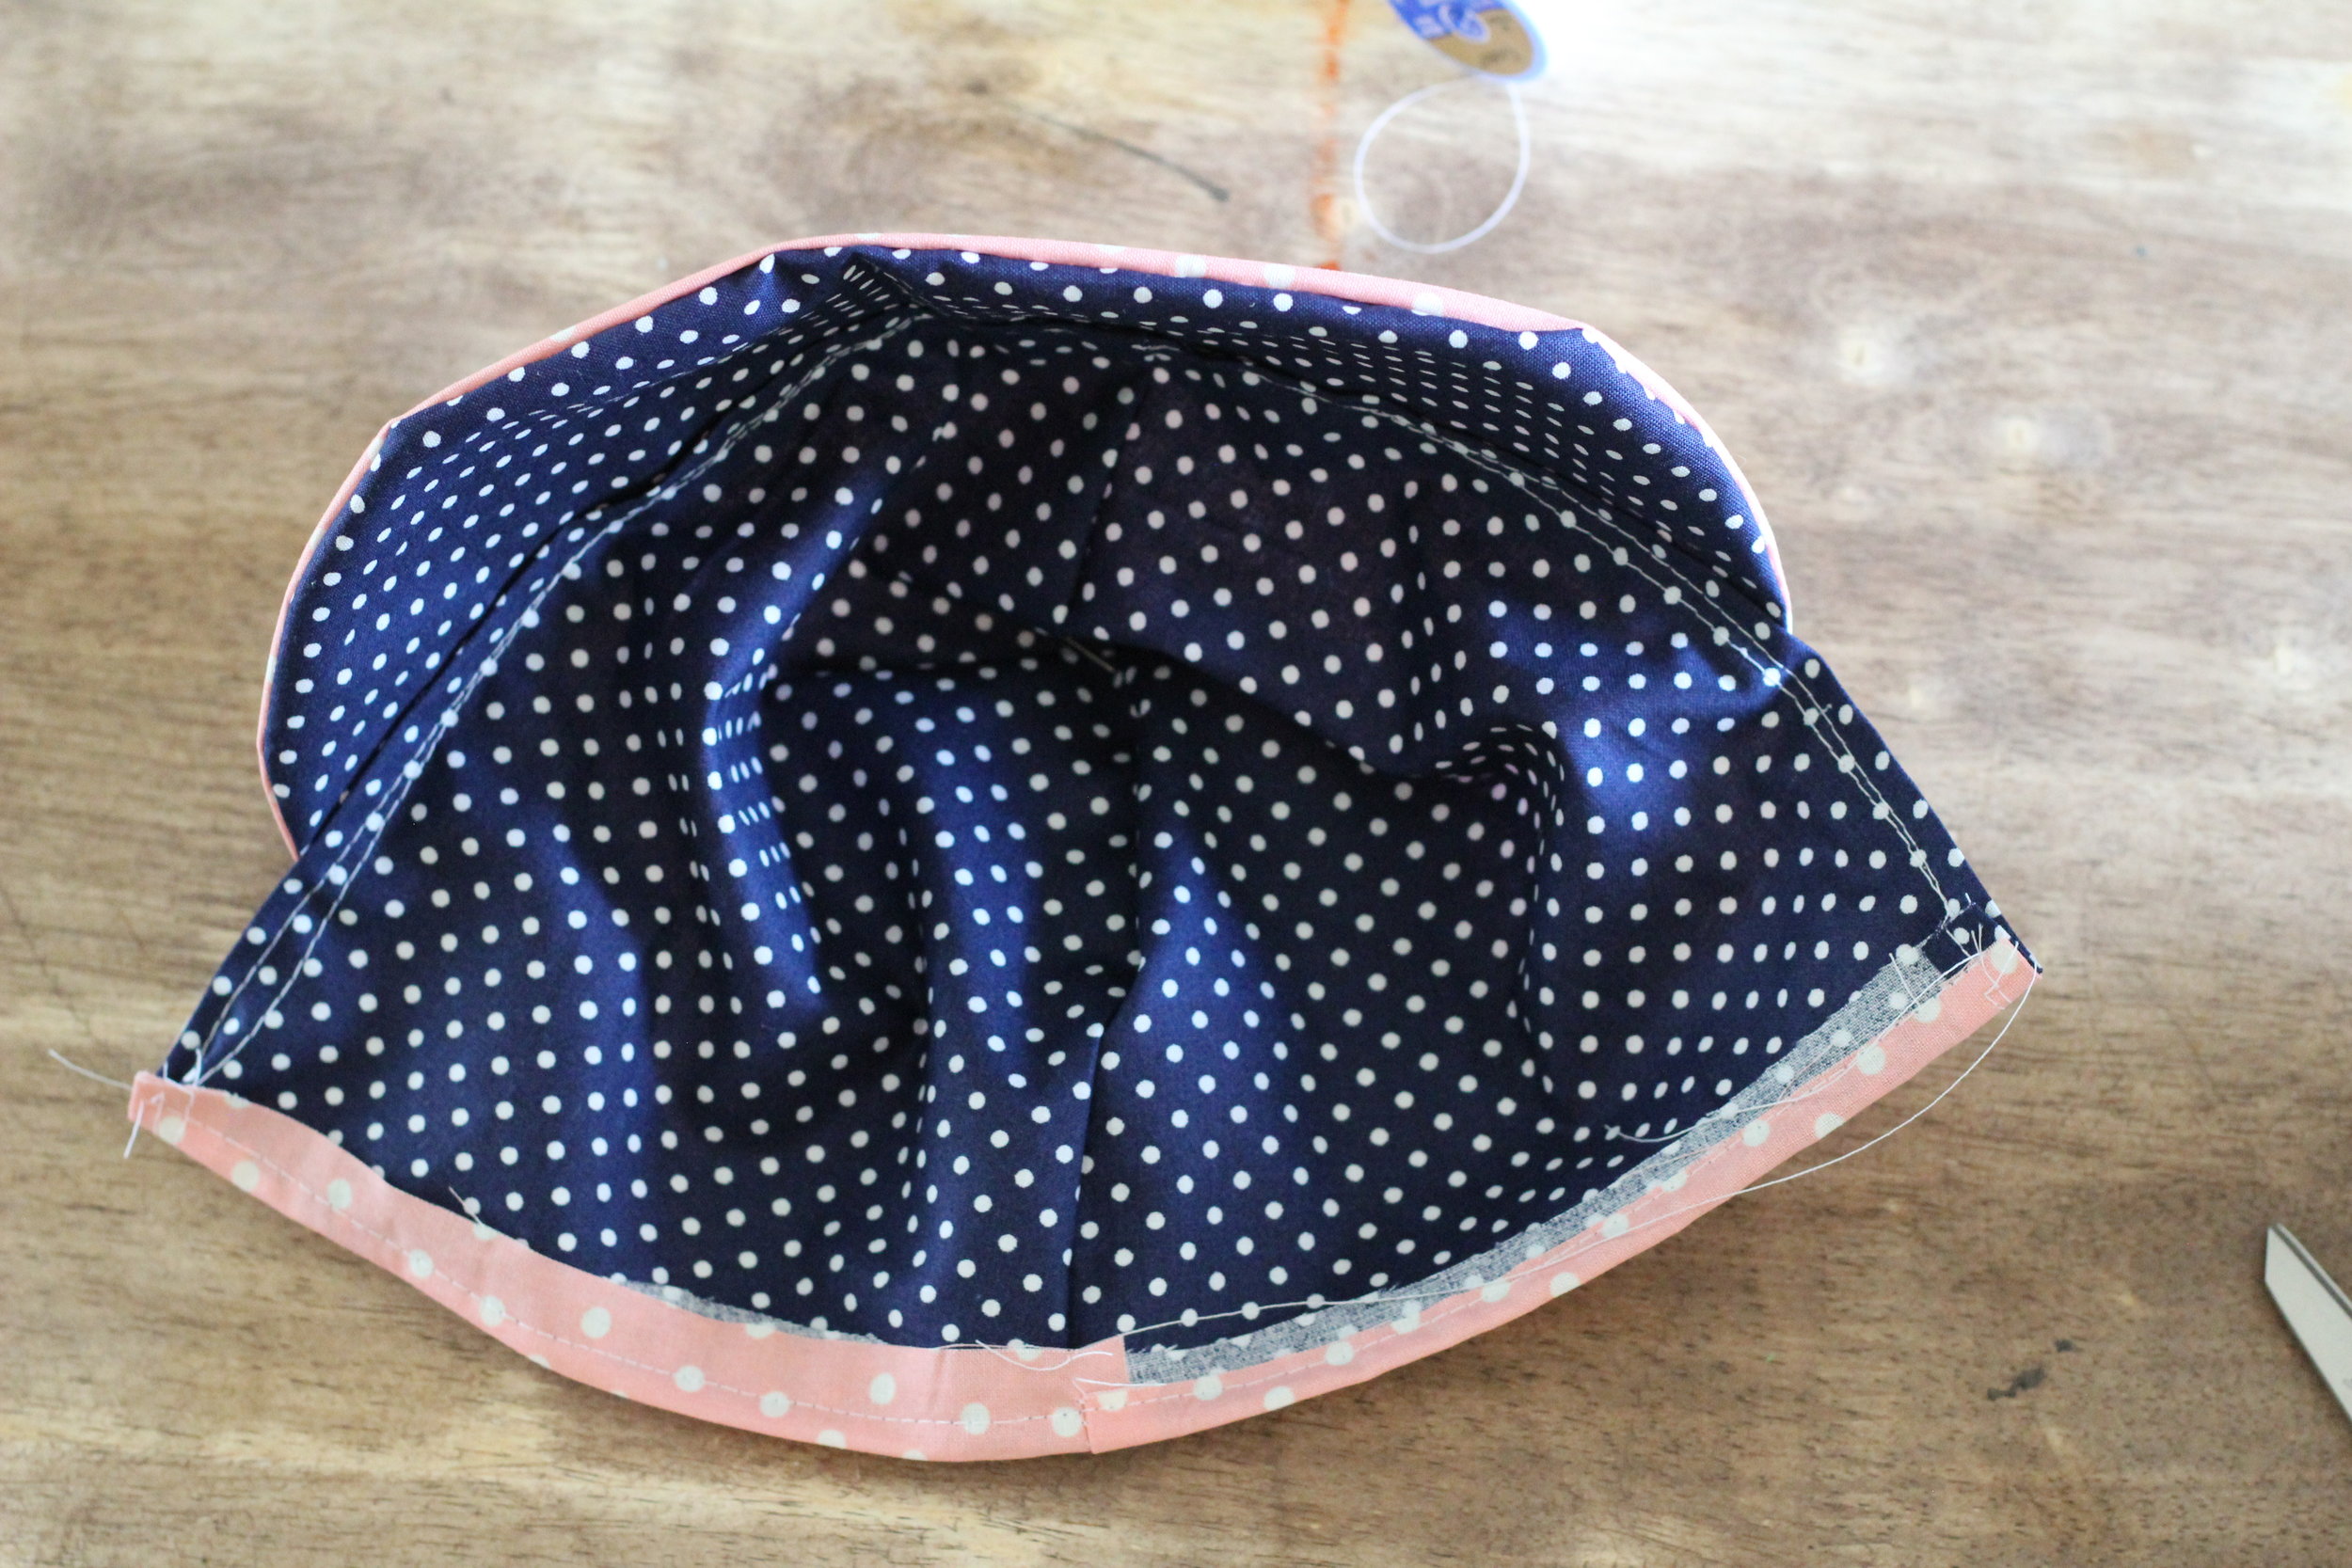
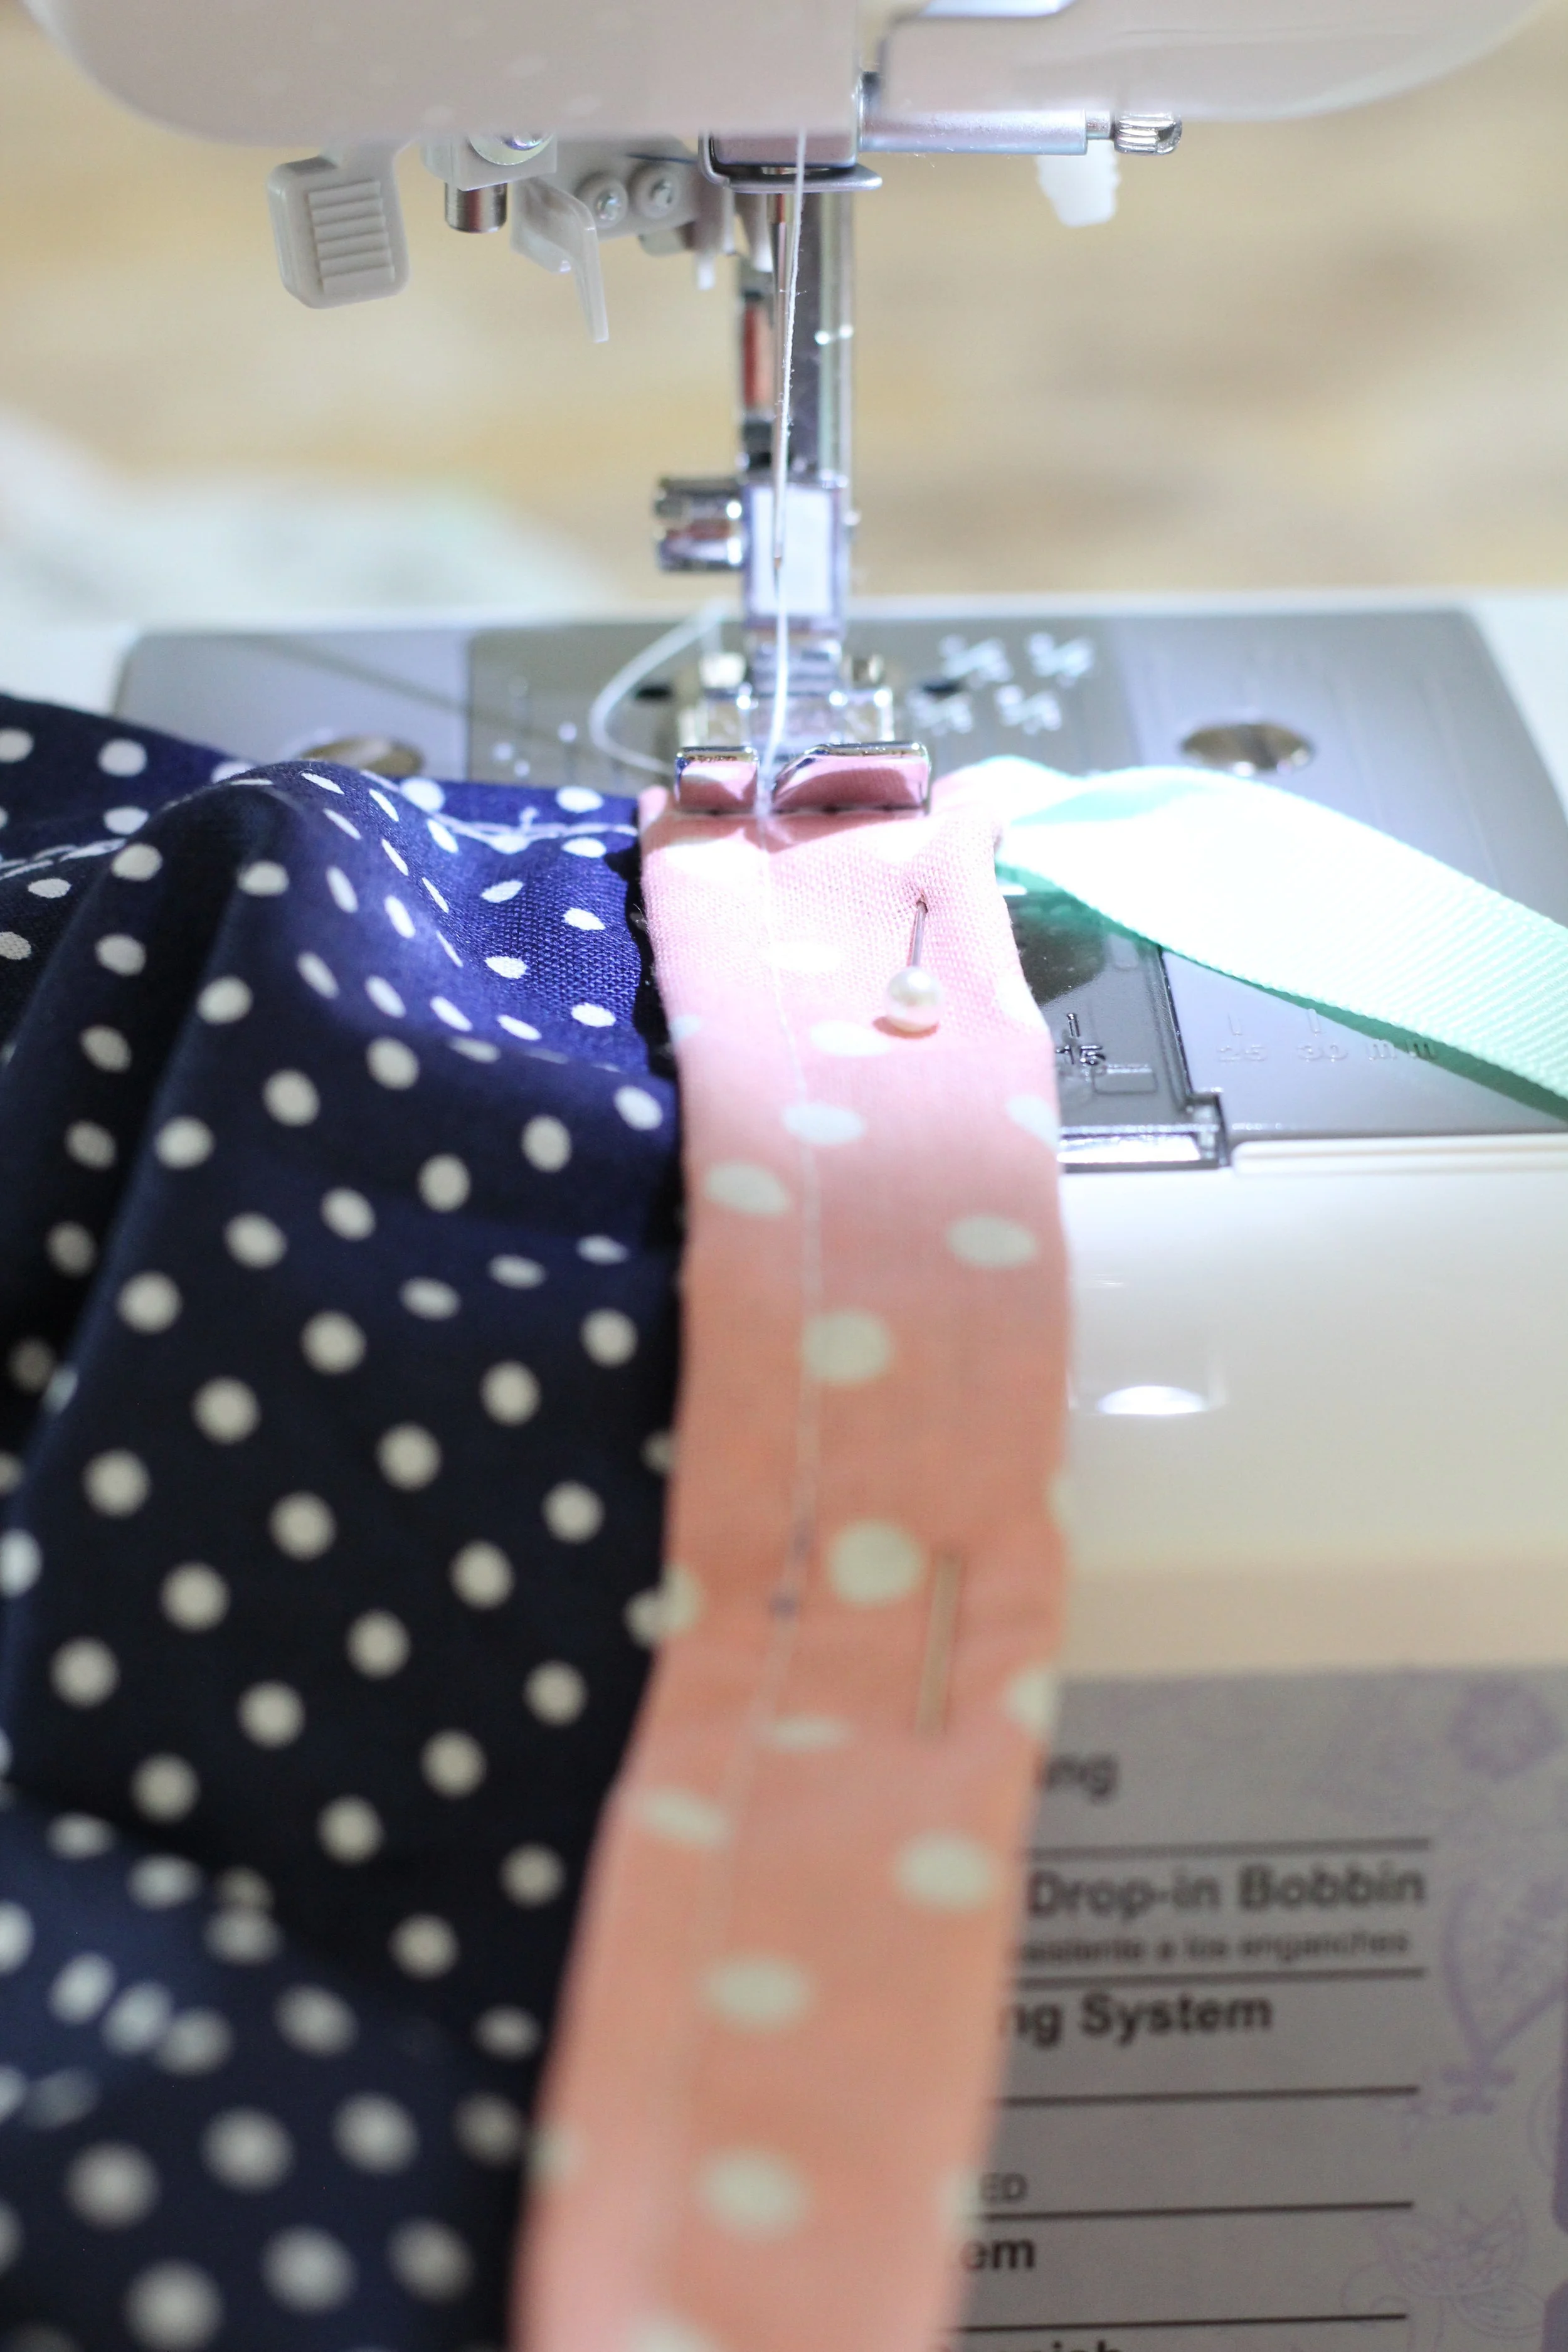
Next, turn the bonnet onto the brim side facing down and press it flat. Trim the back side until the coordinating fabrics meet and trim evenly. Take the edge and fold it in about 1/4 to 1/2 inch and sew. Then make a thicker fold and sew again on that seam. This is where the ribbon will lace through. Or you can pin the ribbon onto the inside of the fold and sew along the seam, just be careful not to sew the ribbon to the bonnet!
Great job! All done!! Now if your baby is anything like mine then good luck getting baby to actually keep the bonnet on her head!!
