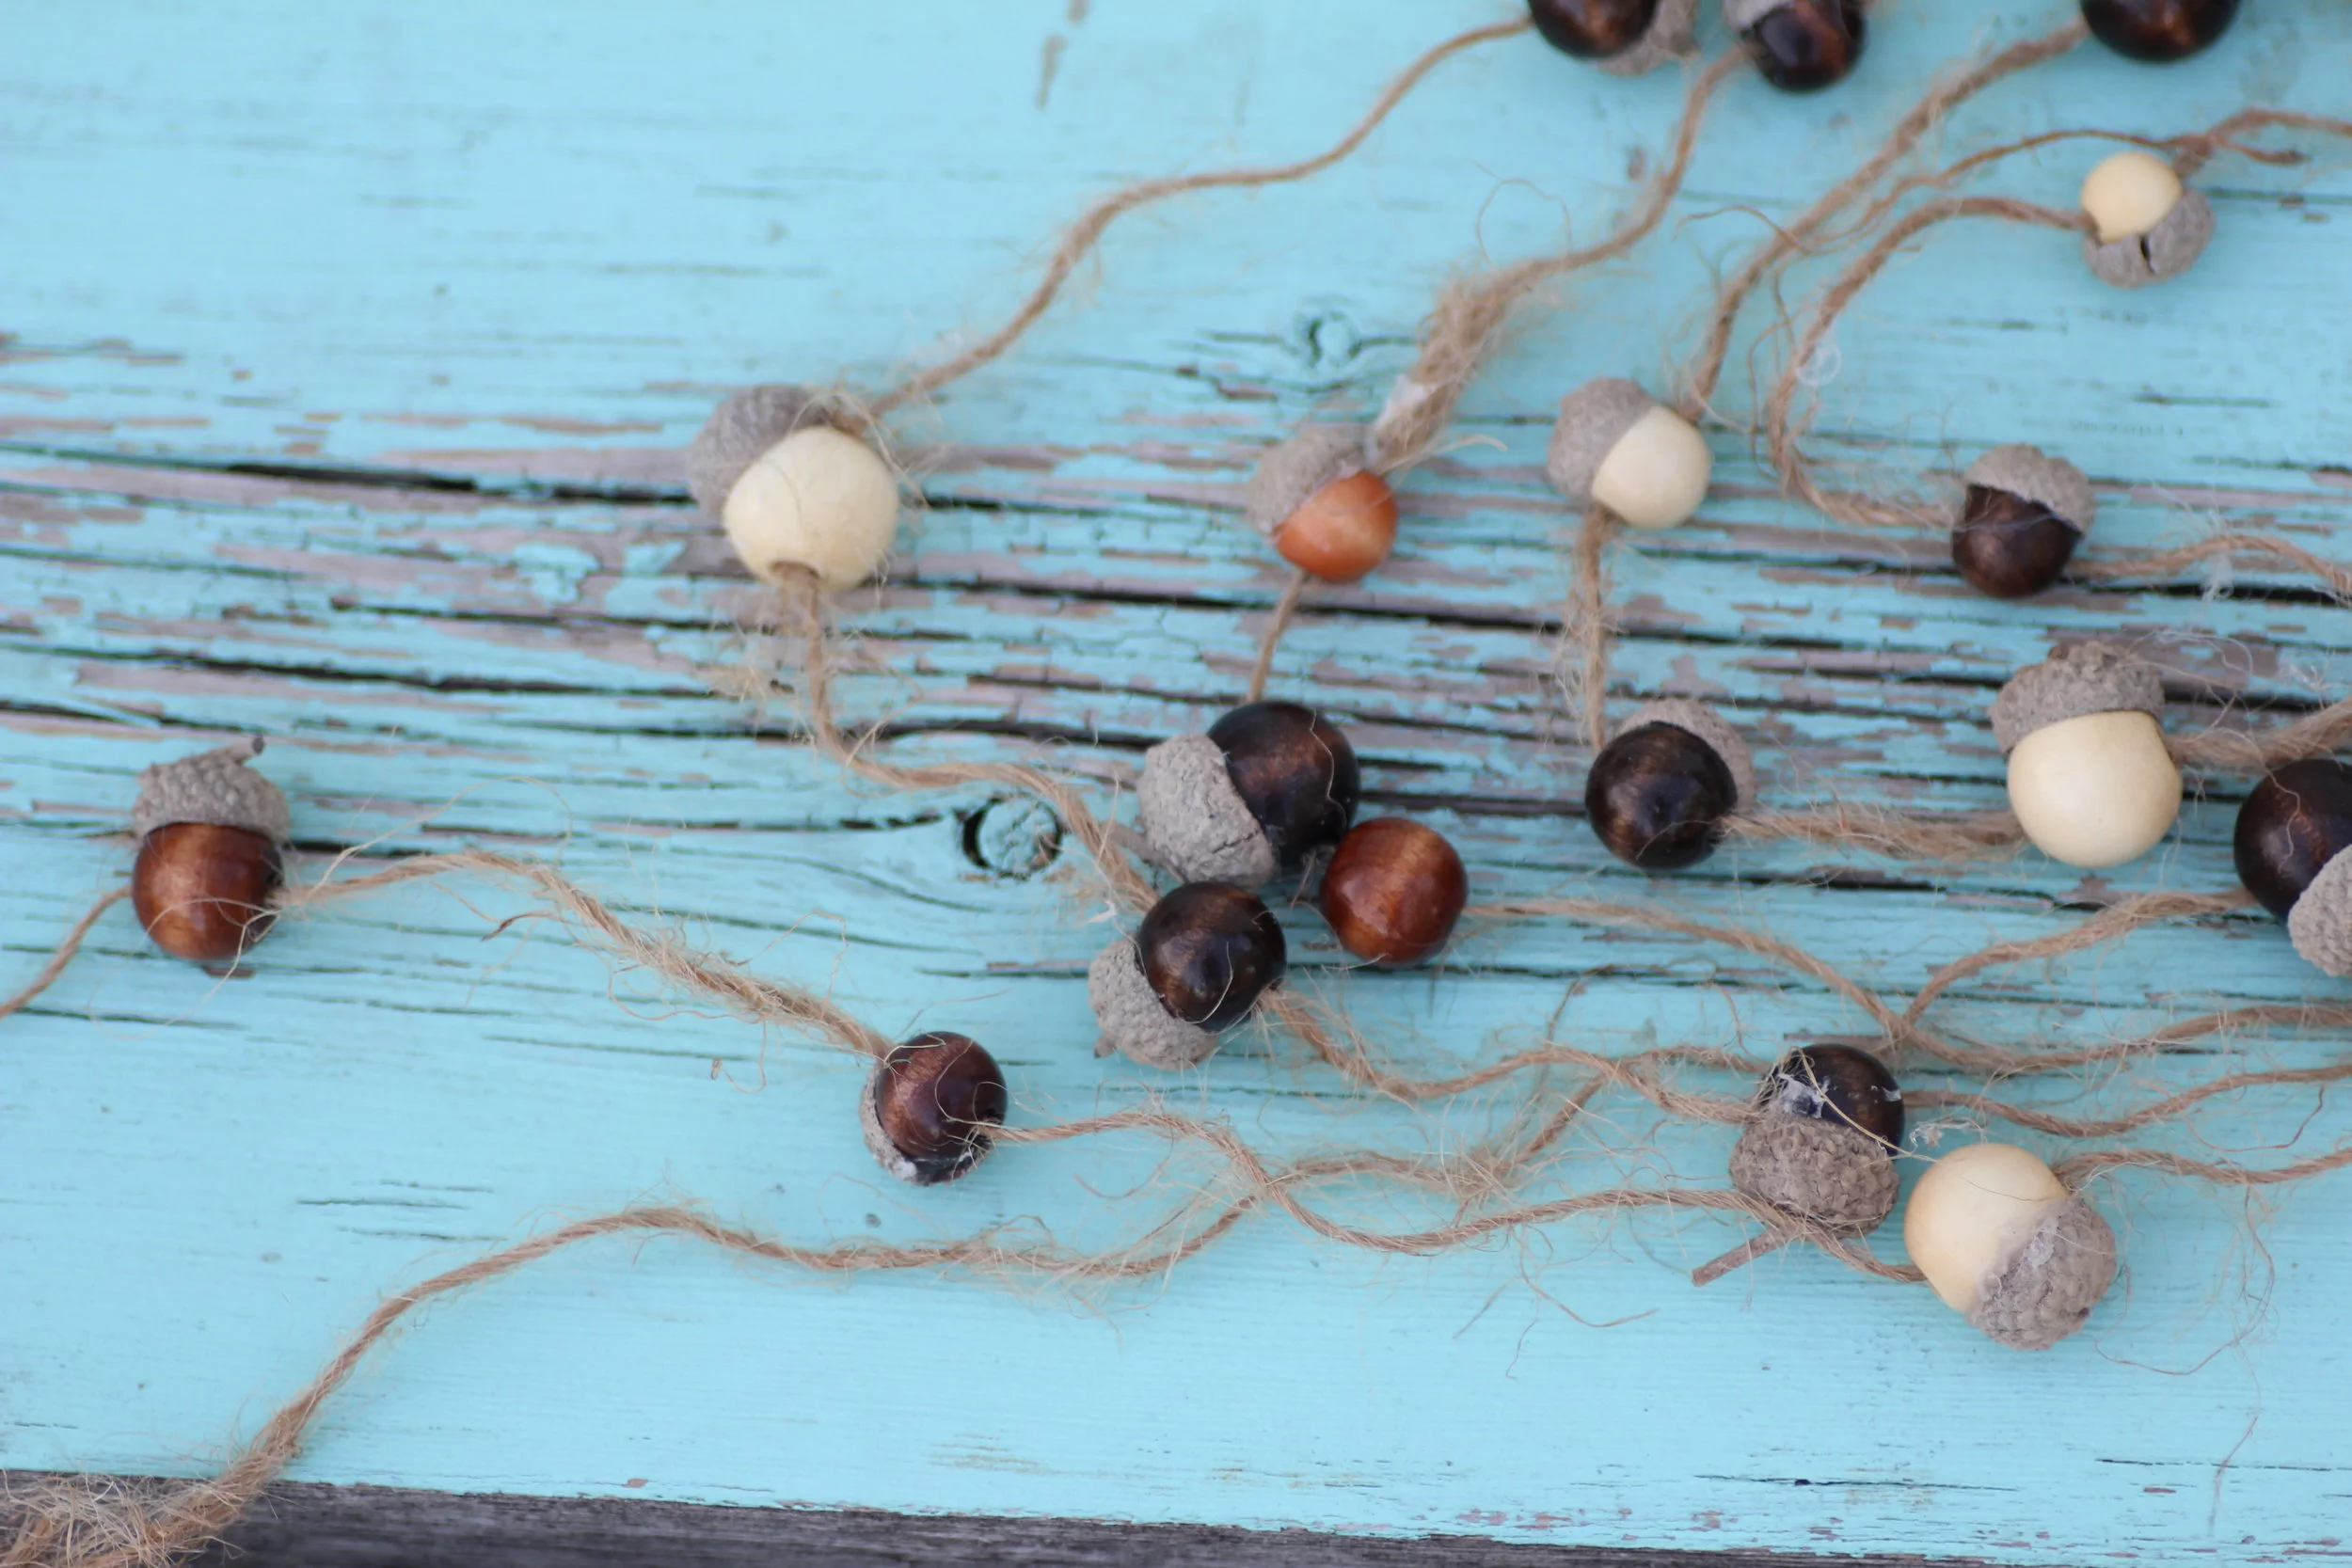
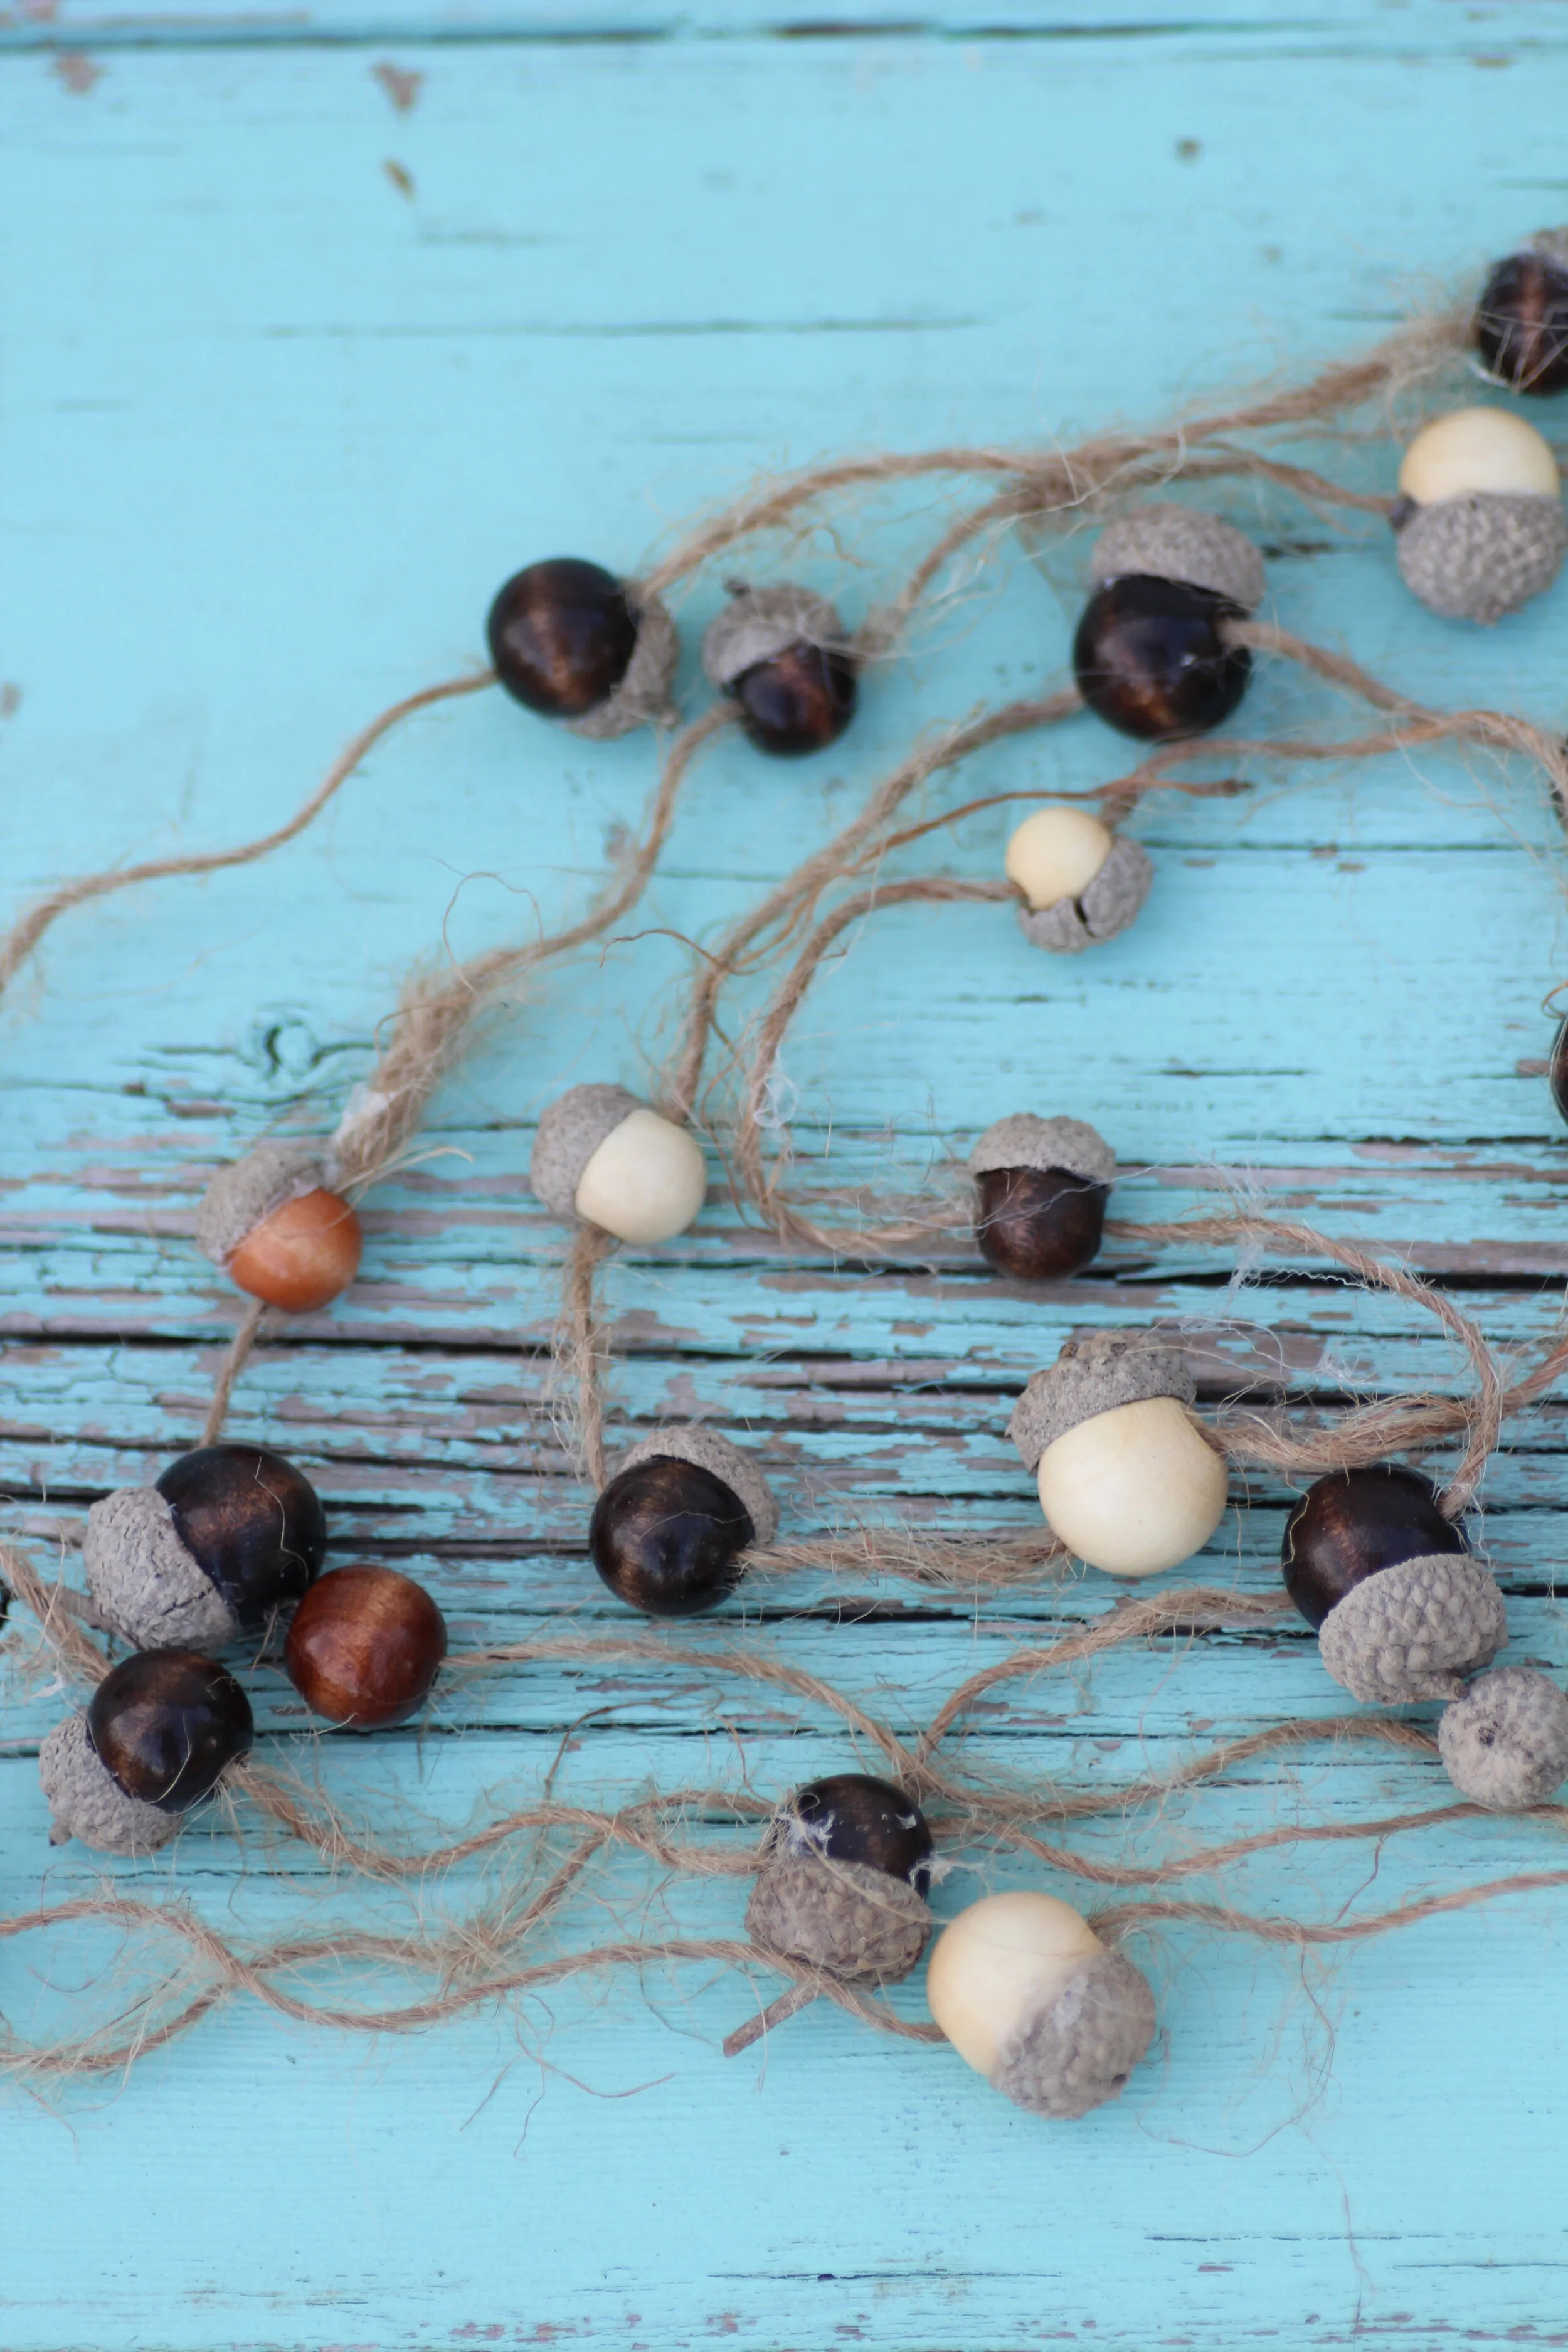
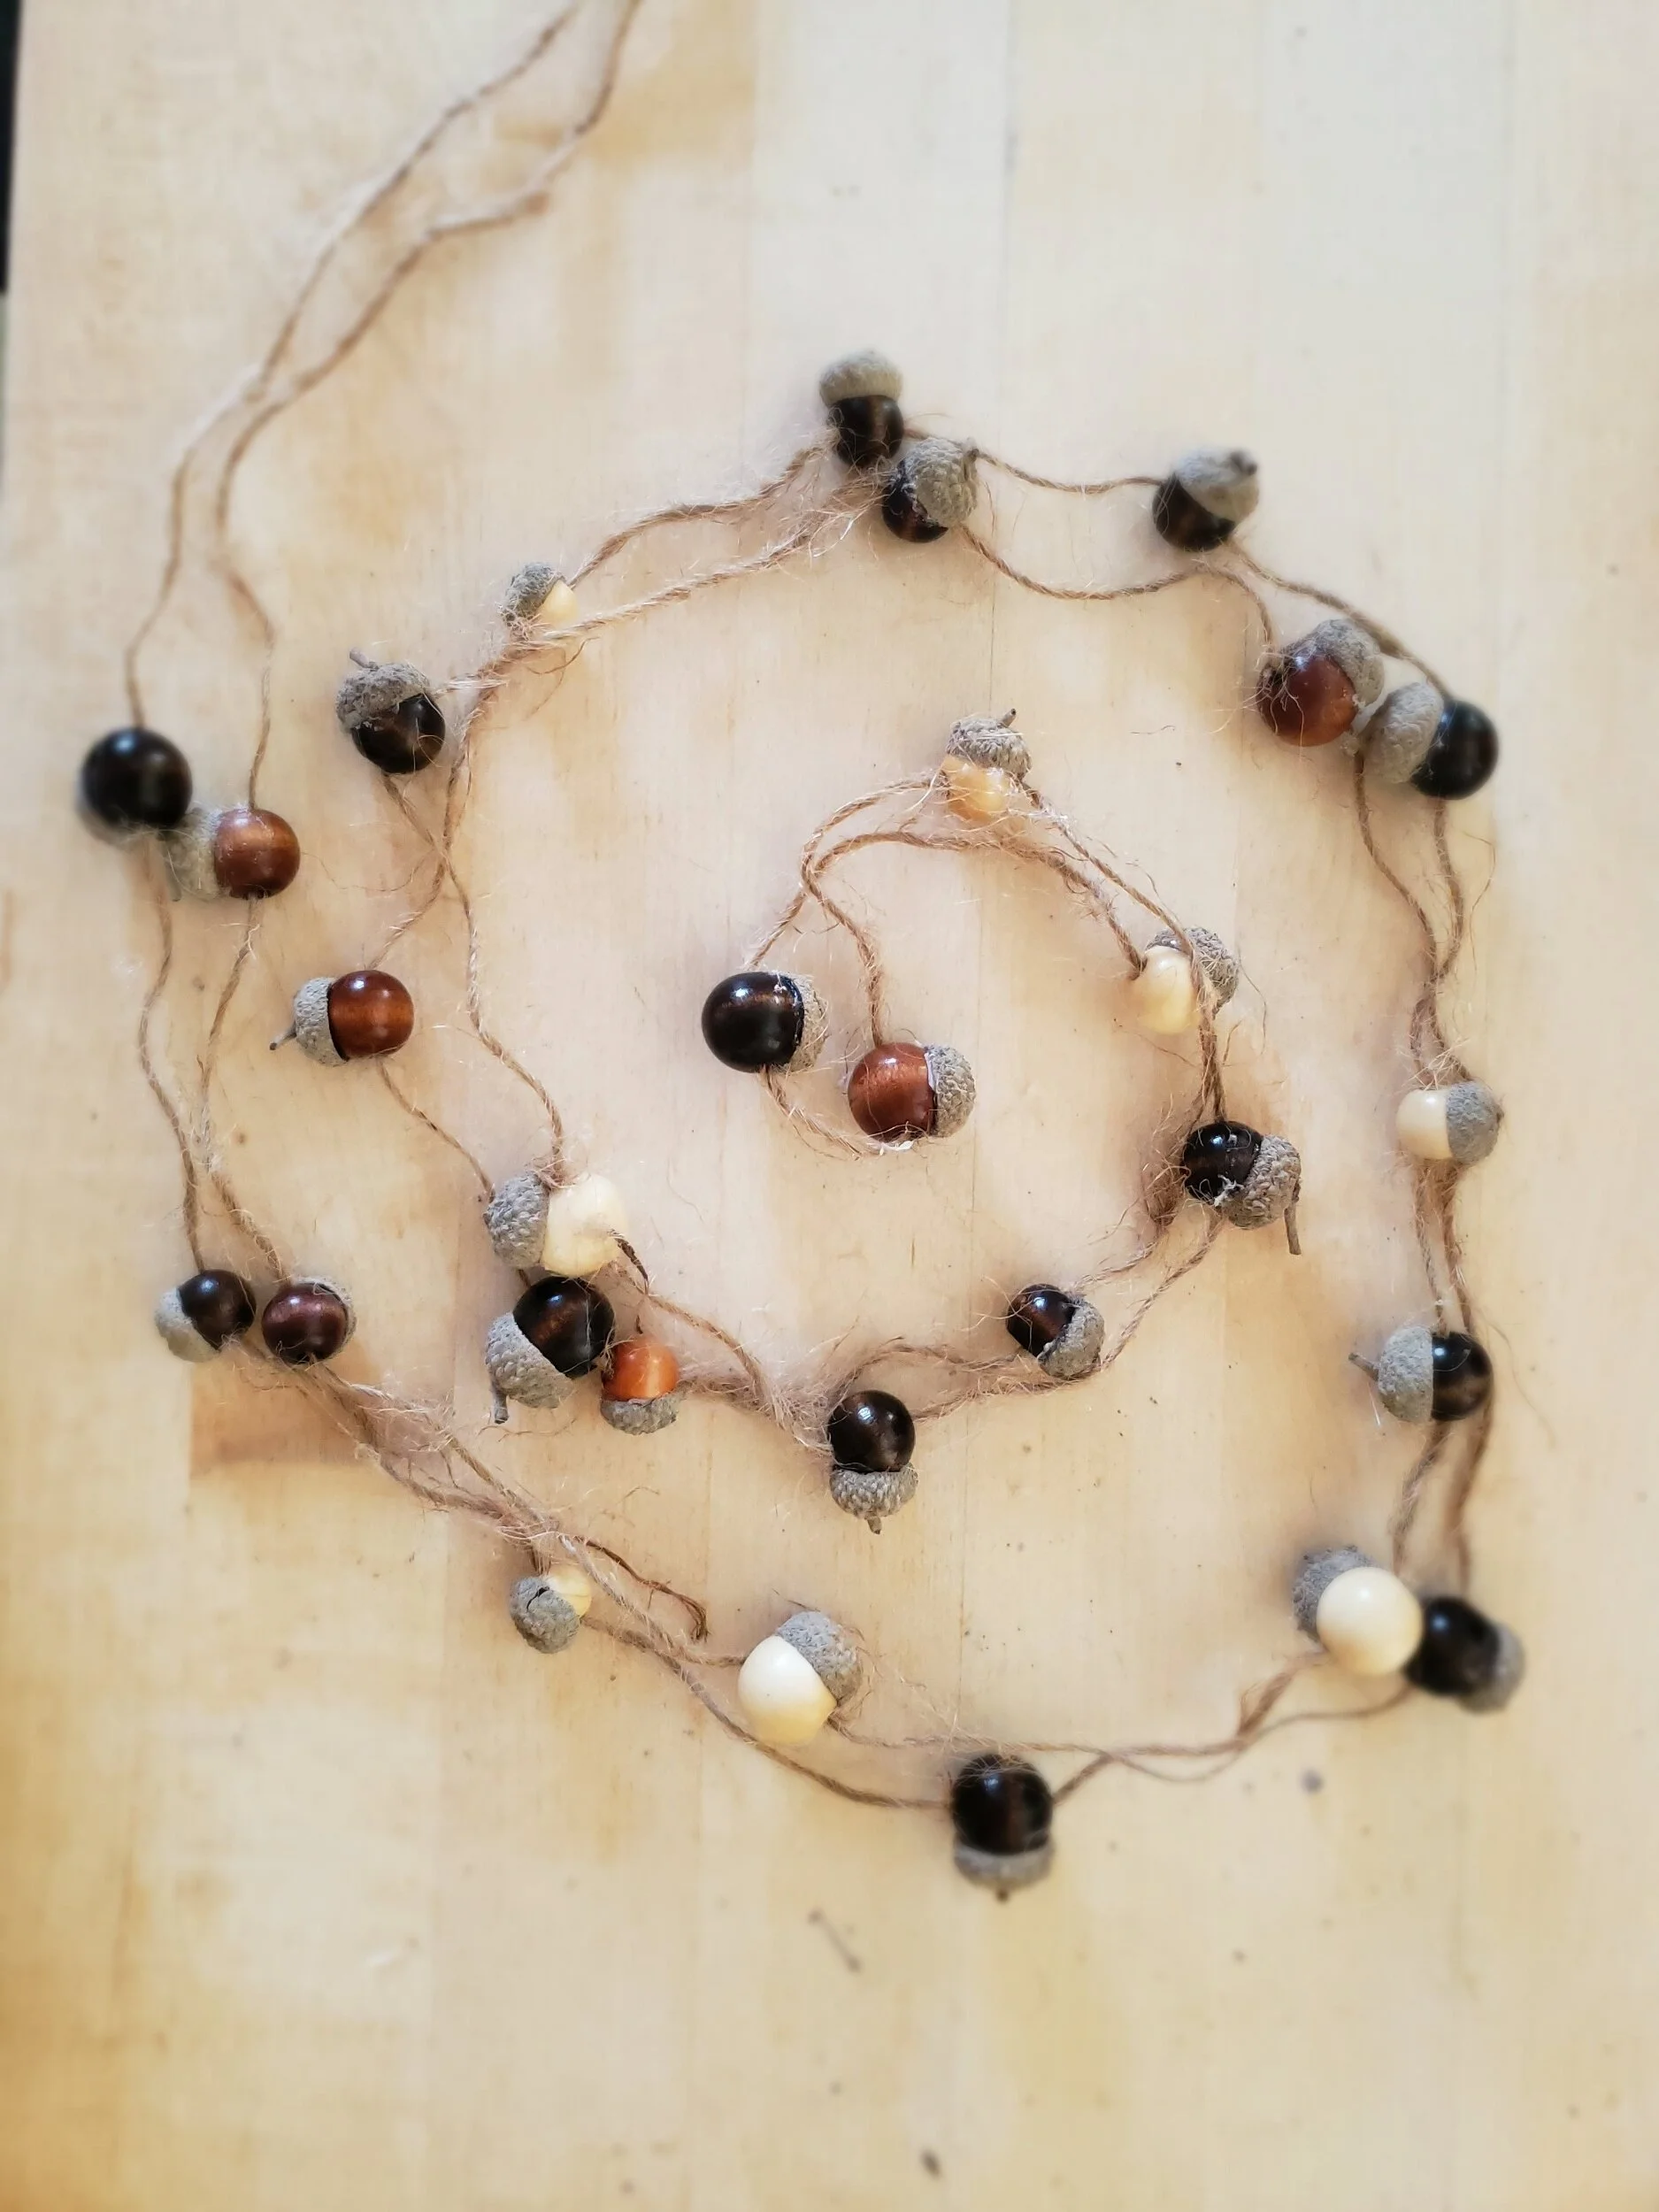
Handmade Acorn Garland
There's something about acorns that I find adorable. Just something about them that is so… unassuming?
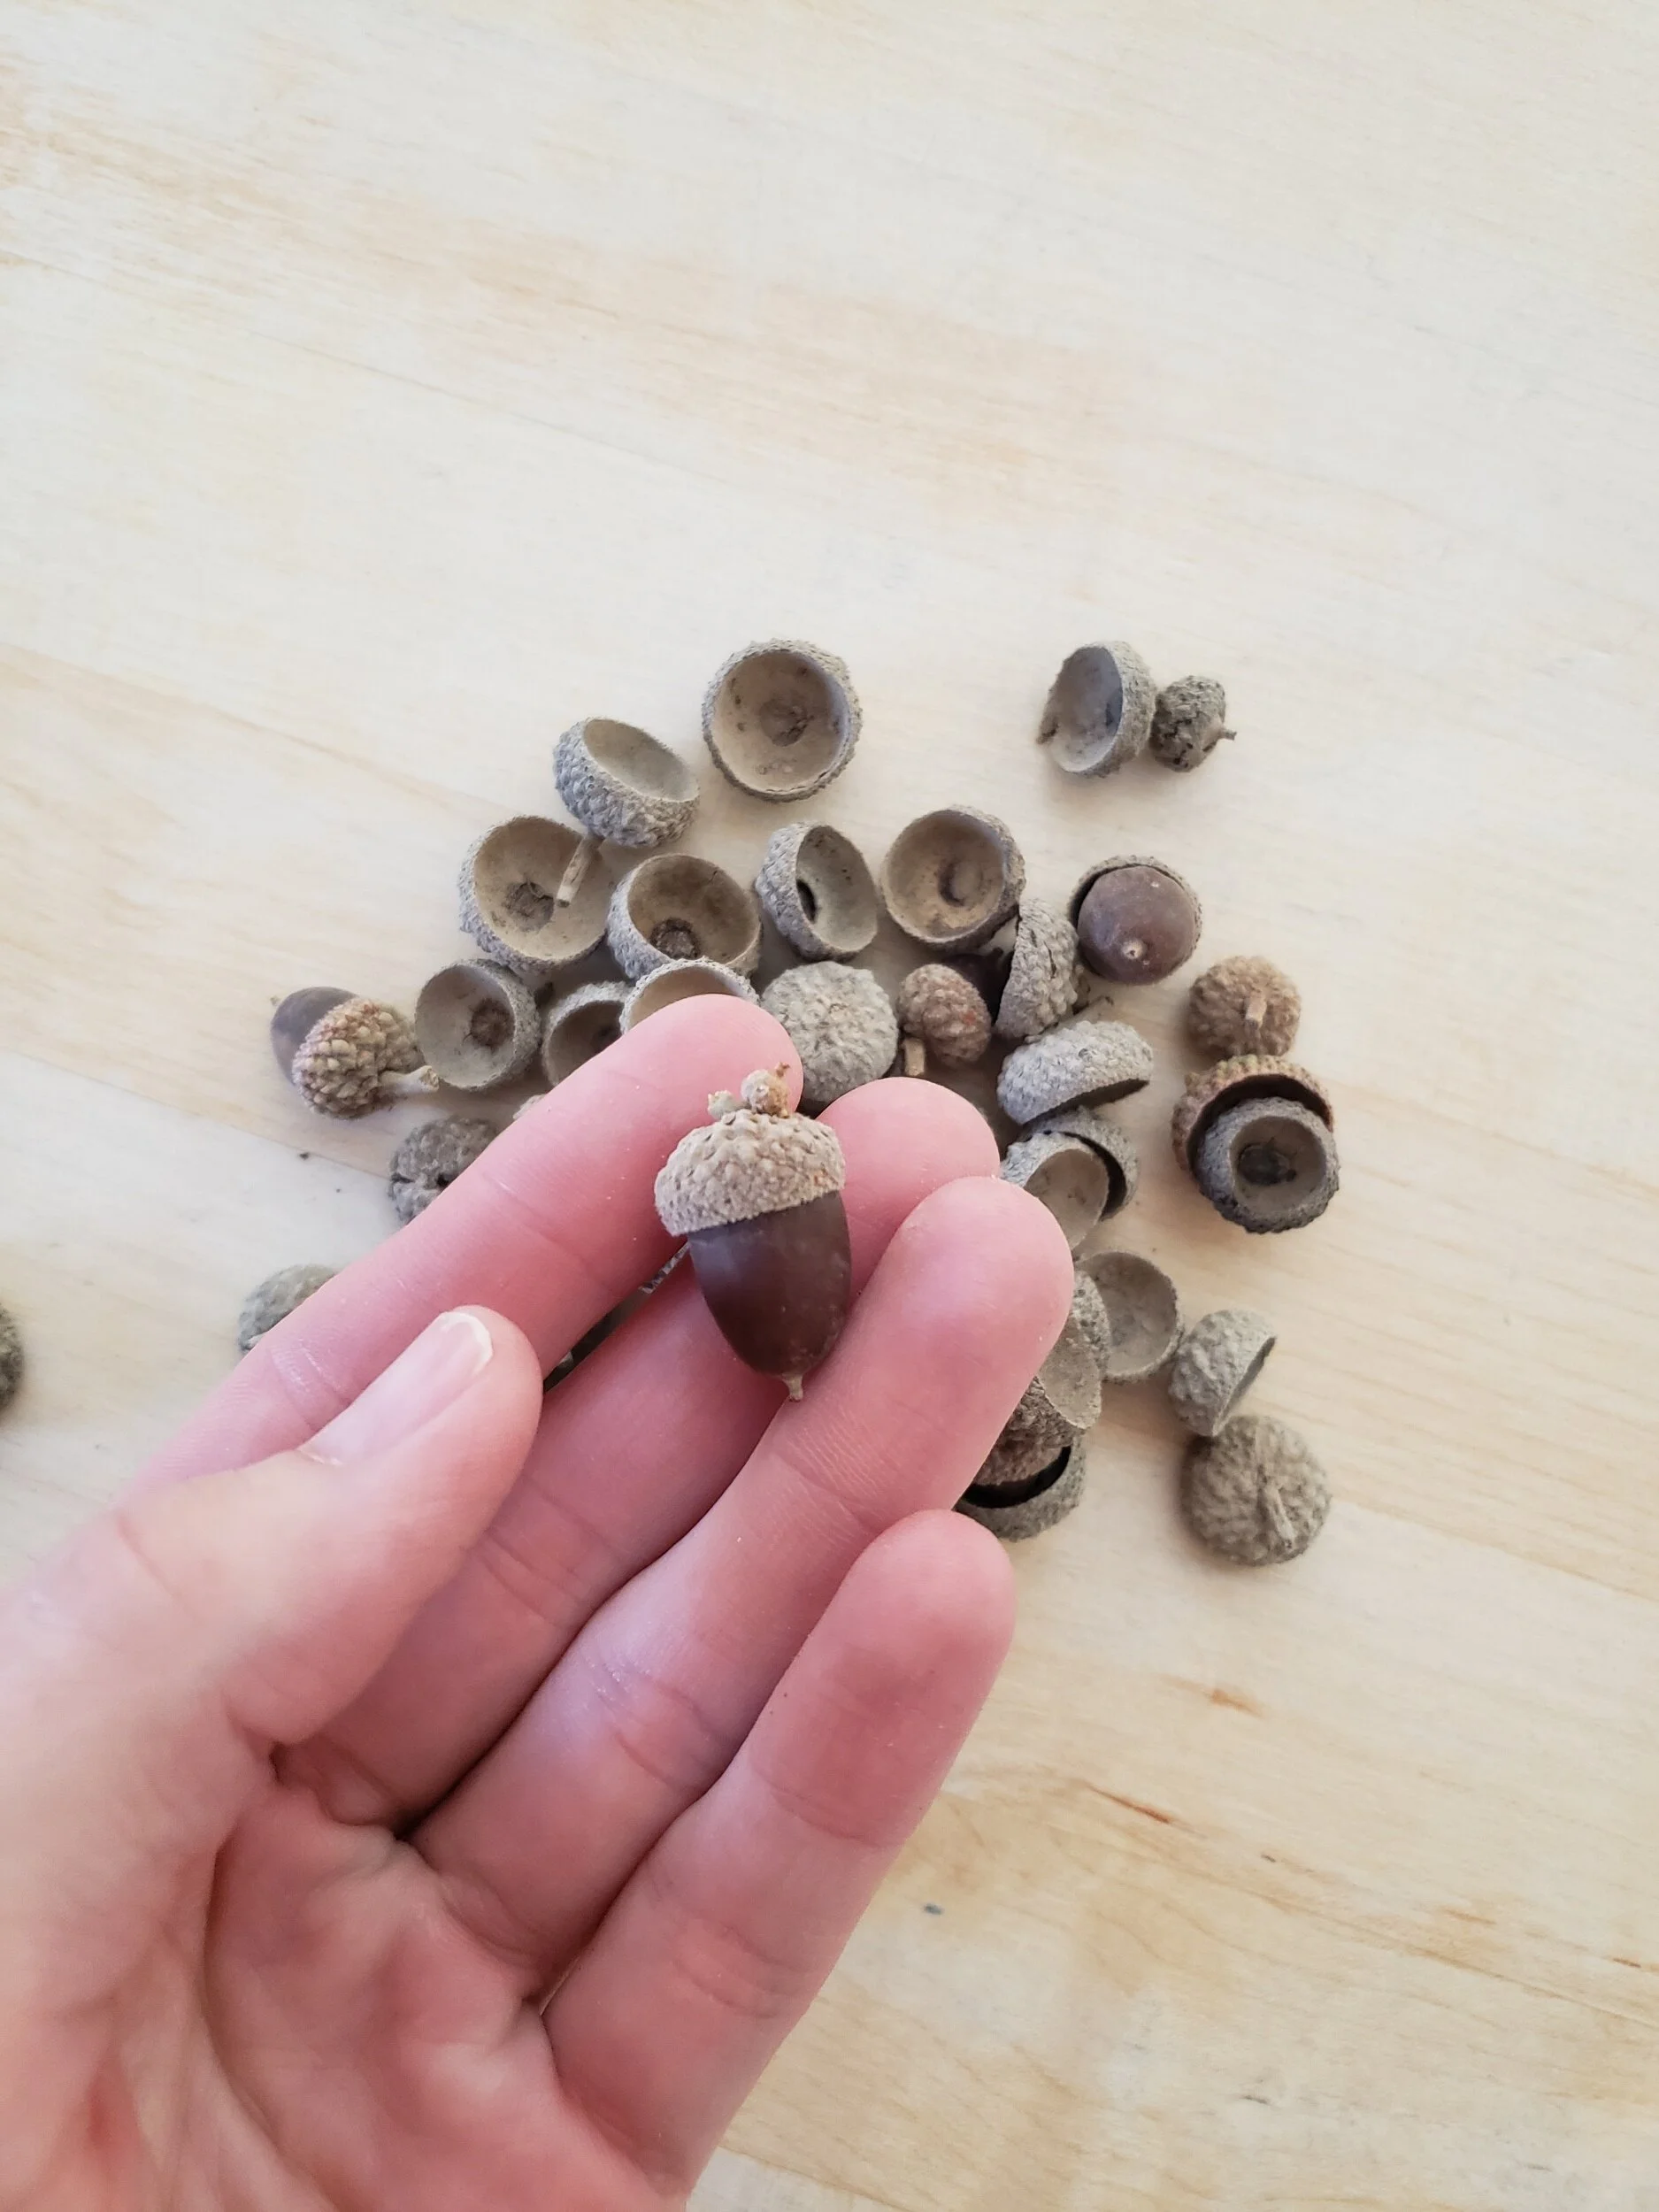
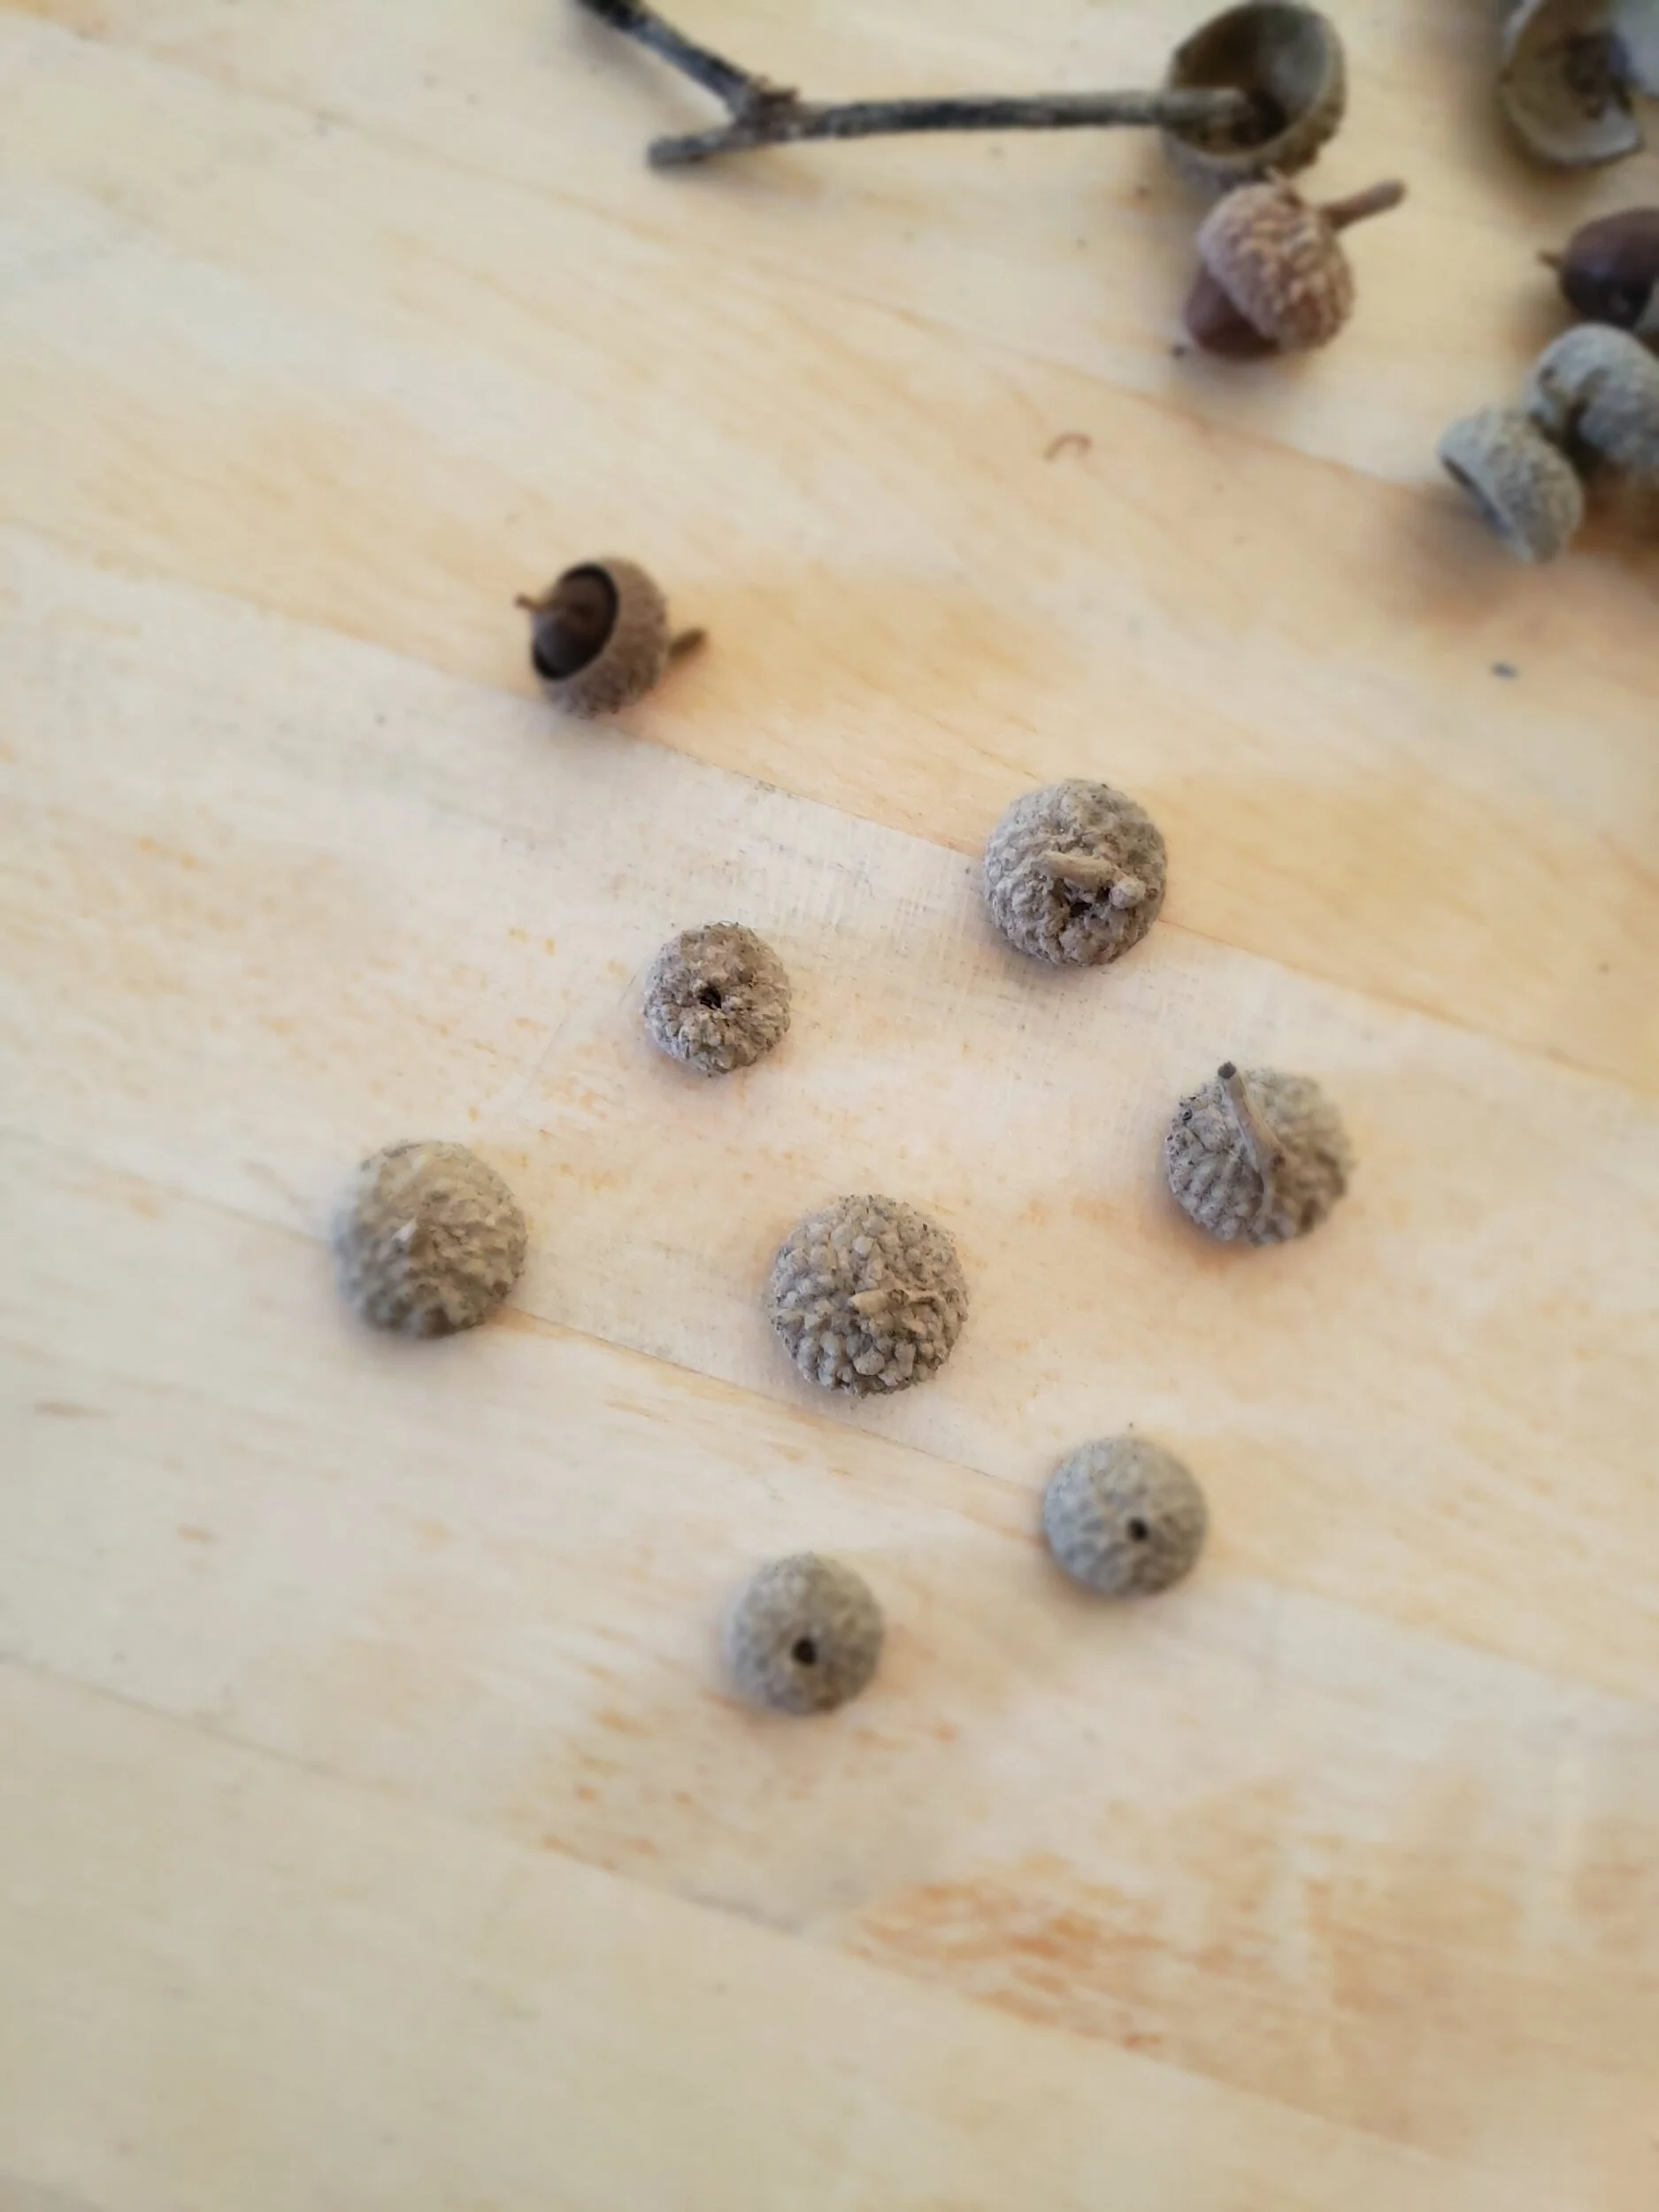
So when fall arrives I go up into the foothills and peer under the scrub oak for my little treasures. I try to be mindful of the hungry little dutiful squirrels preparing for winter. So I try to leave most of the acorn nuts behind and just search for the tops… but sometimes I can't resist to take one or two home with me.
I think acorns are one of the cutest and most whimsical ways to decorate for fall. Projects usually tend to be cheap and easy on nature when designed around plant material.
I decided this year to make some more acorn garland! Which is not a shock since that's what I made last year, hehe. Possibly if I make enough I can, in turn after October and November is over, take it from the it's dangling place on the shelves by the stove and simply drape it around the Christmas tree? I love decorations that can seamlessly transition through the holidays…
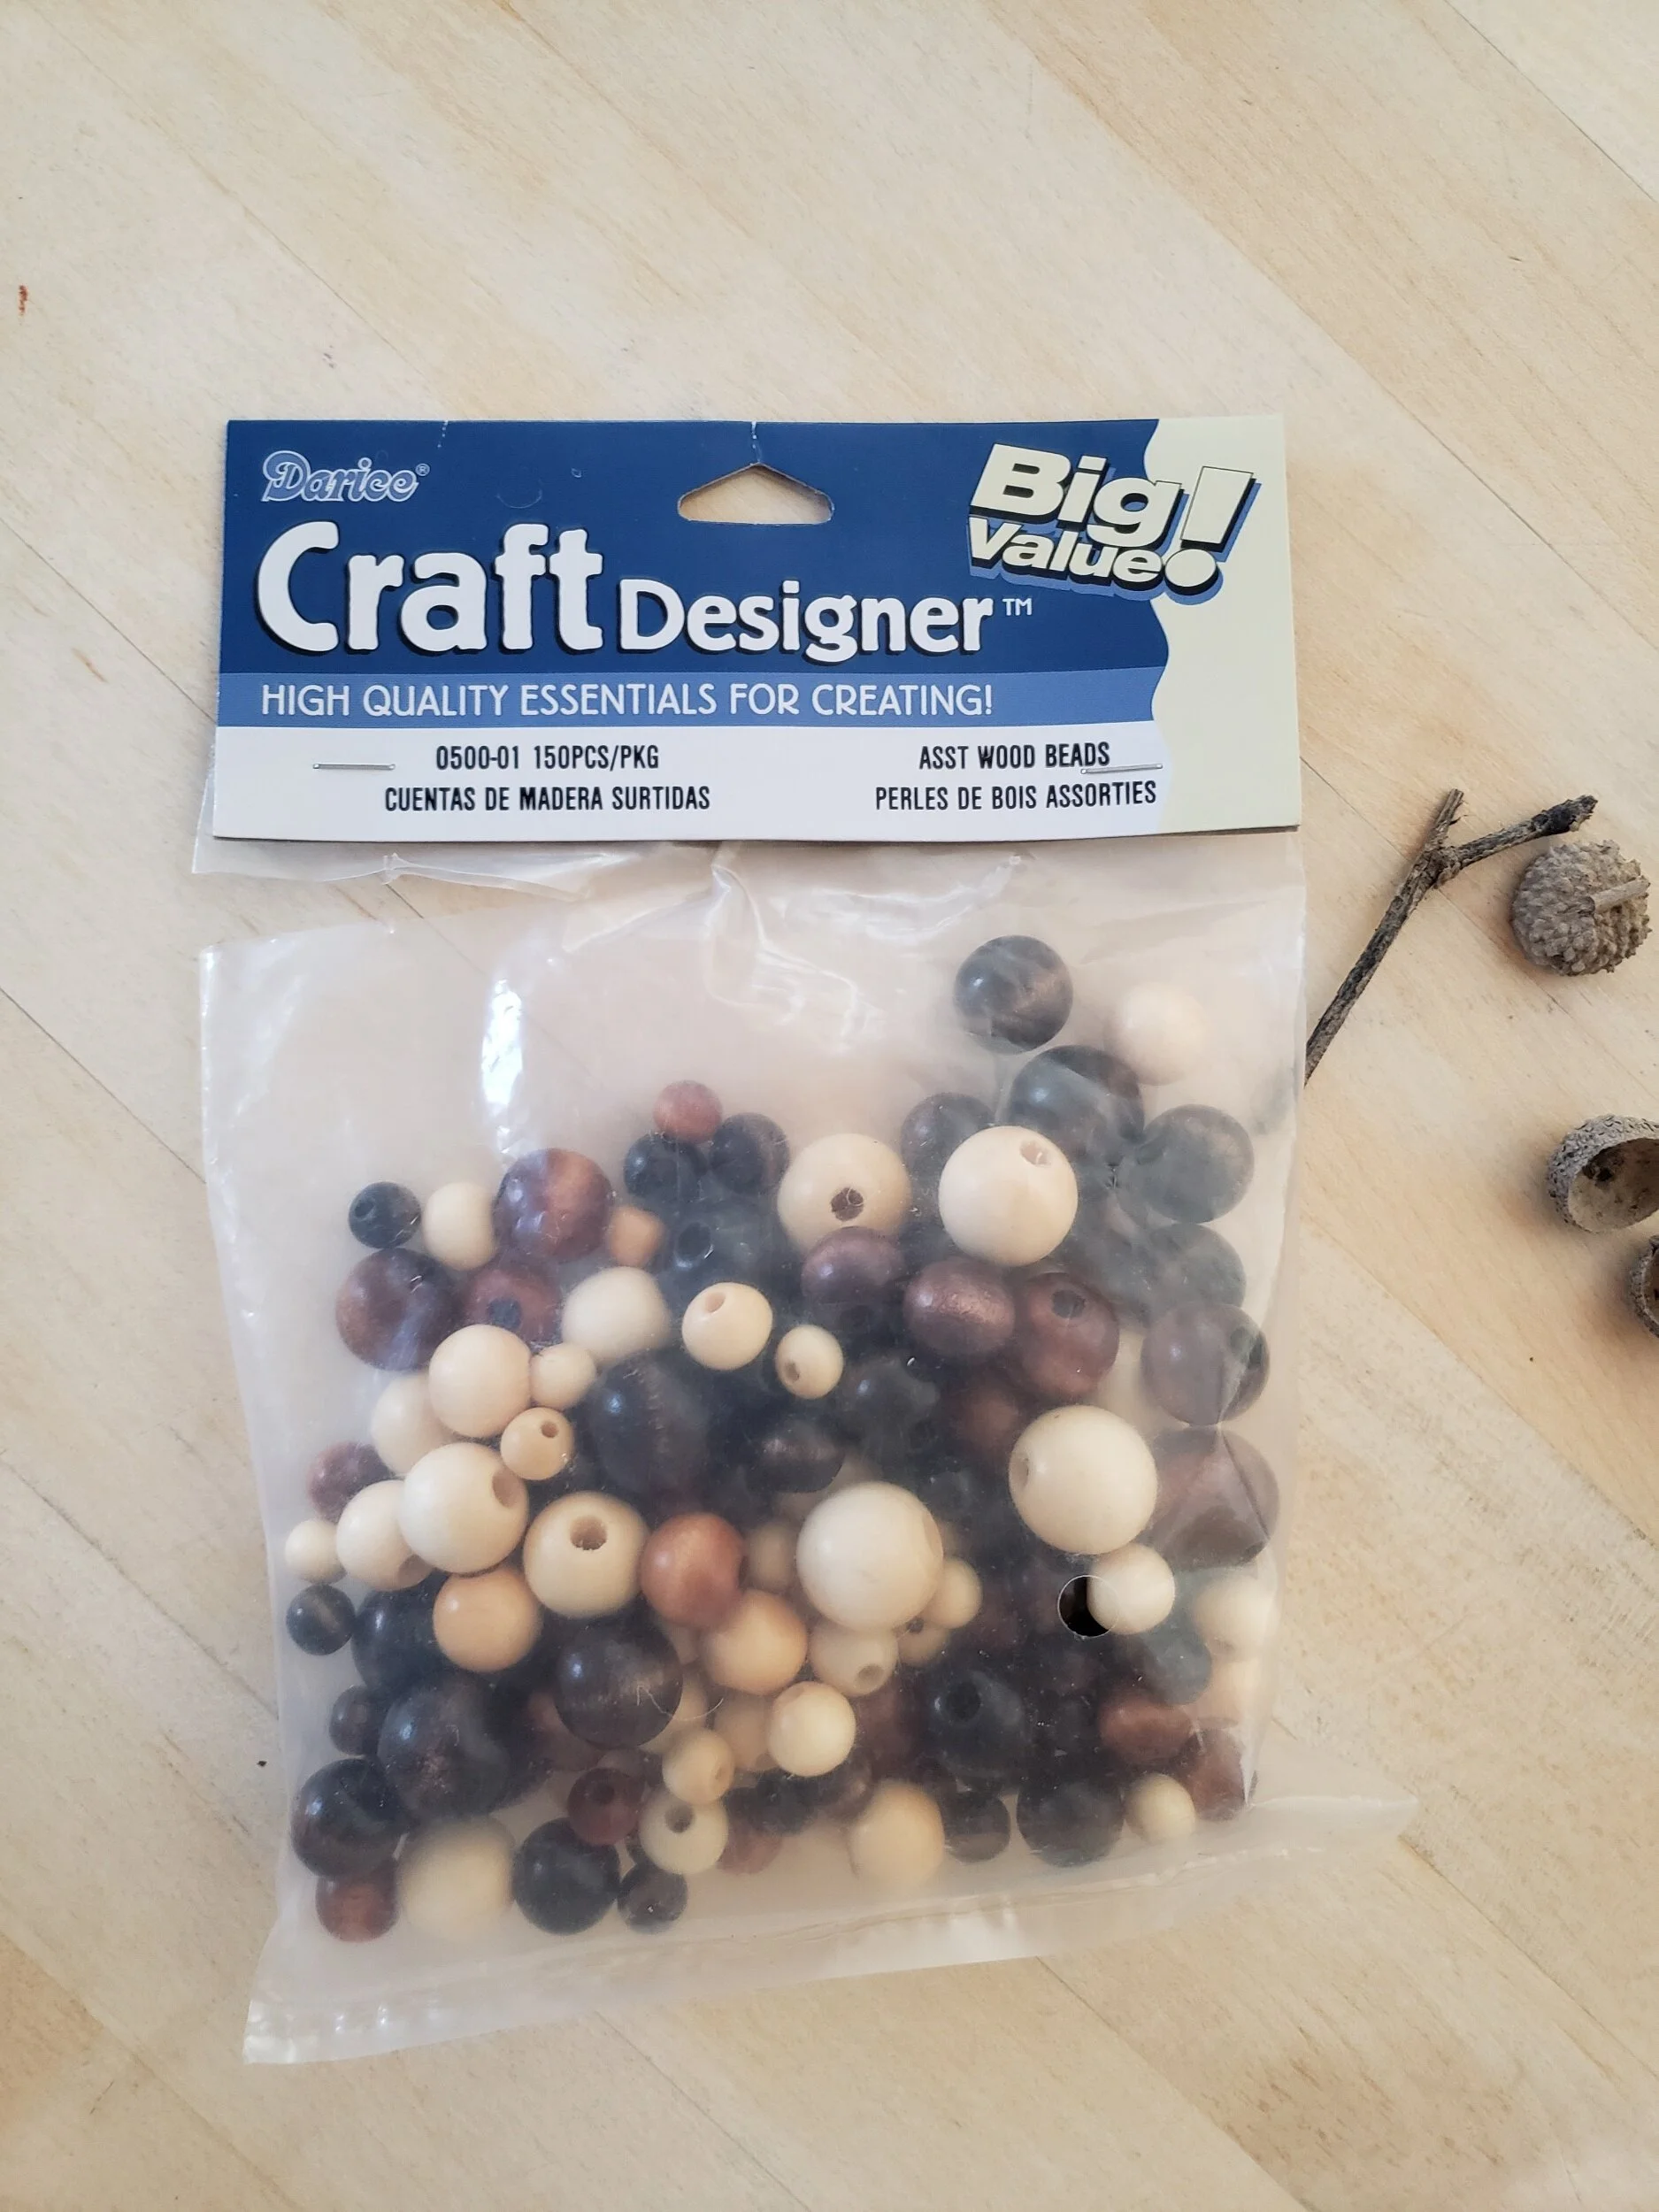
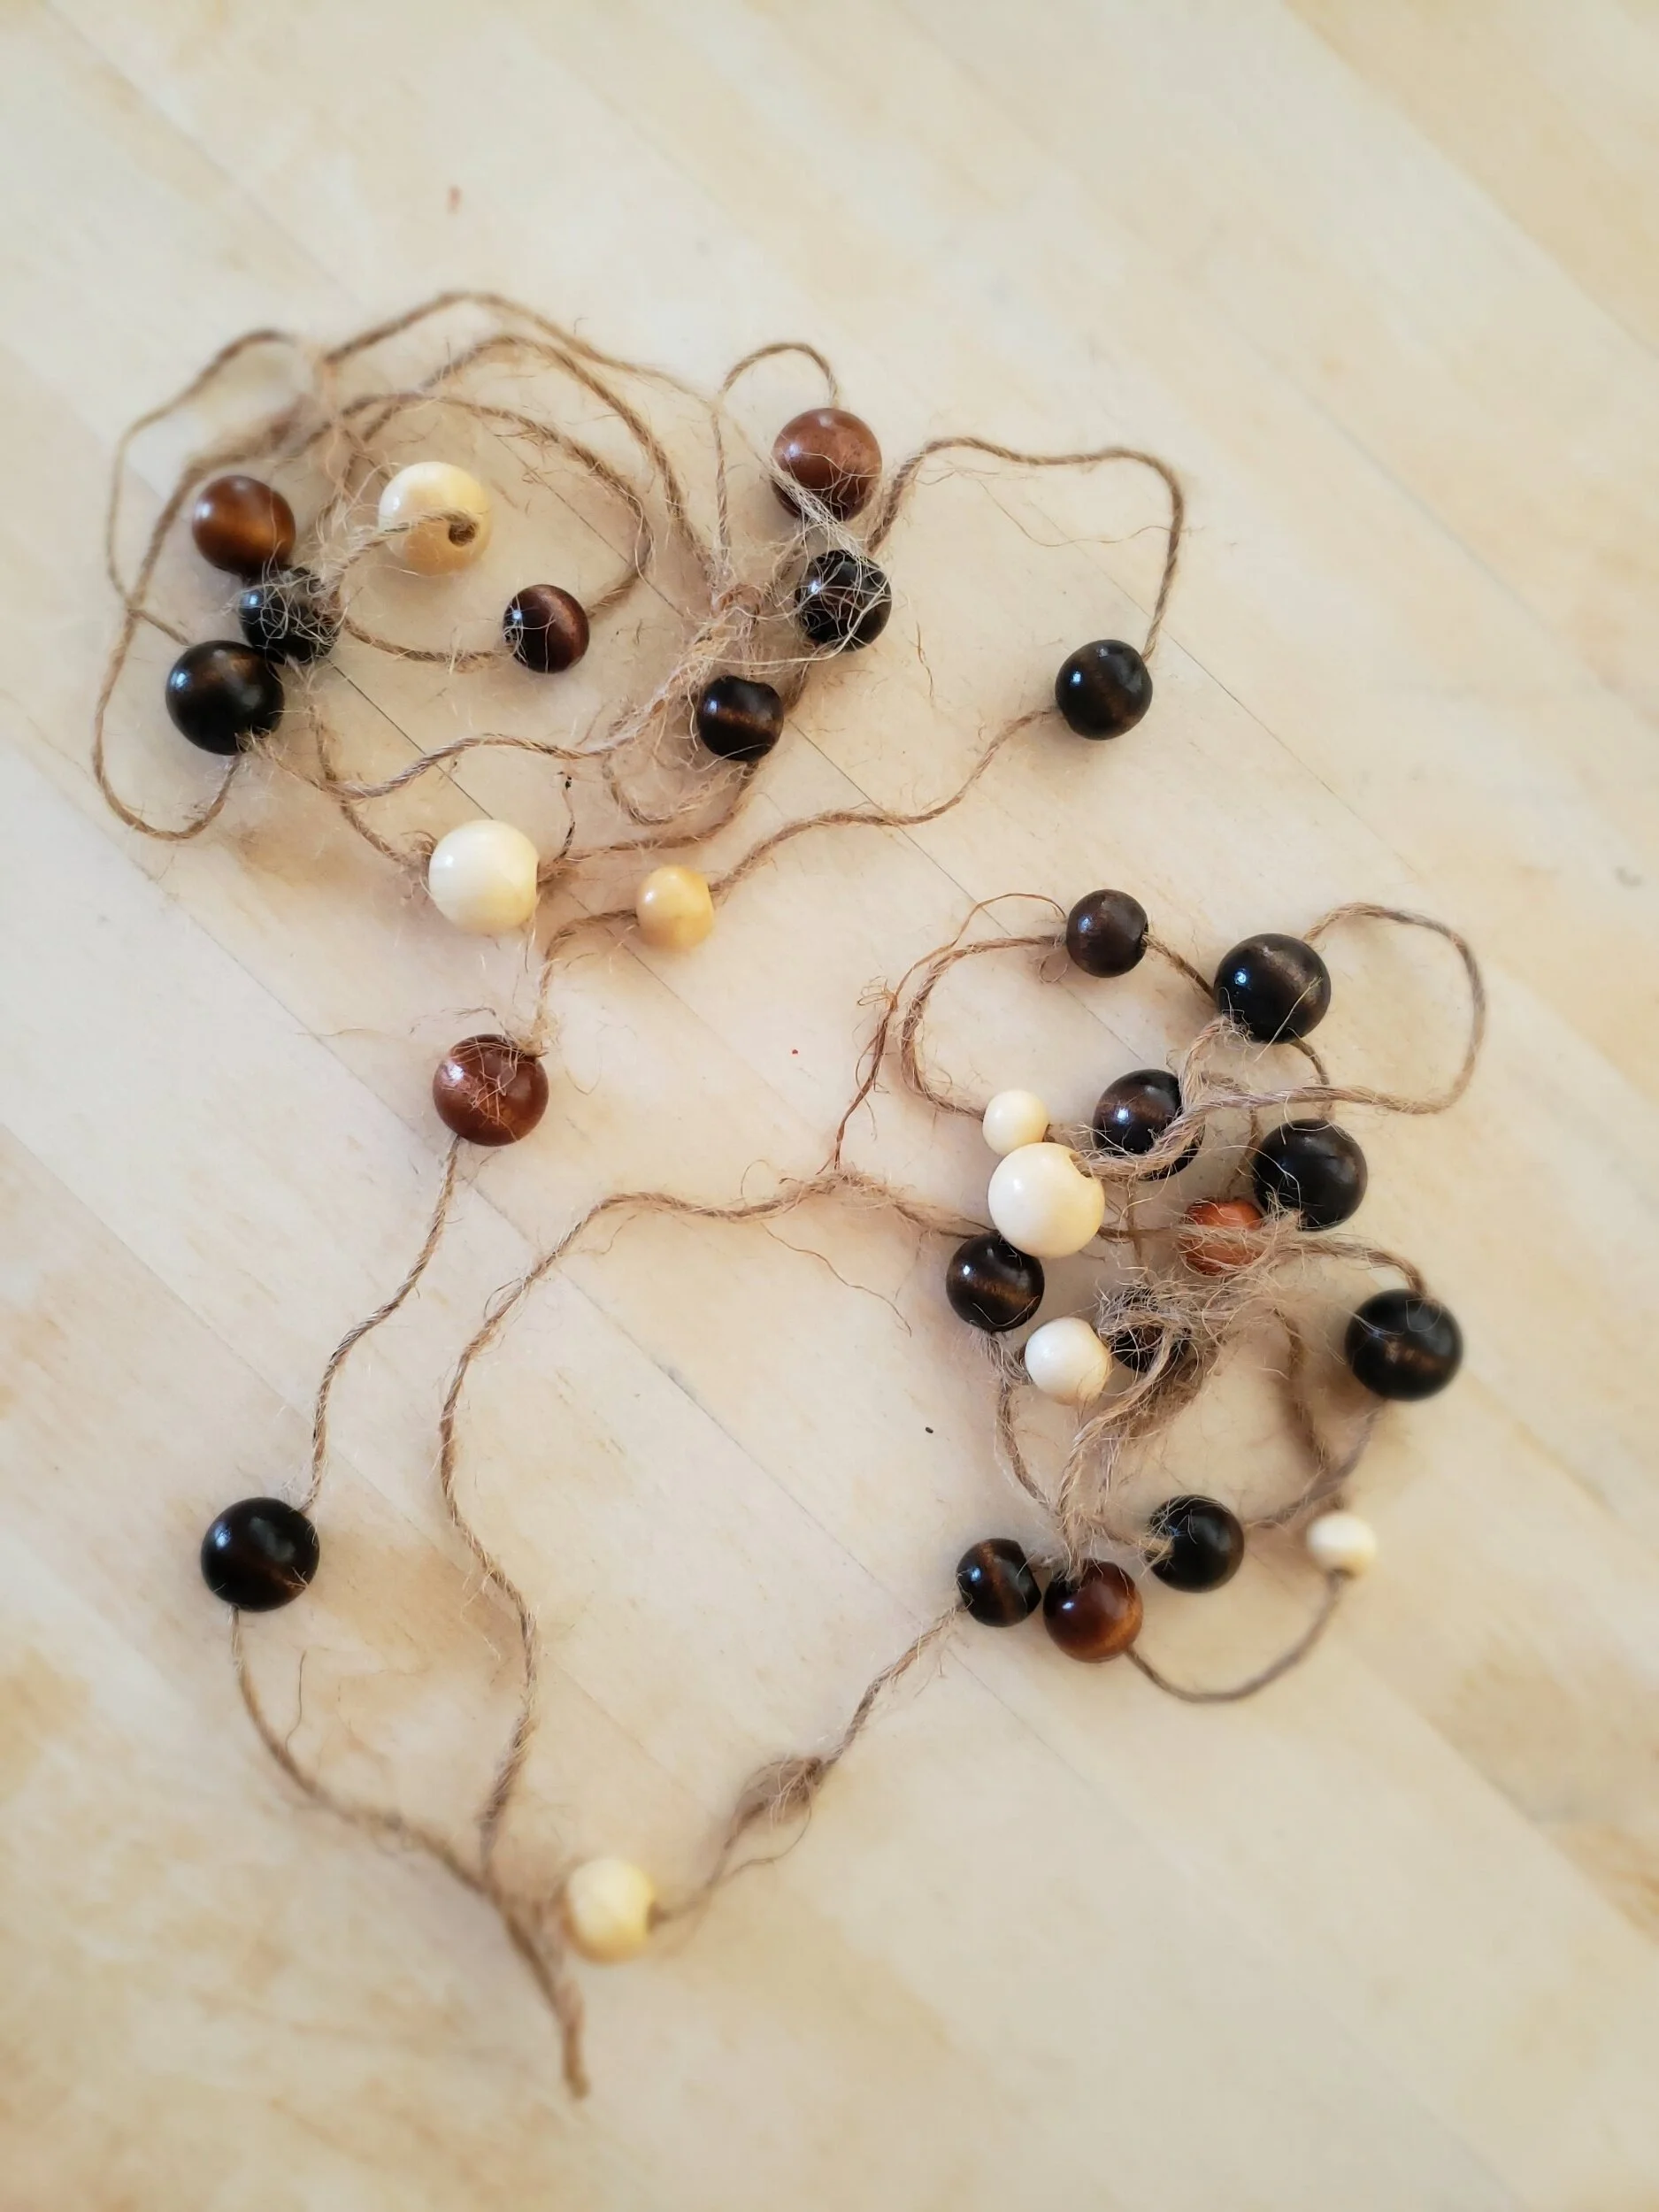
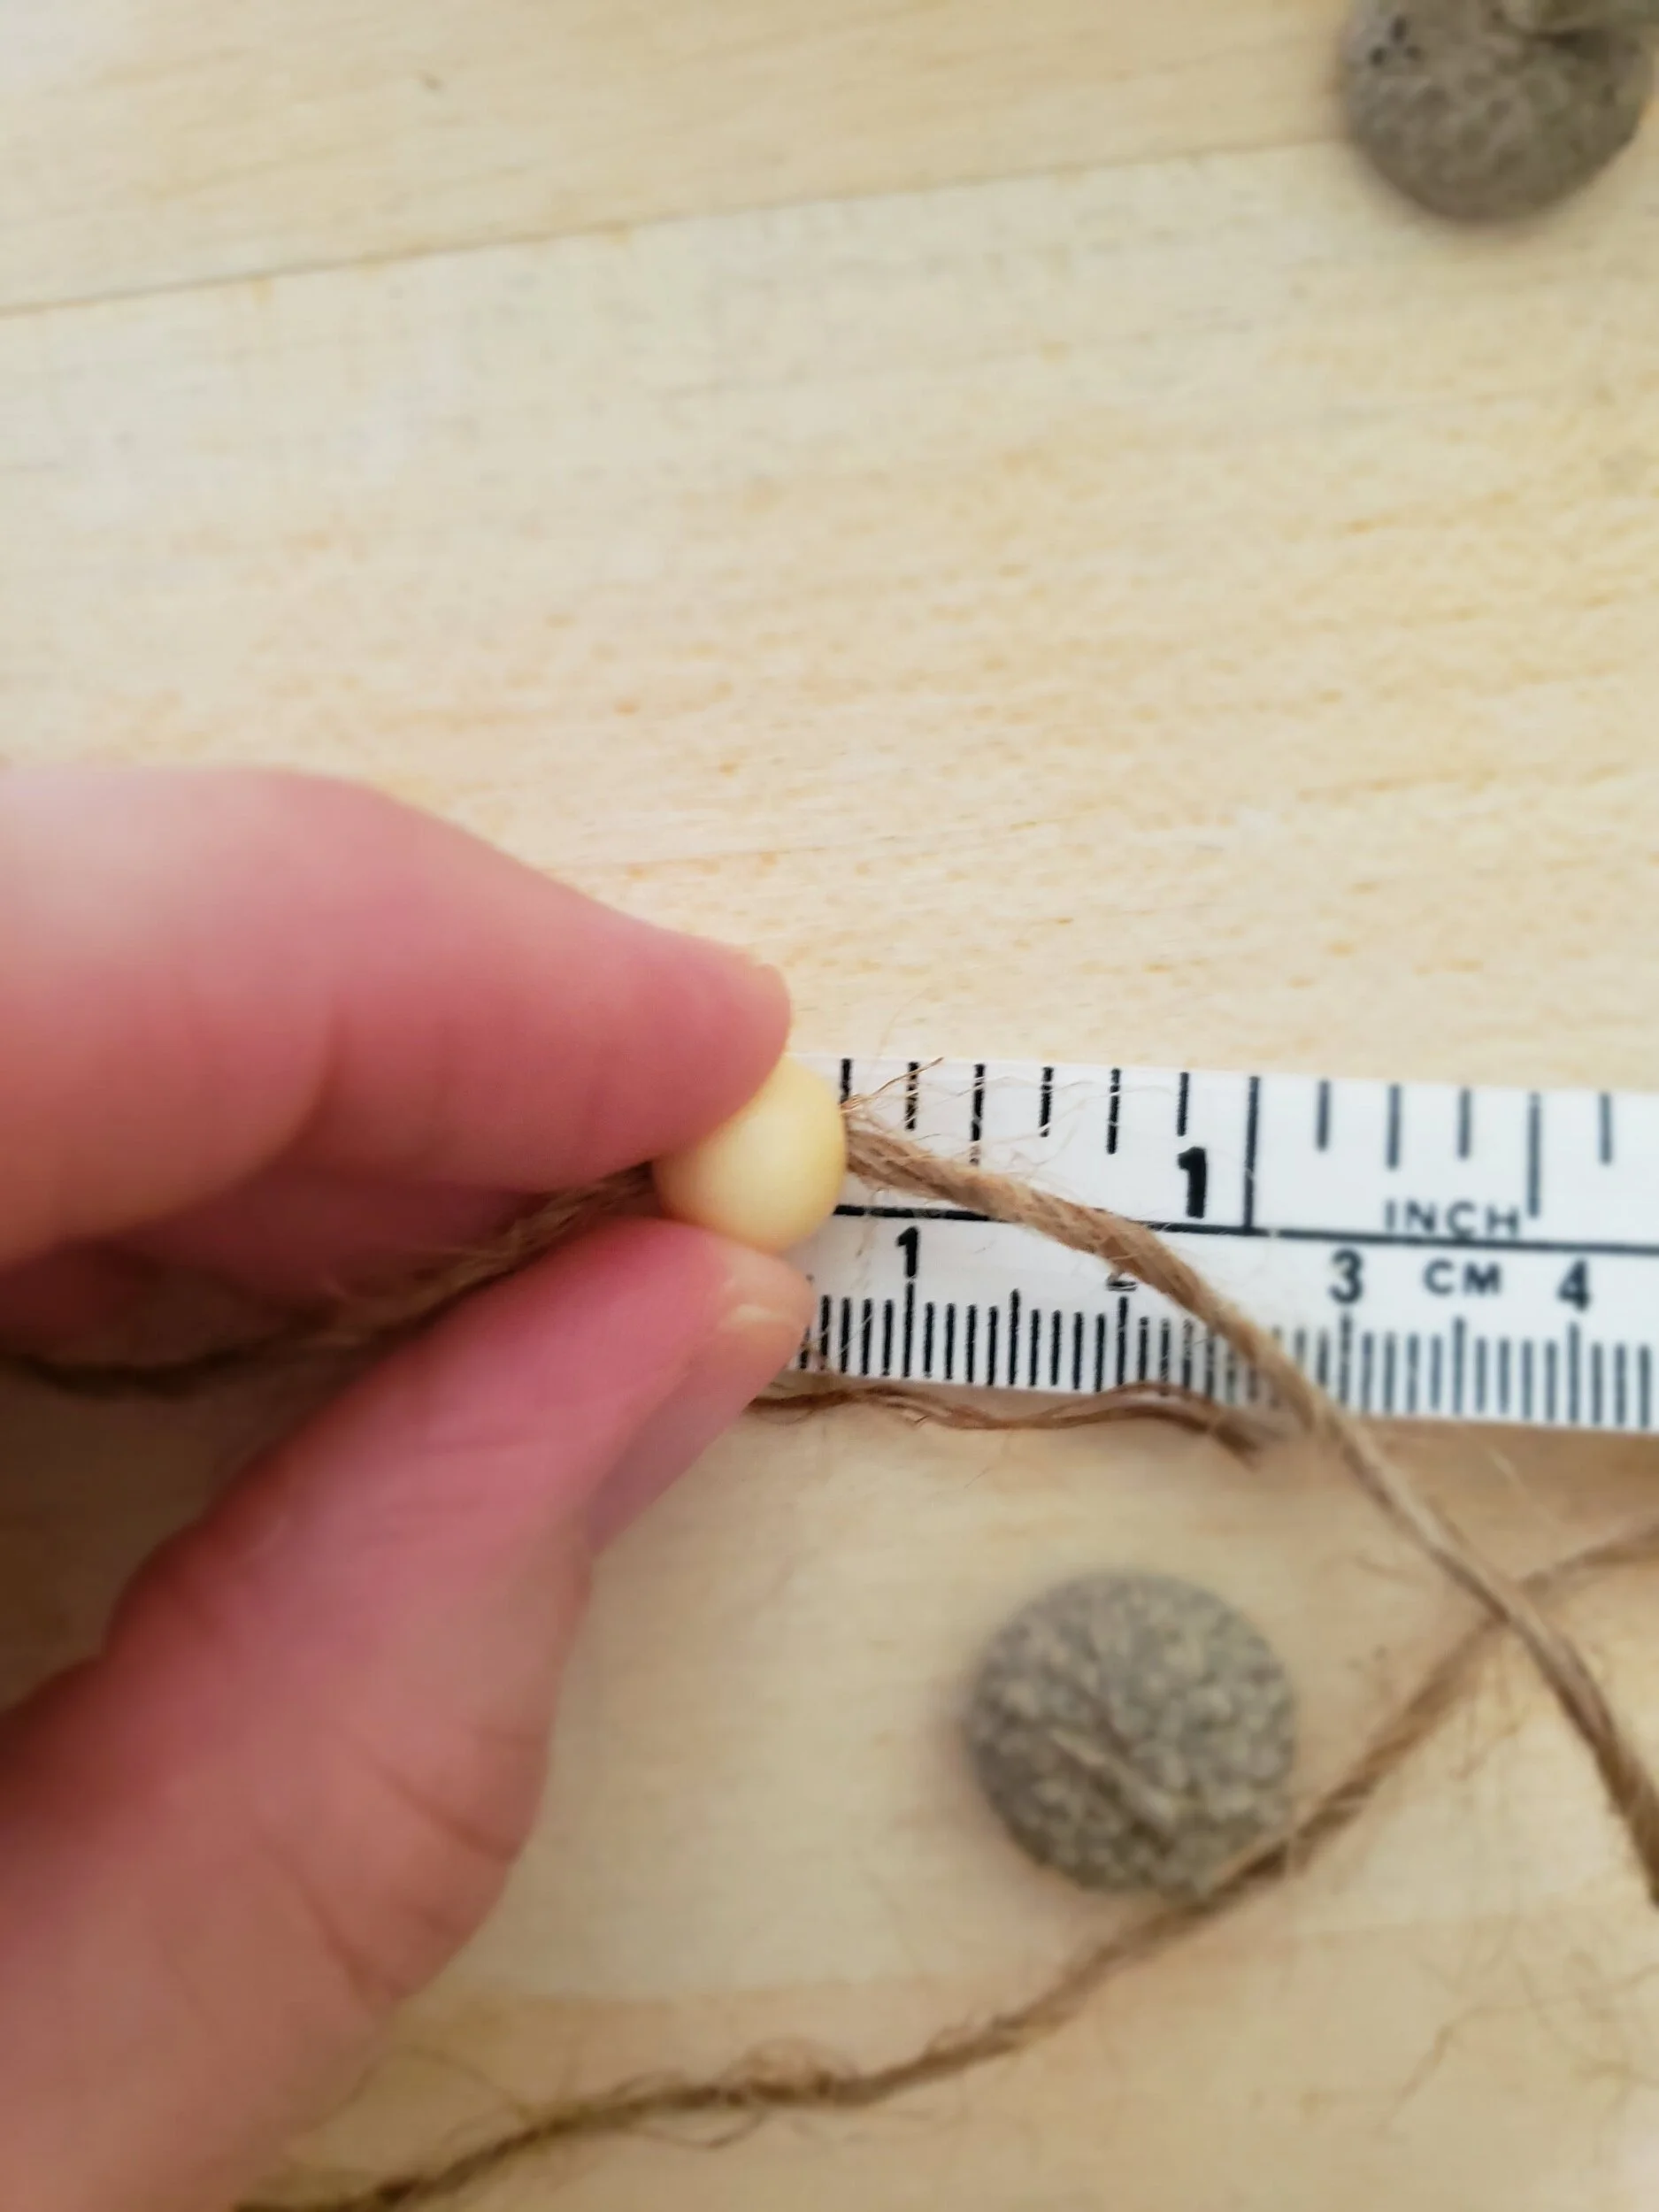
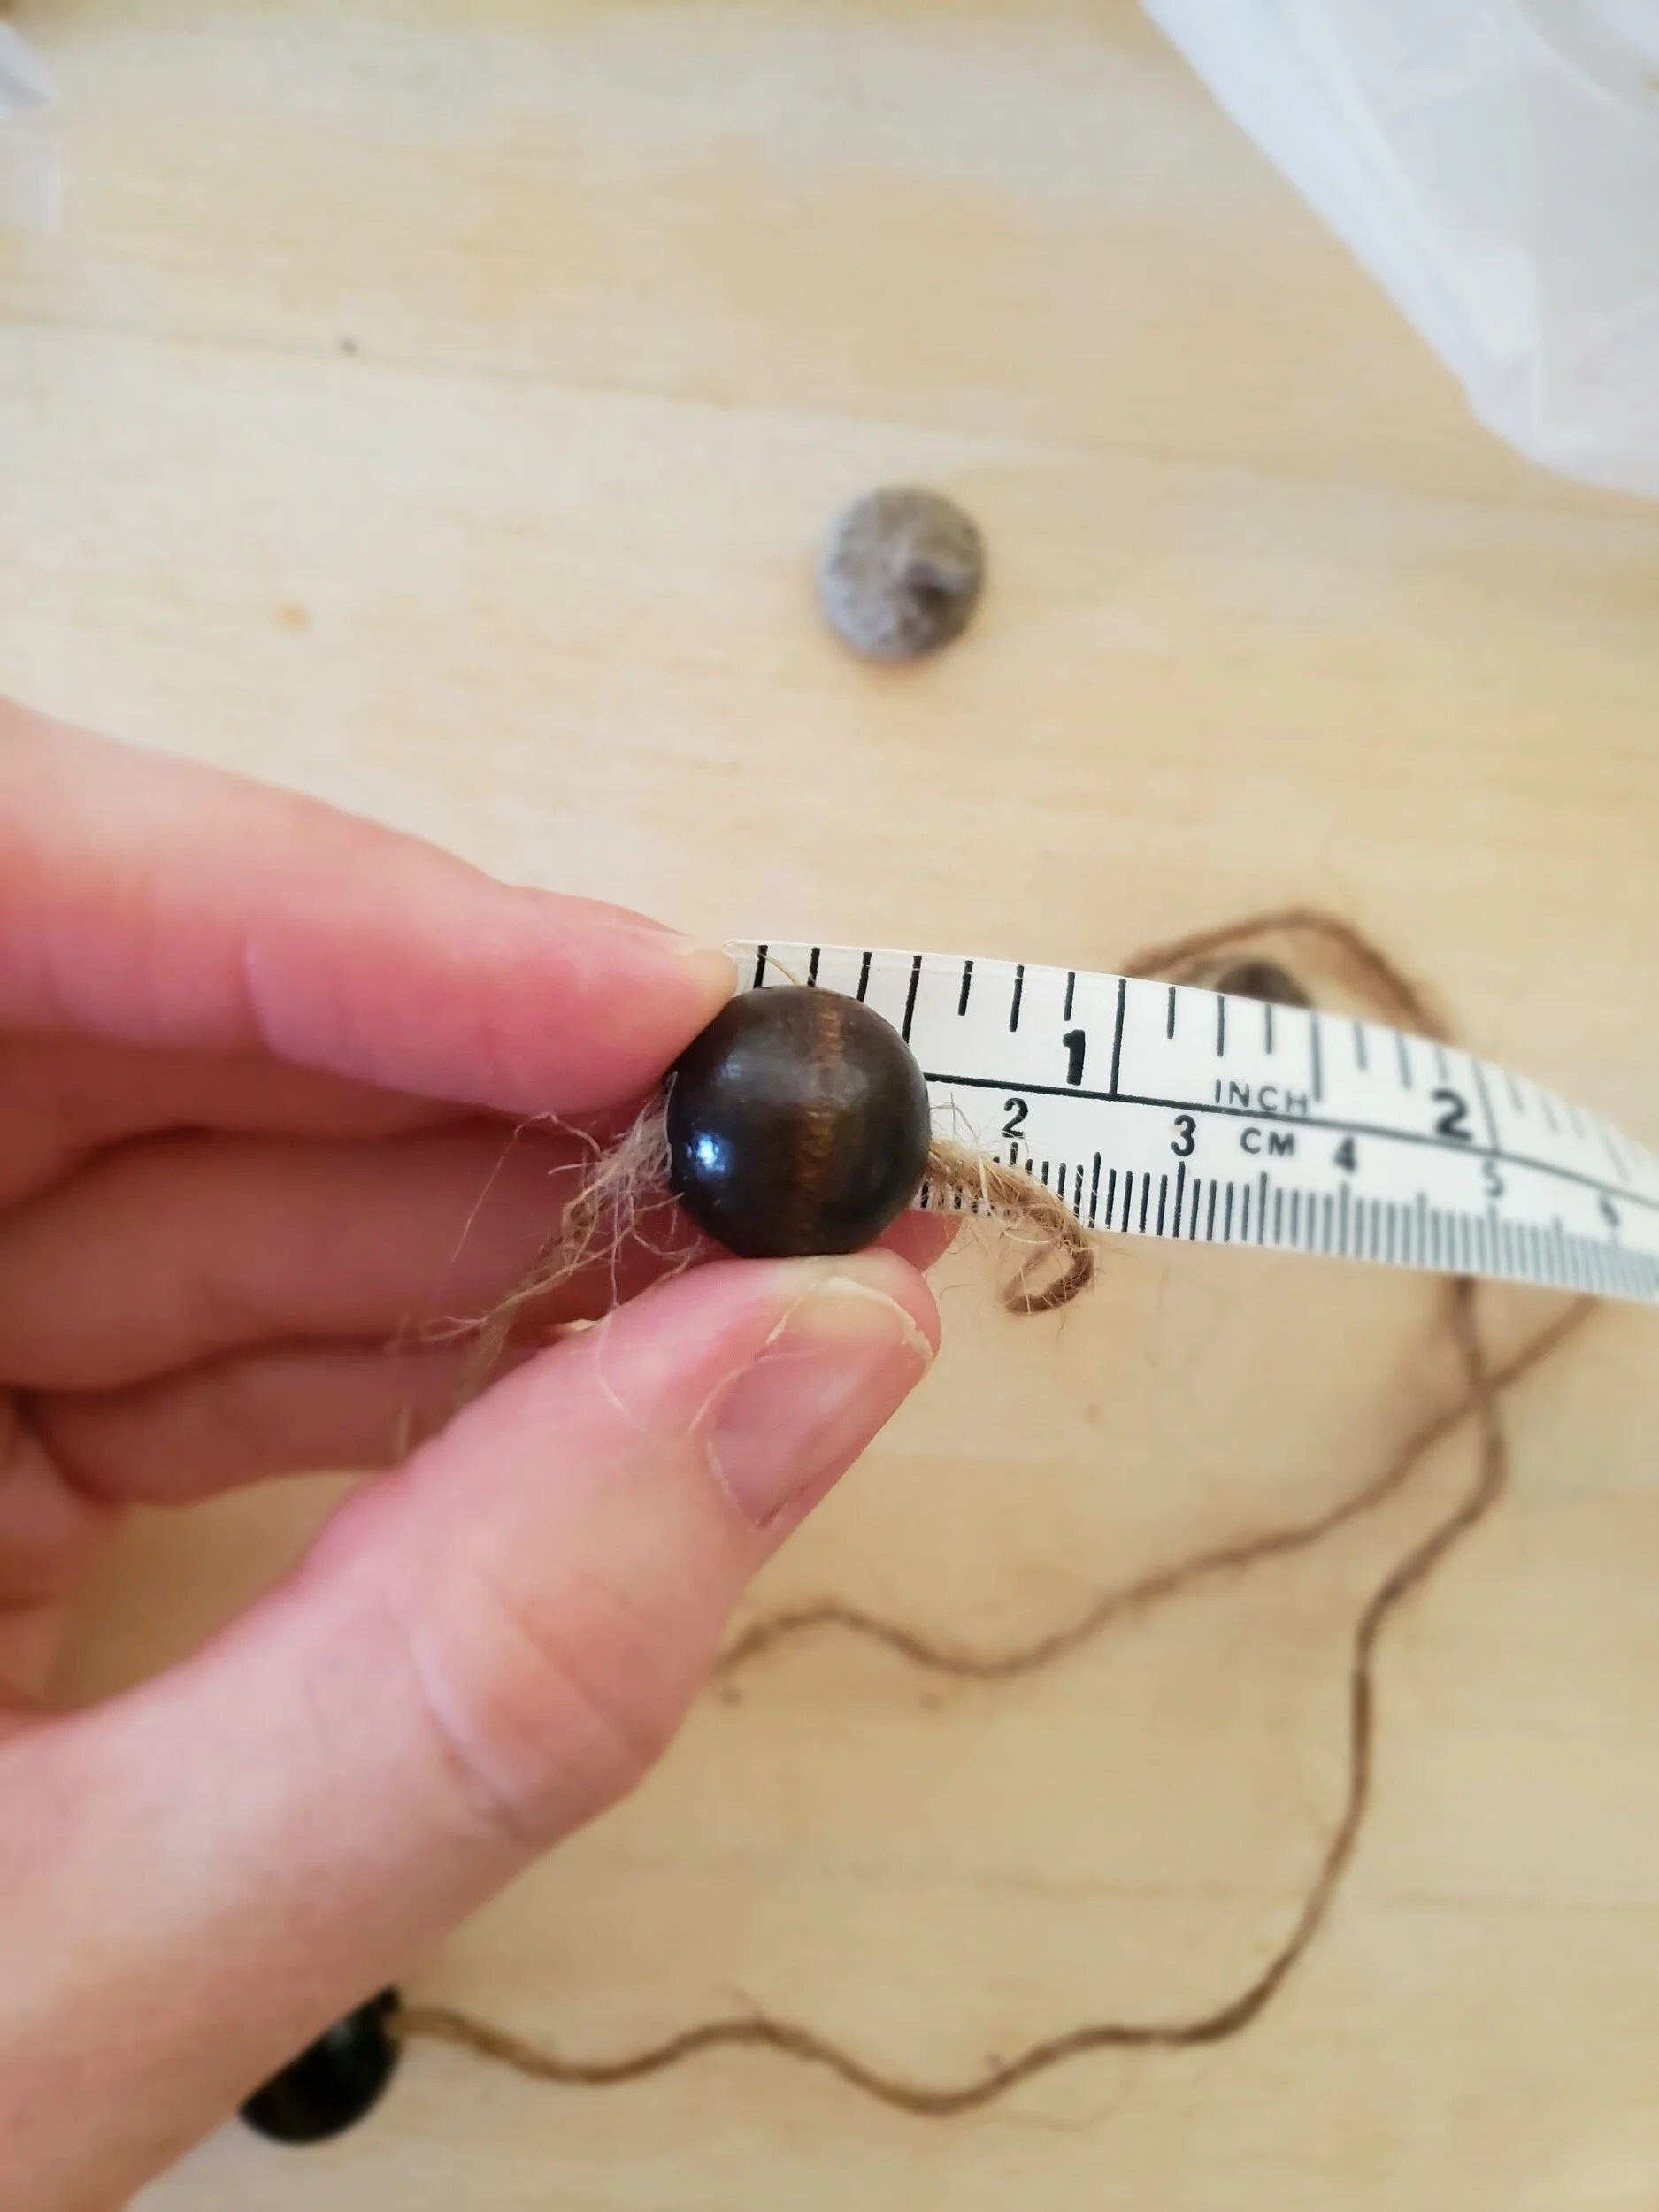
Here is how I started. I found some colored wooden beads in various sizes from my very favorite online craft store, Consumer Crafts, which were only $2-3 for a bag of 150 beads, which is a pretty good steal! I got two bags. One with bright pastel-colors and one that's more monochromatic and minimal.
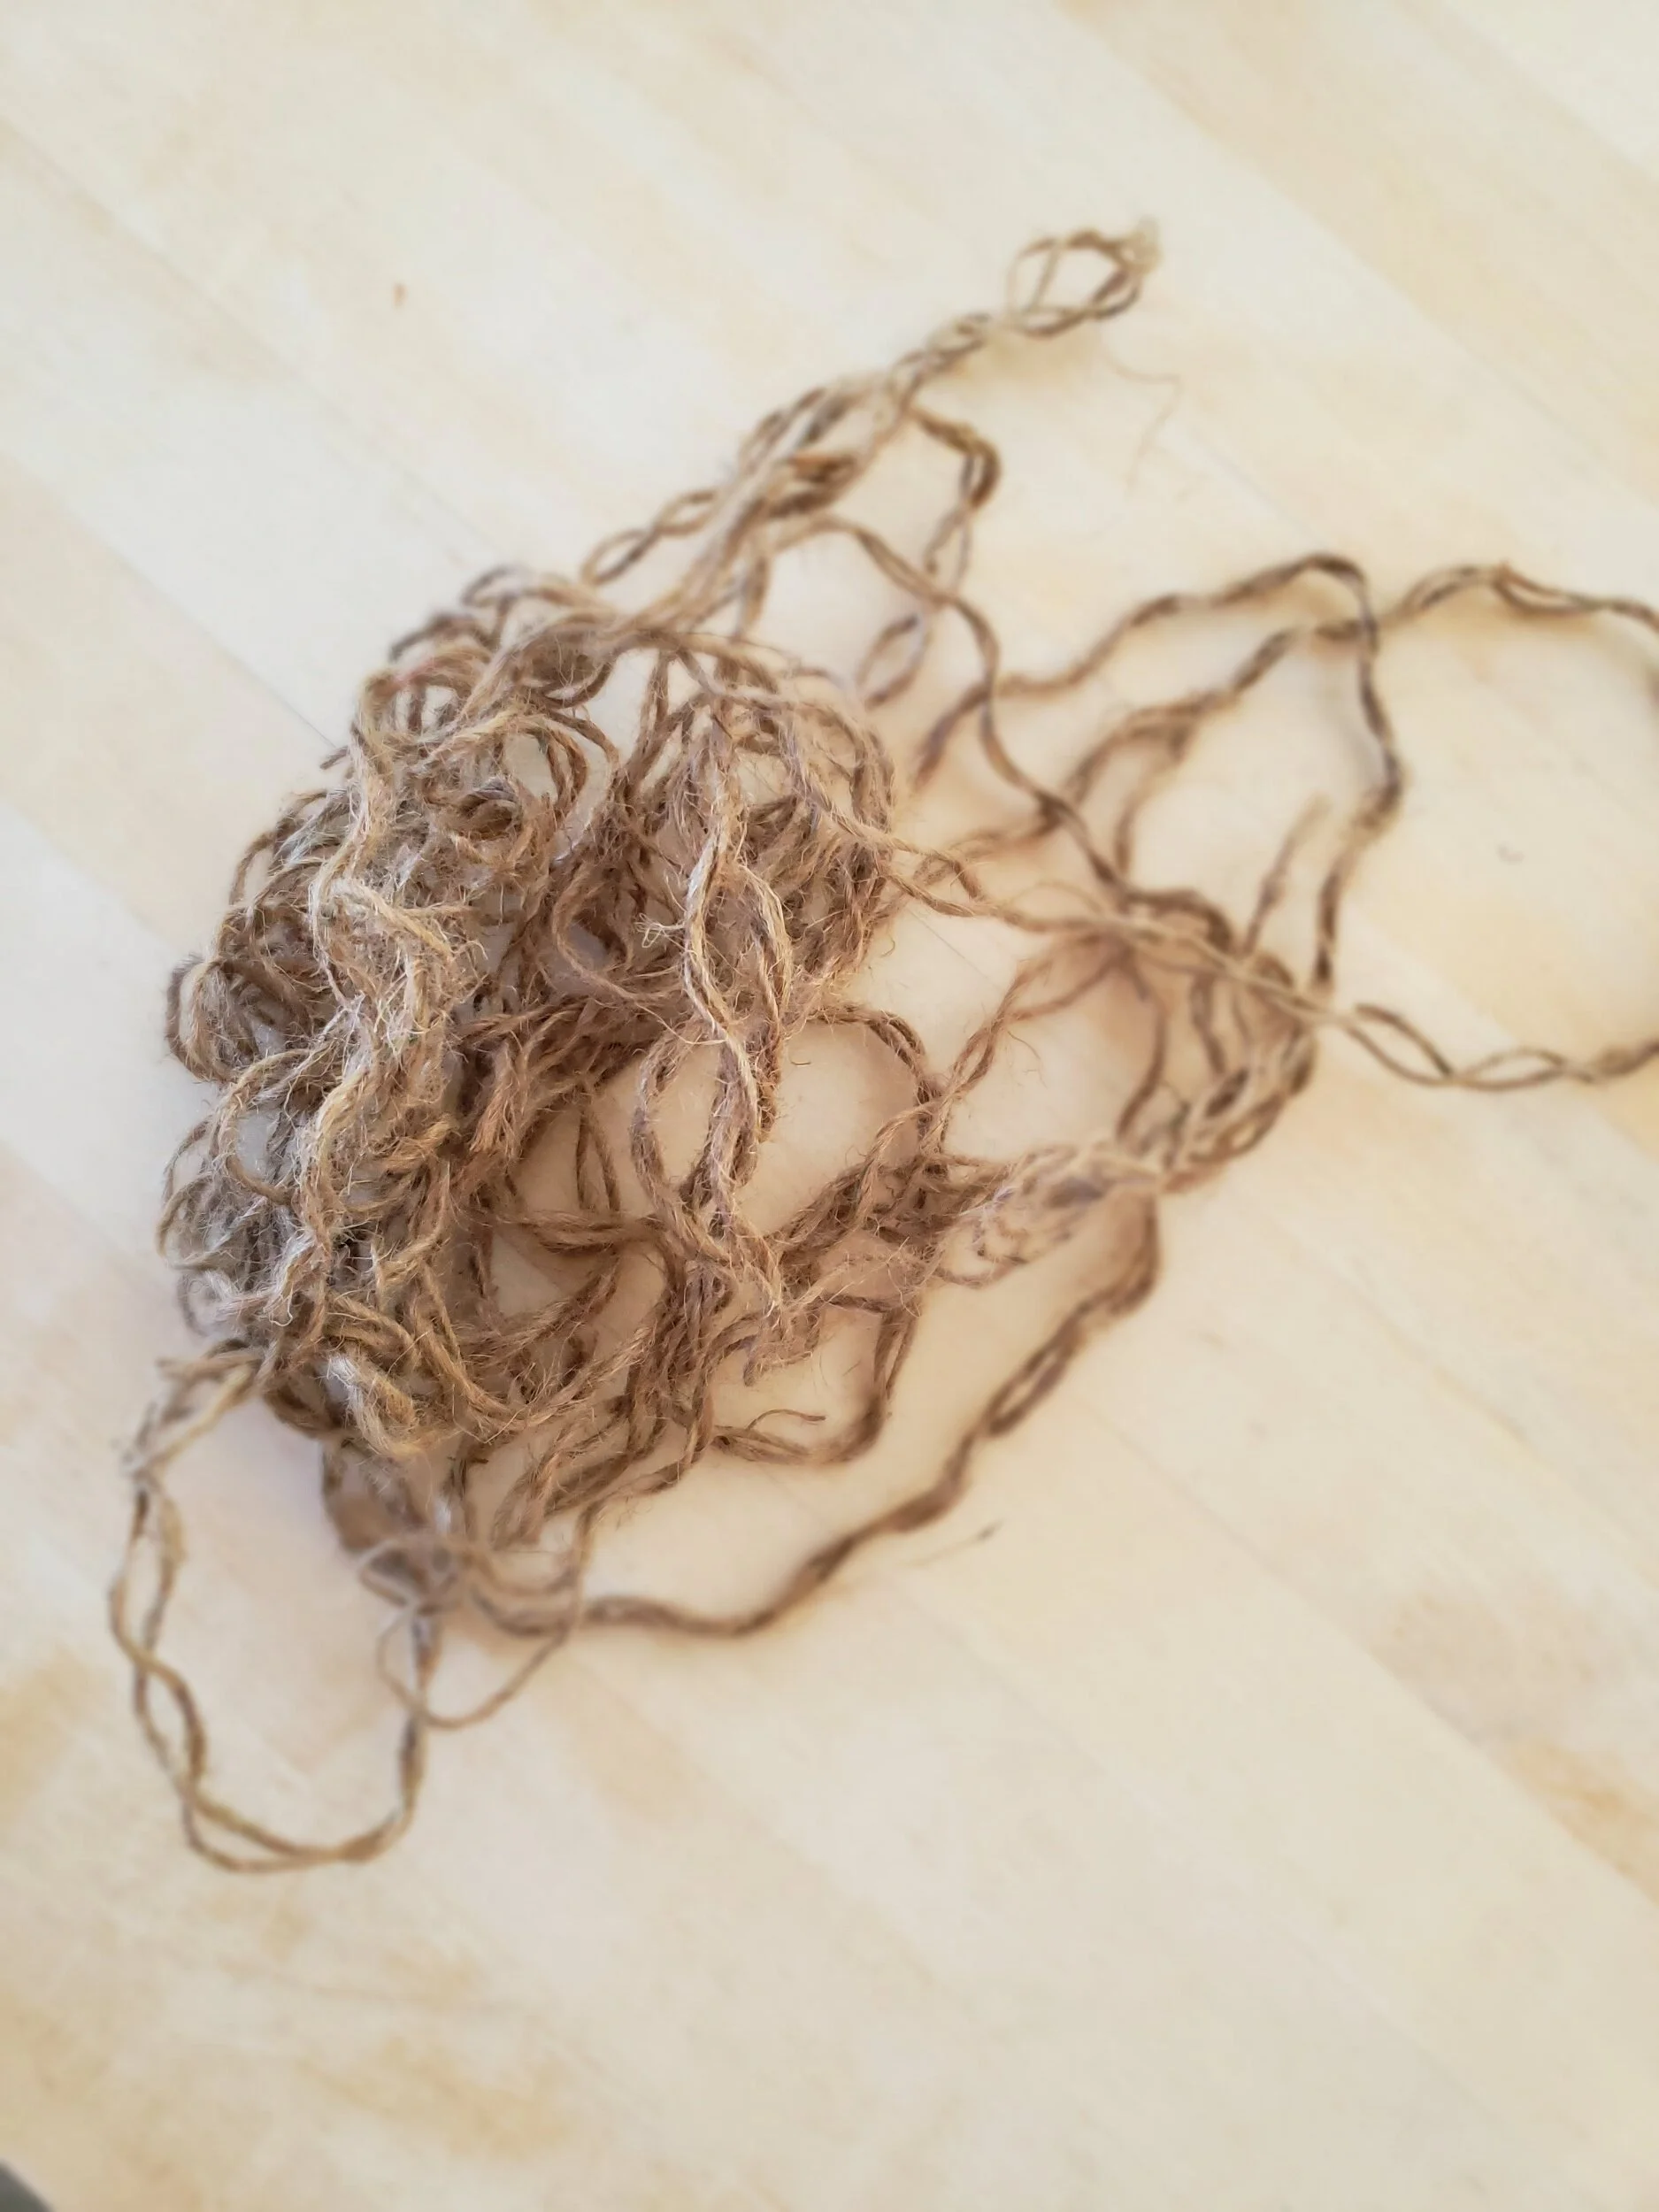
I bought a nautical rope from the Dollar Store that I was going to use on a different decoration but that didn't work out so I used it for this one . As it turns out those ropes are made of about 20 tiny pieces of rustic 9’ twine. So basically I bought that much twine for a buck! Sweet!
I simply folded a piece of thread (unraveling the thread was kind of time consuming, btw) and used the “sharp” point as my needle to get it into the holes of the beads. I decided about 30 beads per 9’ strand.
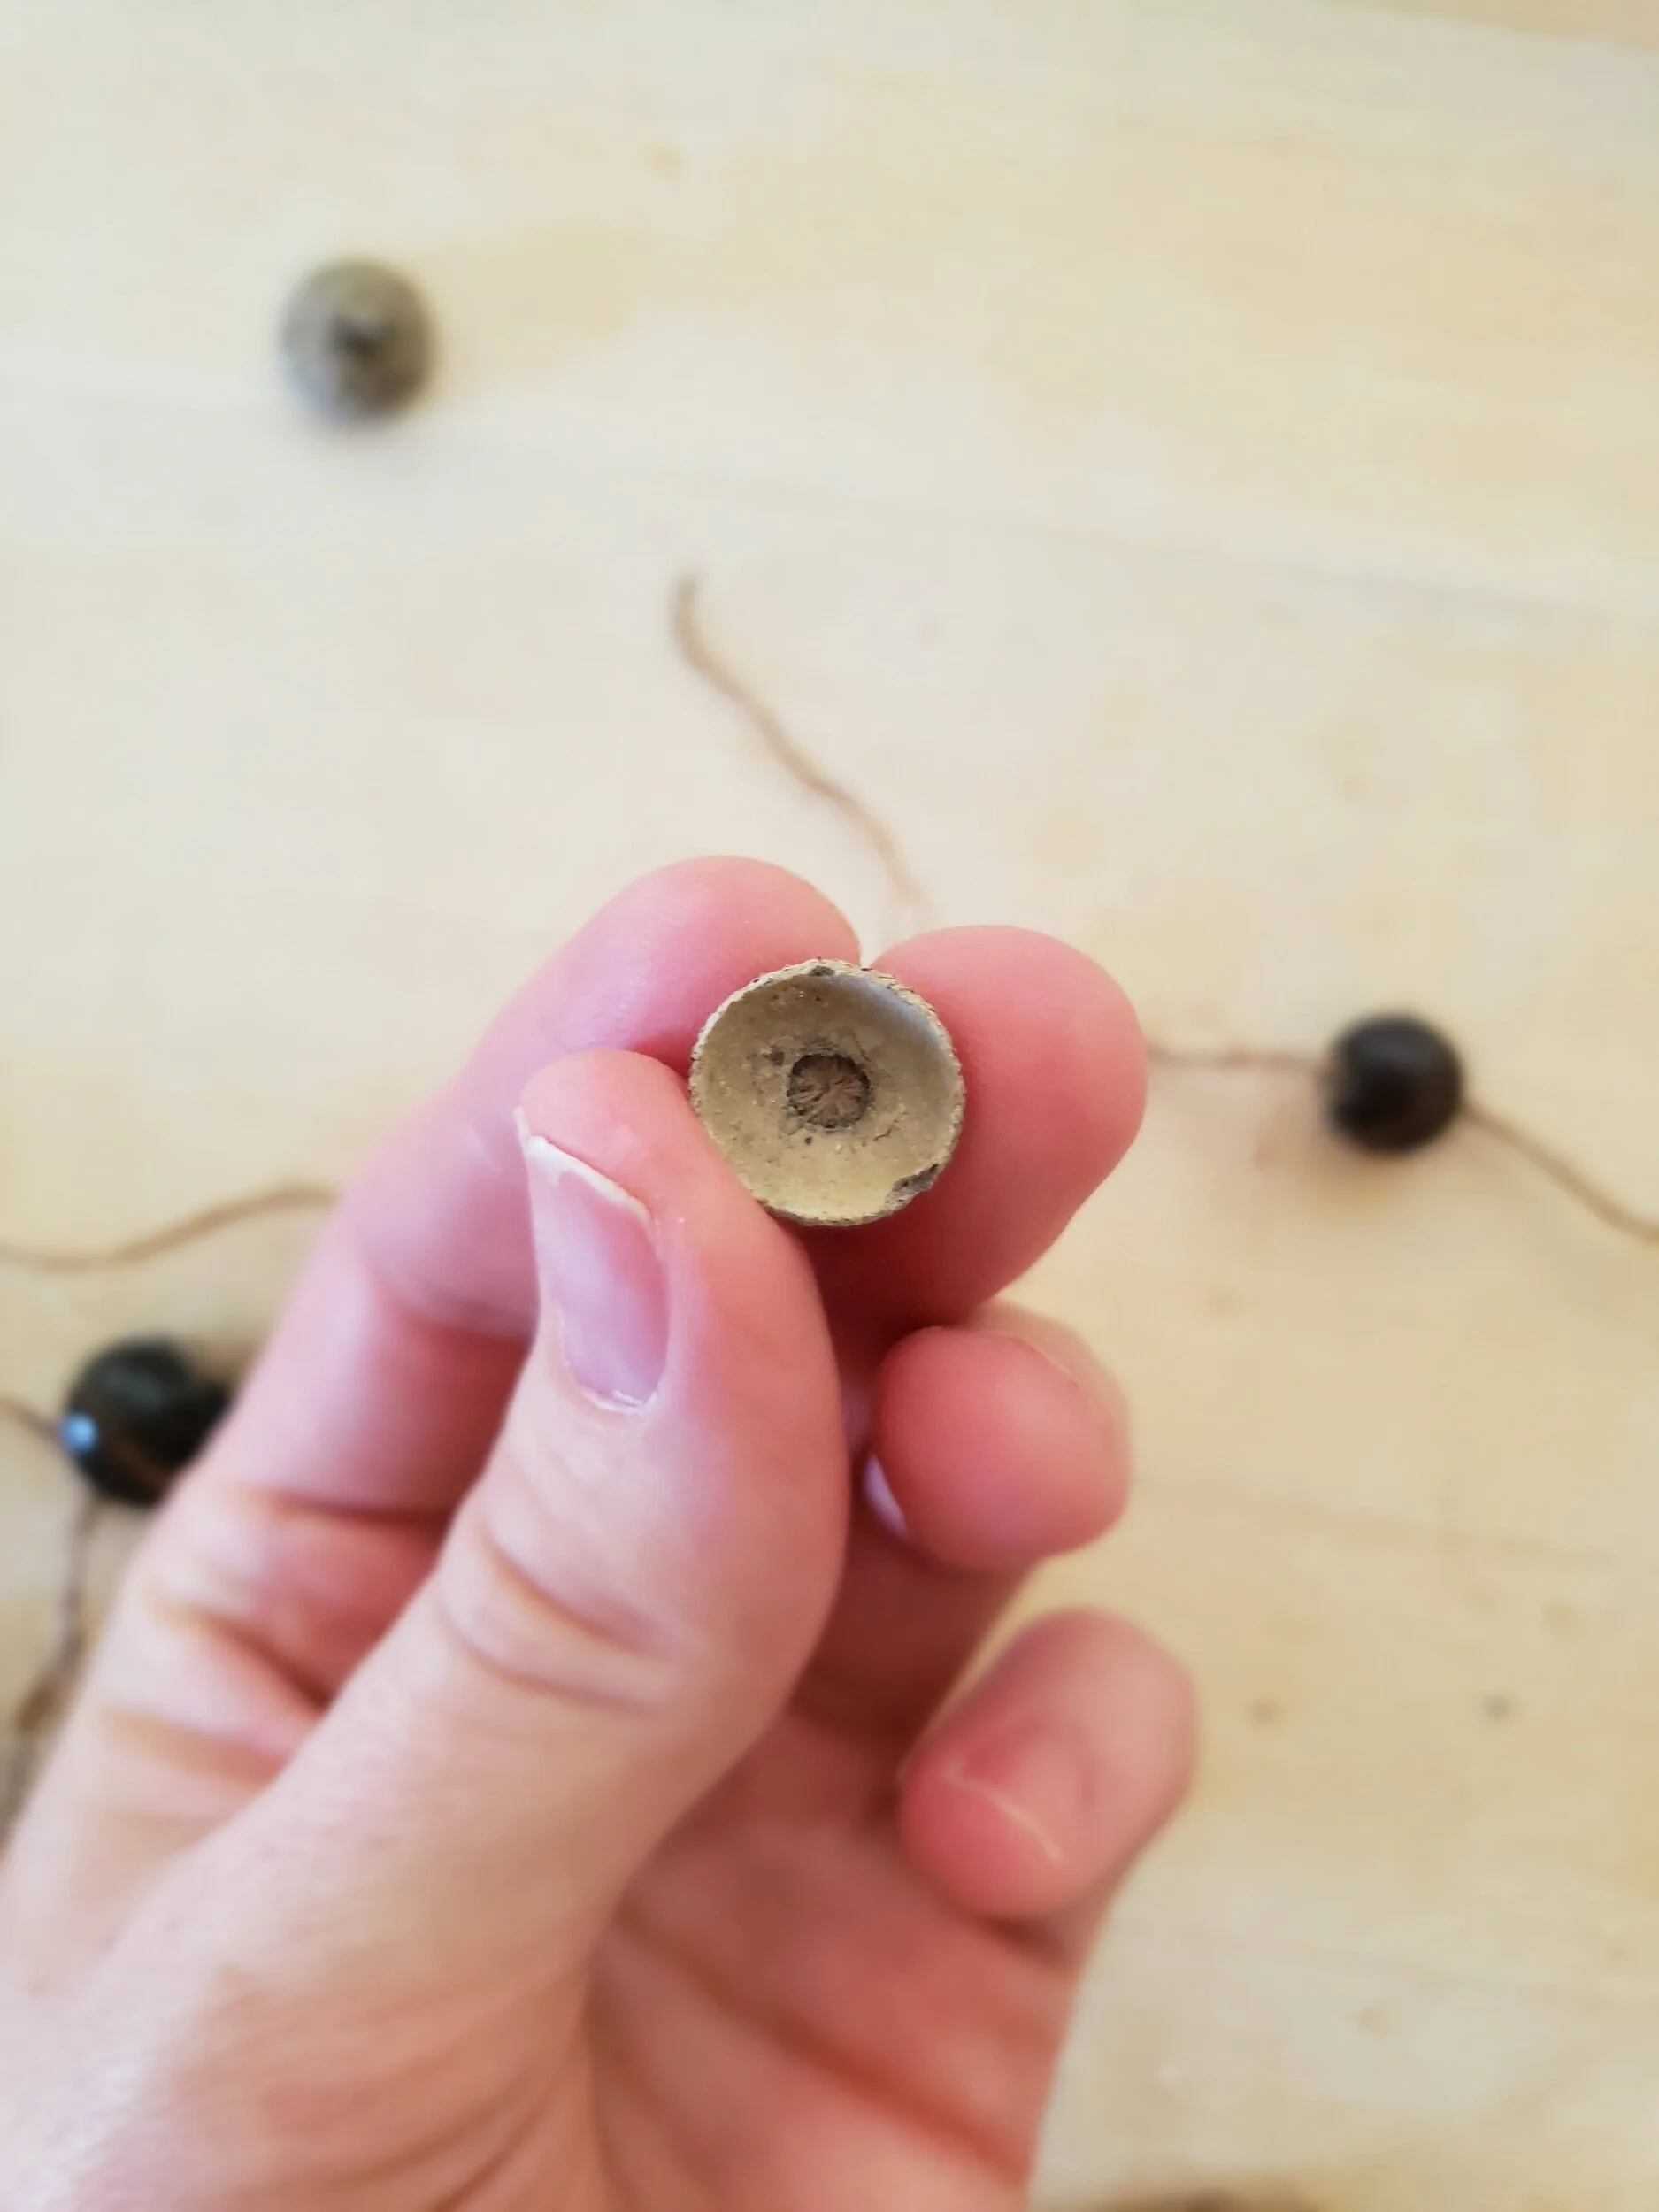
Once that was finished I scattered a bunch of my foraged acorn tops. Because the tops come in various sizes, just like the beads do so it's a matter of lining up and deciding which “hat” fits on the bead. I added in a substantial amount of hot glue to the inside of the cap then firmly but gently pressed it into the threaded bead. Hold firmly for 30 seconds until dried.
