I have always adored patchwork quilts. They are simple and practical and the checkerboard pattern can incorporate tons of color and design into a single quilt. I think of old pioneer beds in lovely rustic country homes and of the patient and skillful pioneer women who sewed all of those tiny squares together as if she didn't have enough to do each day!
In college I took a quilting class and had to experience the process of cutting expensive pieces of fabric into teeny-tiny intricate little squares and triangles only to meticulously sew them all back together again. Needless to say I do understand and appreciate the vast amount of time and tedious activity that goes in. The price tags are most definitely justified.
My own personal disclaimer- I am NOT a sewer at heart. In fact I consider myself a pretty basic sewer! I do not generally enjoy sewing and its not a relaxing hobby for me. I simply do it to get from point A to point B. I have a basic Brother sewing machine and I have repaired and created many, many things for my family that has saved us lots of money. If you're looking for tips on the proper sewing- you won't find it here!! But if you need some money-saving tips or inspiration then keep reading!
Over the years, driven by a need for blankets but put-off by the lack of quality and character of a store-bought comforter or bedspread, I developed my own hacks to create home-spun quality quilts that are:
brilliantly cheap to make
require much less time to construct
extremely warm and satisfyingly "weighty" and heavy
simple and straightforward
durable enough as a future heirloom
I have made six quilts total. two king-sized, one queen-sized, one twin-sized and two small ones. These quilts turned out very durable, well-used, and extremely warm.
Let's get started! My first big hack that saves you some money and really adds to the warmth factor of any quilt is:
Bypass store-bought batting and find an old blanket instead.
I have come by old blankets through hand-me-downs or the thrift store. The blanket does need to be thin and light as possible though. Once you sandwich it with two sheets of material you'll be surprised how much thicker it becomes. One of my quilts was from an old cotton hospital blanket which ended up being the perfect weight and thickness as batting.
Once I find the right blanket, I design my whole quilt around that size. However, I do try to find a blanket that is close to the same measurements of a twin, queen, or king flat sheet which brings me to my next hack:
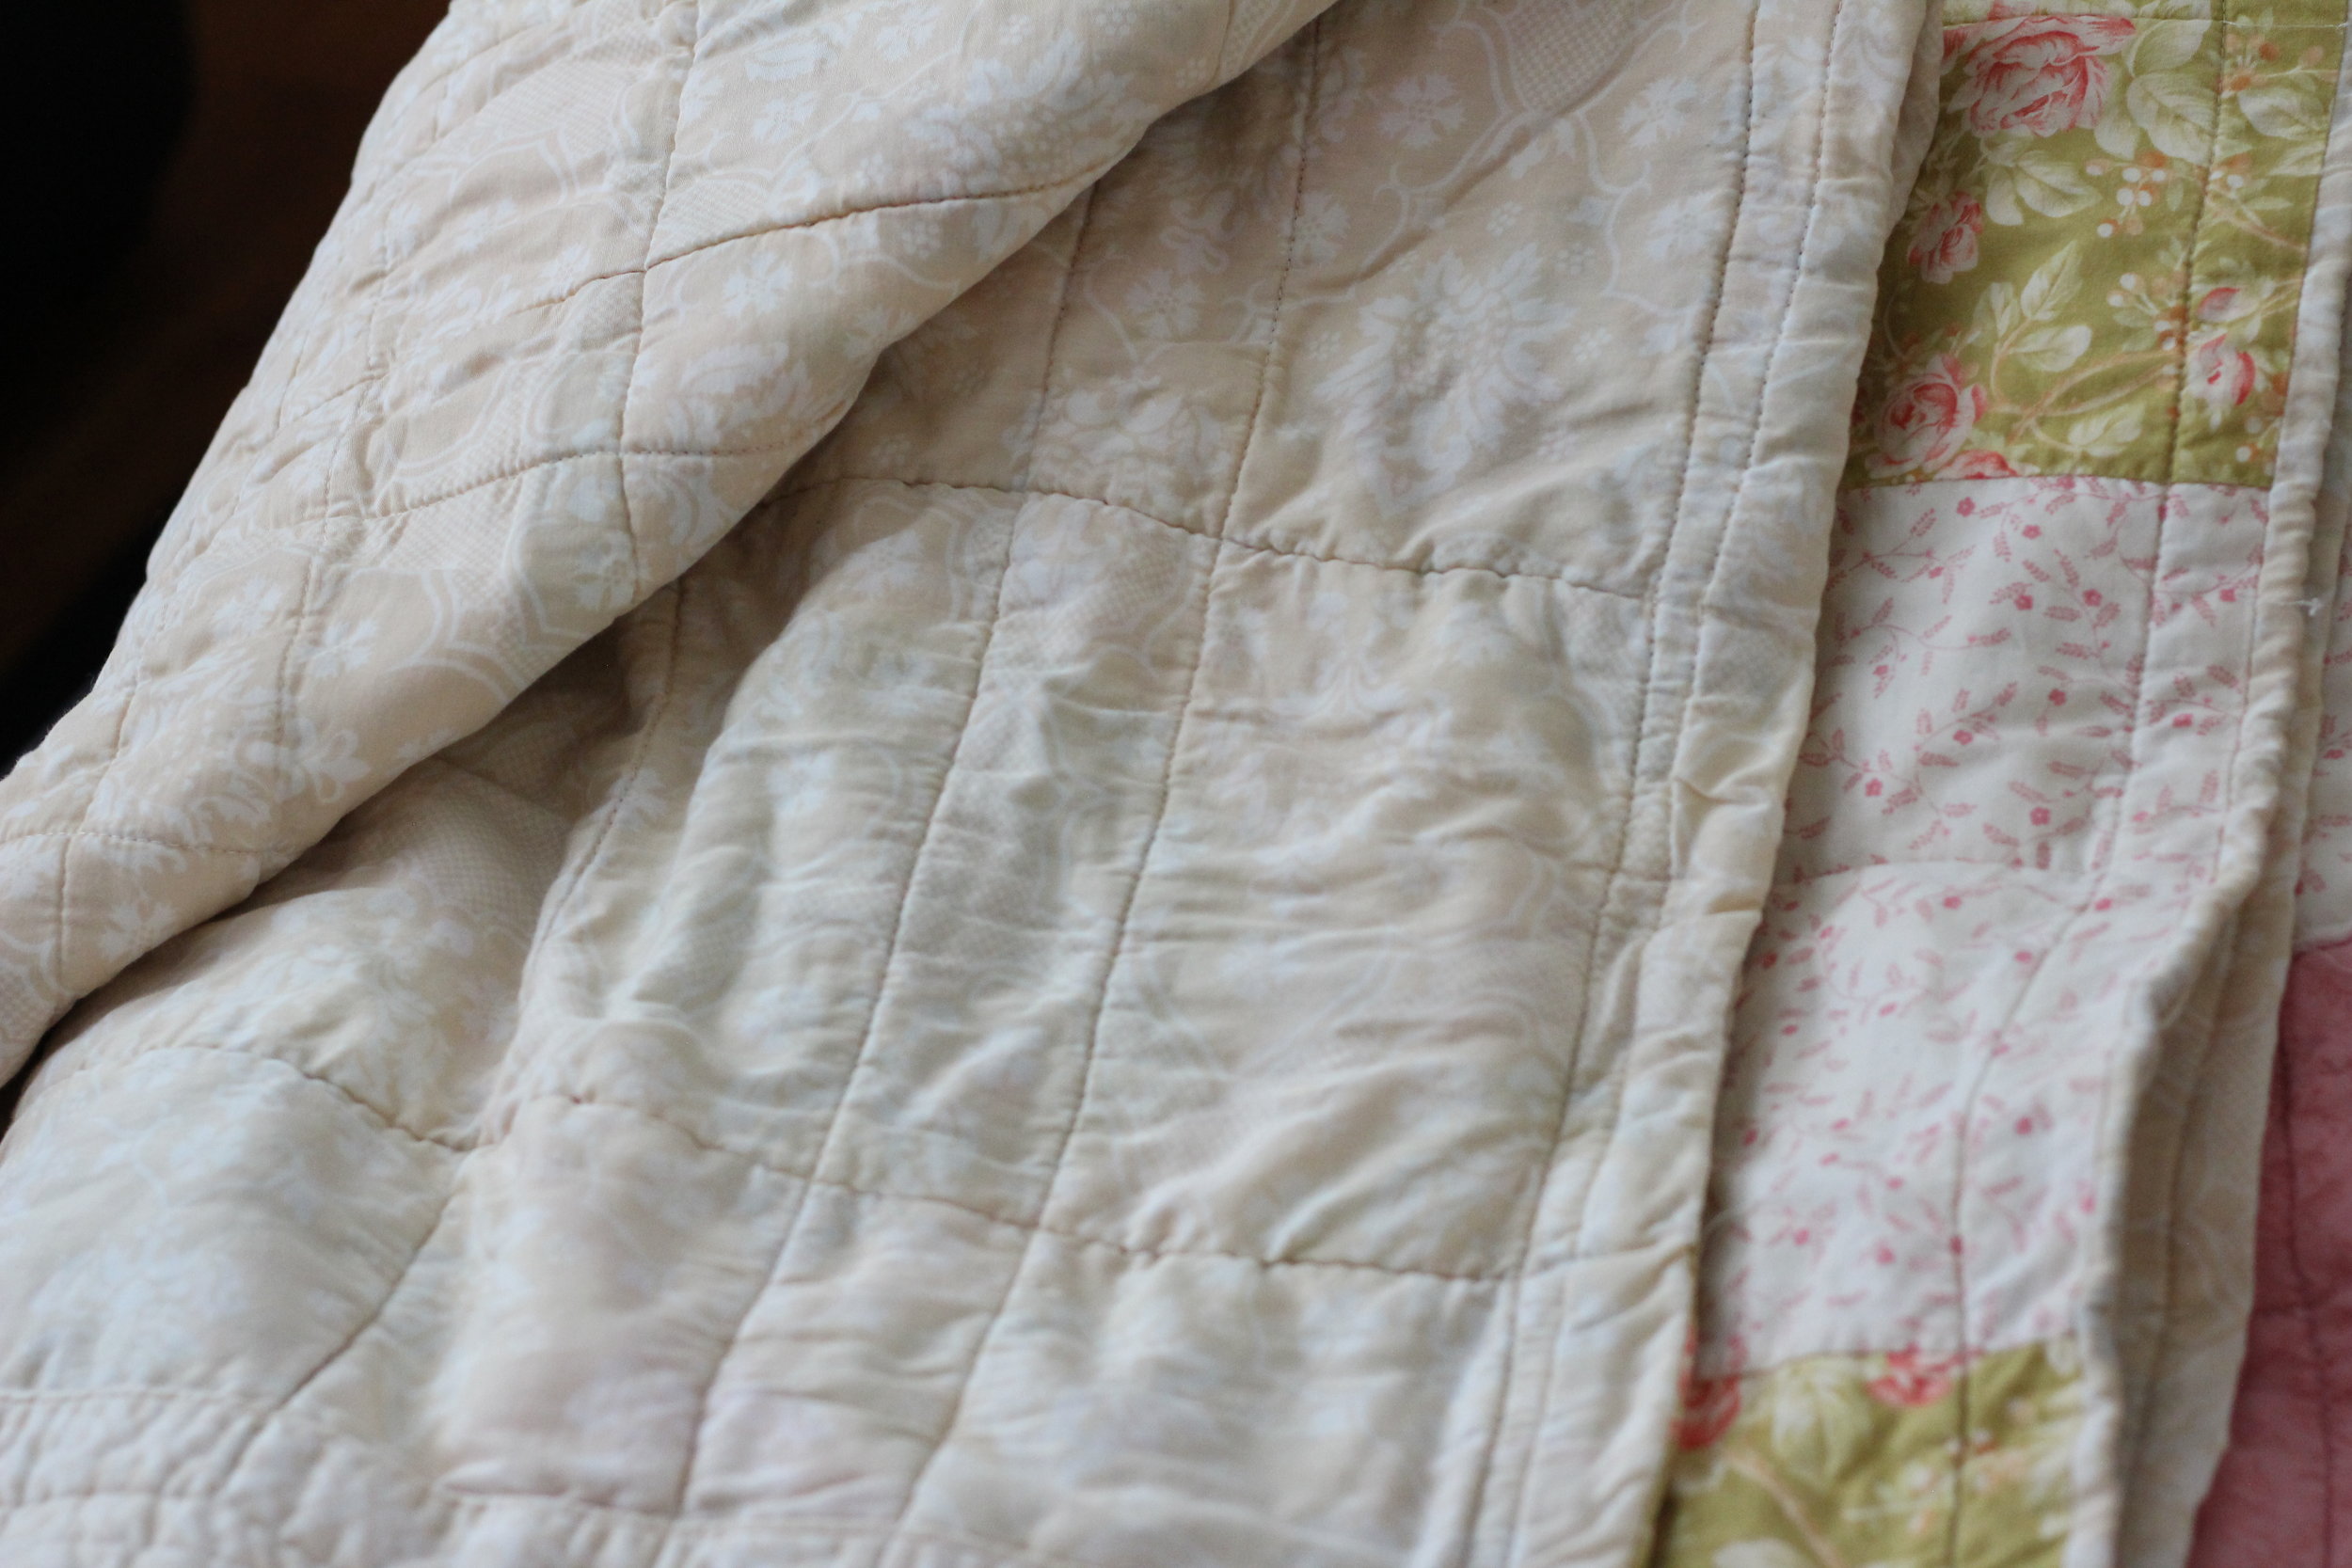
Don't buy material for the backing; buy a cheap flat sheet instead. Or better yet, find an old sheet at a yard sale (like this gorgeous one I found that was almost prettier than the top of the quilt!).
Even the clearance material at Walmart could not beat the savings I found when I bought a cute light blue flat sheet for under $5! The best part? I didn't have to sew the damn thing together!! Its all ready to be used as backing for your quilt!!
For my most recent quilt project, I made a twin patchwork quilt for my three-year-old. Twin sizes usually require about four yards of fabric just for the top. Luckily I found some cute material in the clearance section for about $2 yard. Not bad. But then I threw in 1/4 to 1/2 yards of other more unique and brighter pieces from the full-price section. It all ended up costing $12! Not bad at all! Including the flat sheet, my quilt ended up costing about $20, which is a steal considering I couldn't have bought a comforter or blanket for that cheap.
Here's a quick rundown of how I did this:
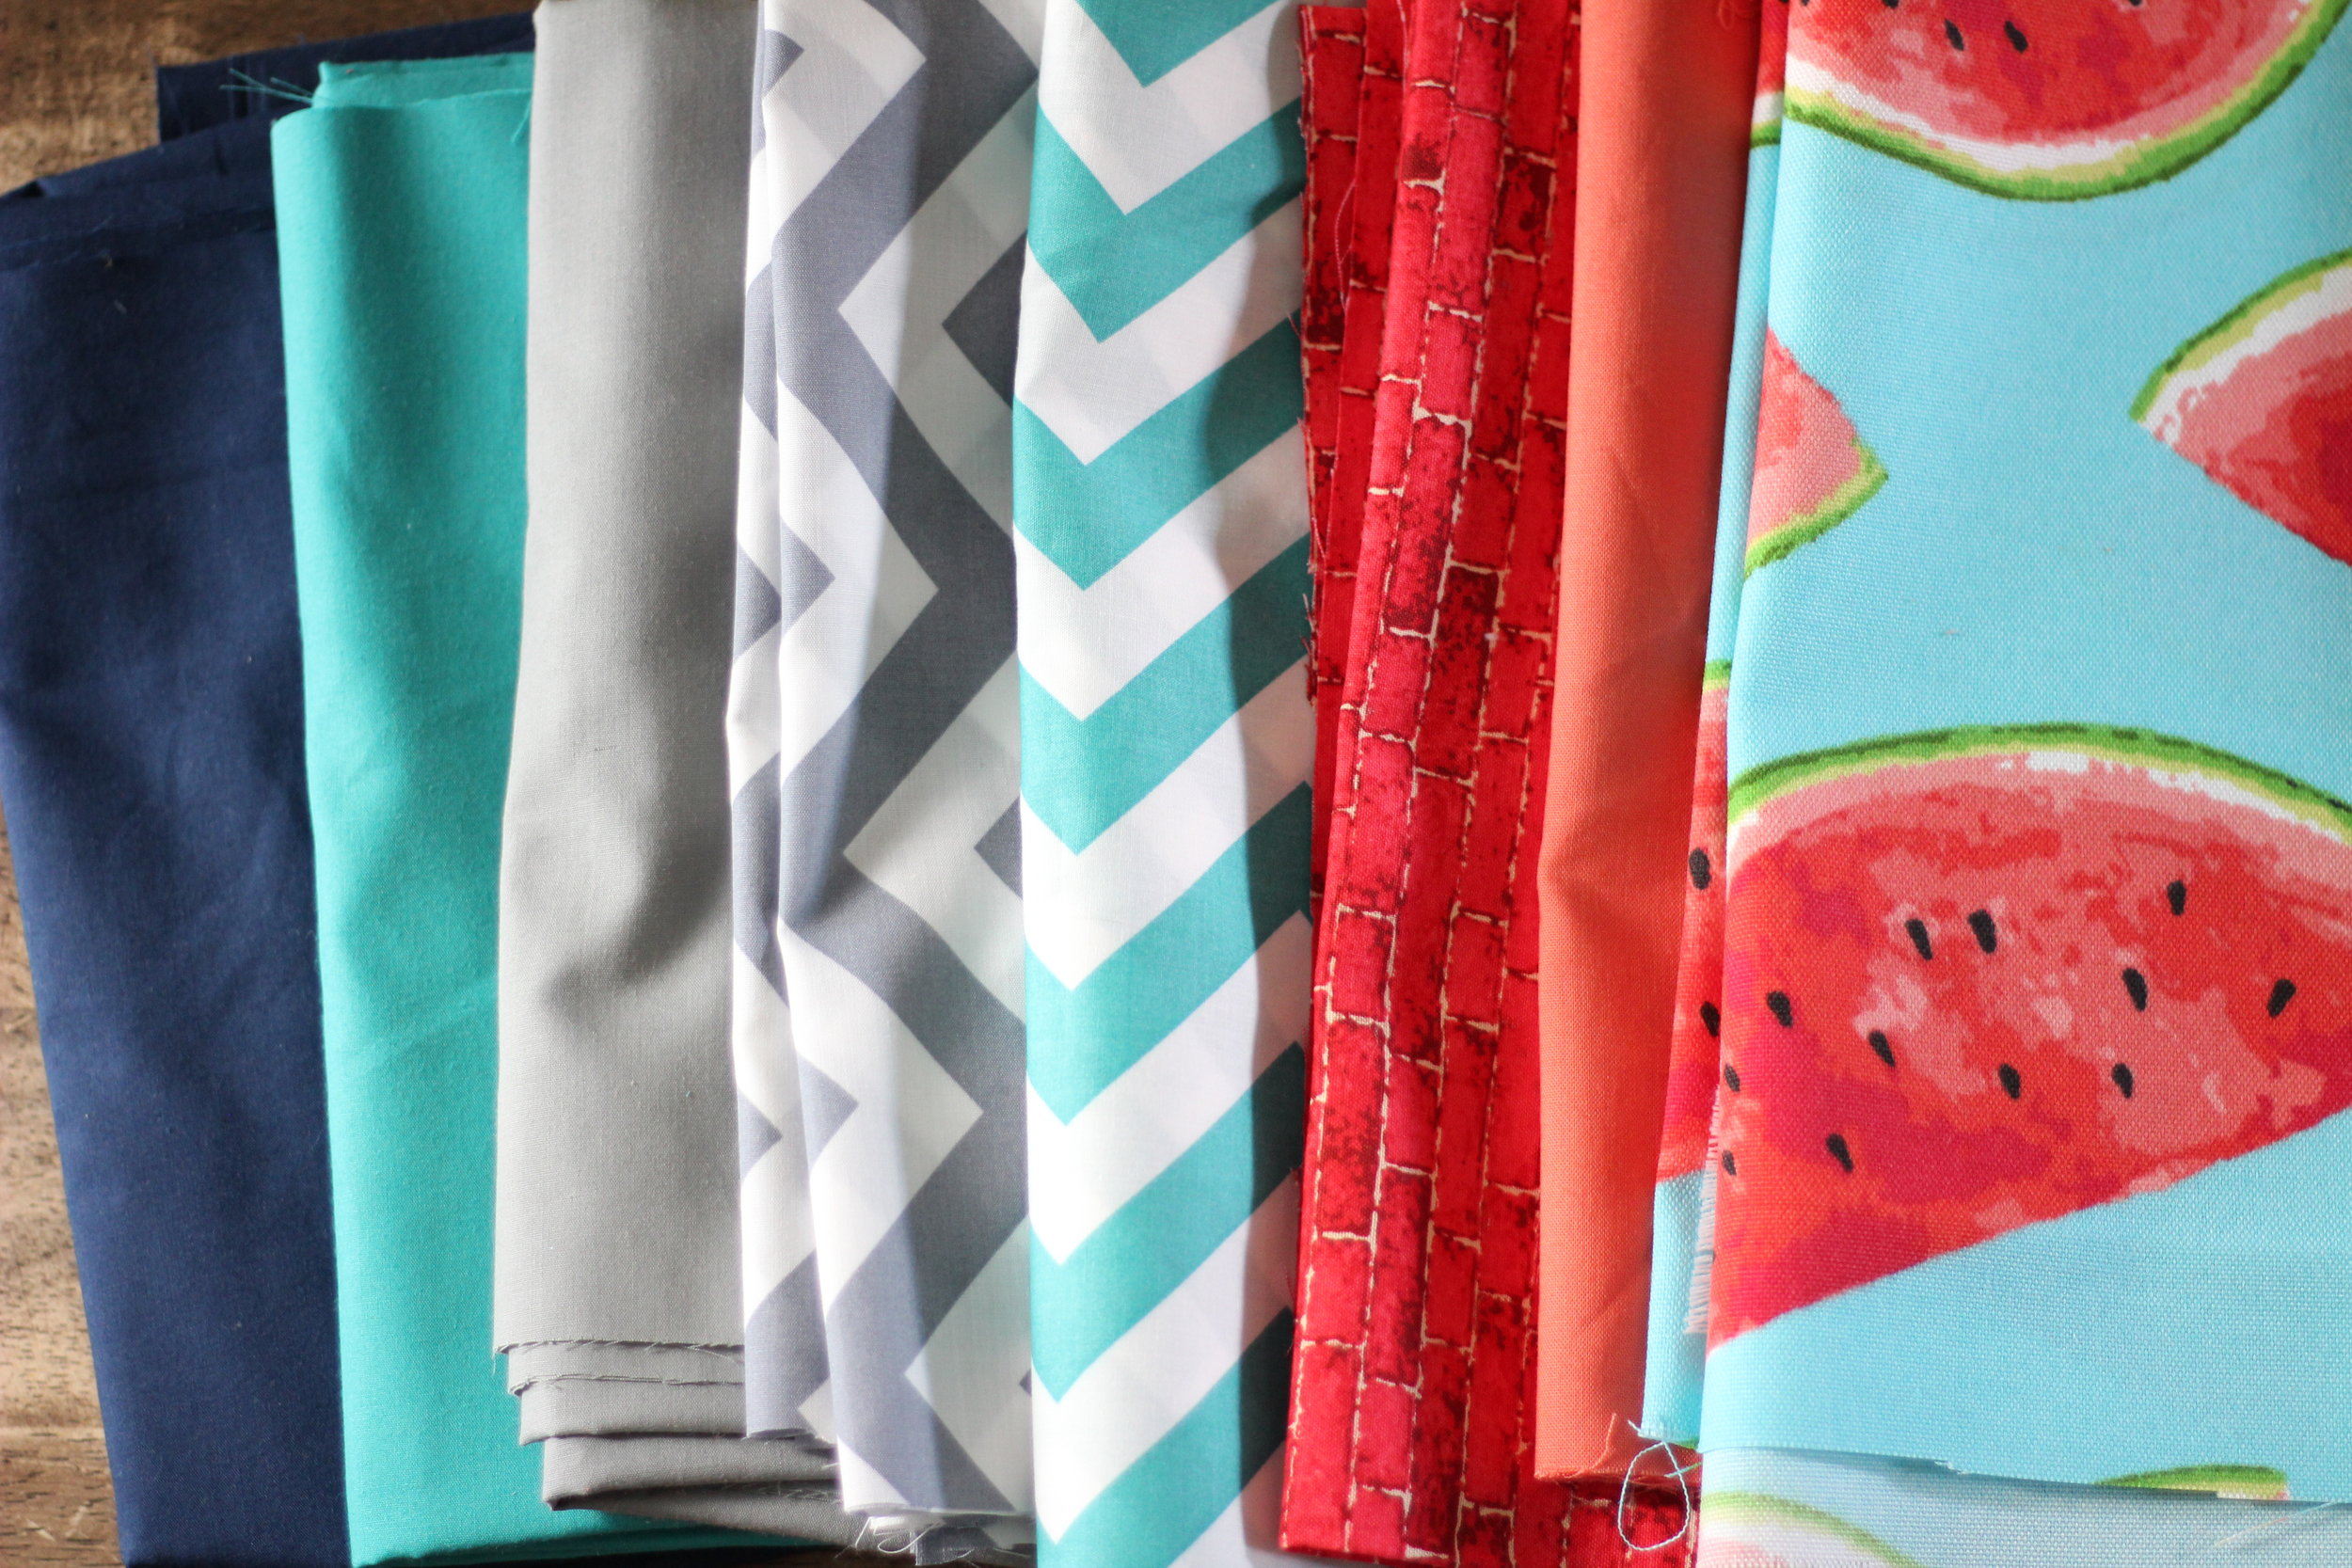
Pick your material:
Using a rotary cutter and mat (or just scissors!) cut all of your blocks into 9", 10", or 12" squares, depending on what size quilt you're aiming for. Try your best to make them all the same size or you will cry a little later when you try to line up the seams...
Count all of your squares and then decide how you want to divide them. For example, if you have 80 squares for a queen quilt and you cut them in 10" squares, do you want eight blocks down and 10 blocks across your bed? Measure your bed in inches and calculate the math.
Next, begin sewing your blocks together,. Right sides together, run a seam; add another block and repeat. Try your best to mix and match the blocks so you don't have the same two block colors touching but don't worry too much since same colors may touch with blocks in a different row when you sew it altogether. Oh well, it happens.
Once you have all of your "strips" of blocks then begin sewing your strips together. Not all of my block sizes lined up but I tried my best to fold and pinch the material so that corners lined up {somewhat}. Just remember, being done is better than being perfect.
Once you have the whole top part of your quilt done, throw the damn thing in a closet for a day or two and walk it off.
Once you return, lay and smooth it out on a flat surface such as a big bed or the floor where it won't be tromped on by little kids.
Lay the quilt top and the sheet right sides together and touching then add the blanket on top. Pin one side of it, and sew. Repeat with the other two sides. Once you get to the last side, sew but only sew halfway. From there, you will turn the quilt inside-out and close up the hole with a zigzag seam, or sew by hand, whatever you prefer.
Shake the quilt and try to smooth it out and keep it flat for the last step. Run a seam between each strip. This secures the quilt, keeps it from shifting or stretching, and gives it a neat, flat finish.
The likelihood of my seams lining up on my quilts has a lot to do with whether I cut my squares up exactly the same size before I began. Also, having little kids around with lots of distractions and chaos, the less likely my quilt is going to line up and look really nice. Oh well, once my little boy grows out of this one I will relegate it to a camping quilt ;)
Finally- you're done!! Yahoo!! That was tough but aren't you glad you did it!!! Sometimes, if I have time after a quilt, I will hand stitch the year it was made.


