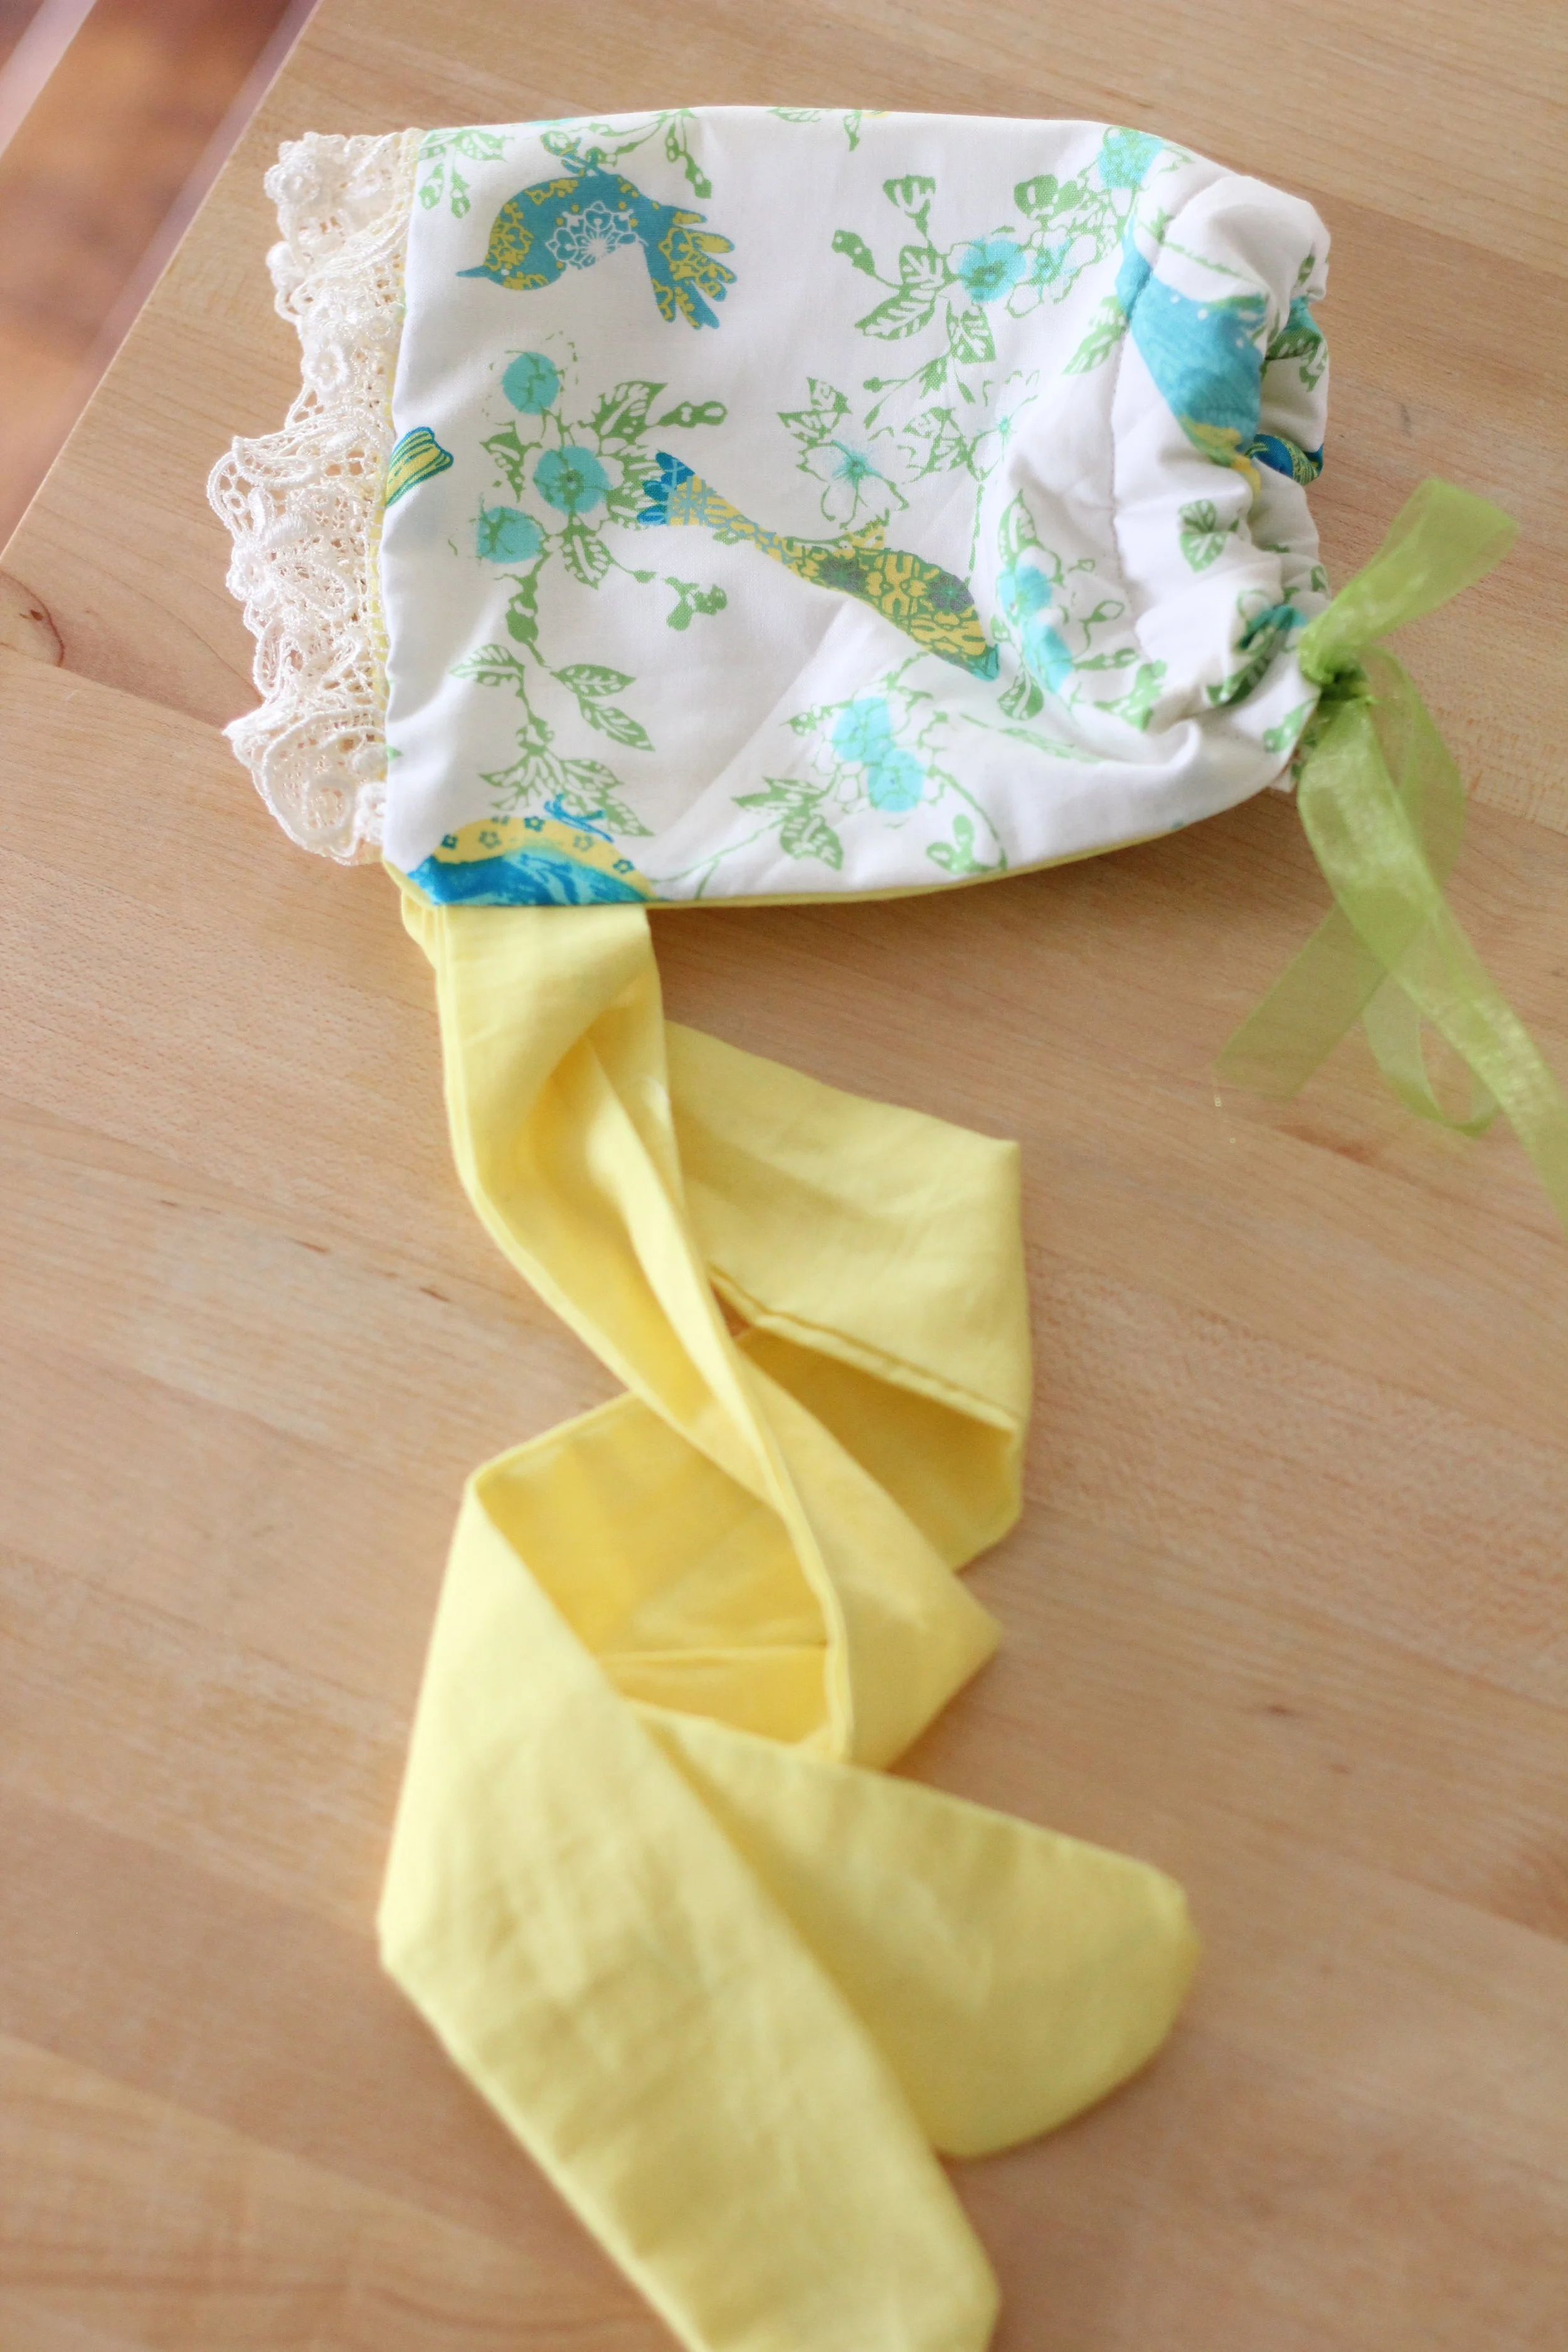
To me, baby bonnets are the epitome of sweet baby girl. Even when I was younger I always knew that if I had a girl, I would love to see her in a bonnet. Or 15. They really become quite addictive when you start imagining all of the adorable prints and delicate laces! My baby girl is now seven months and, while i'm not really into too many bows and flowers I do think that she needs her own cute little stash of bonnets. At first I was just going to buy a super cute all-ready-made one from Etsy but then I became more and more motivated to just make my own. Not to mention the satisfaction of my baby wearing something that I made adds an extra sentiment to it.
I wanted to keep the pattern super simple. I did a few searches online and on Youtube, finally went with this idea. Between baby-wearing and feeding a fussy baby and playing/constantly stepping over a three-year-old I managed to make this in about three hours!
You will need:
1/4 yard fabric
1/4 yard fabric (in alternating color/print)
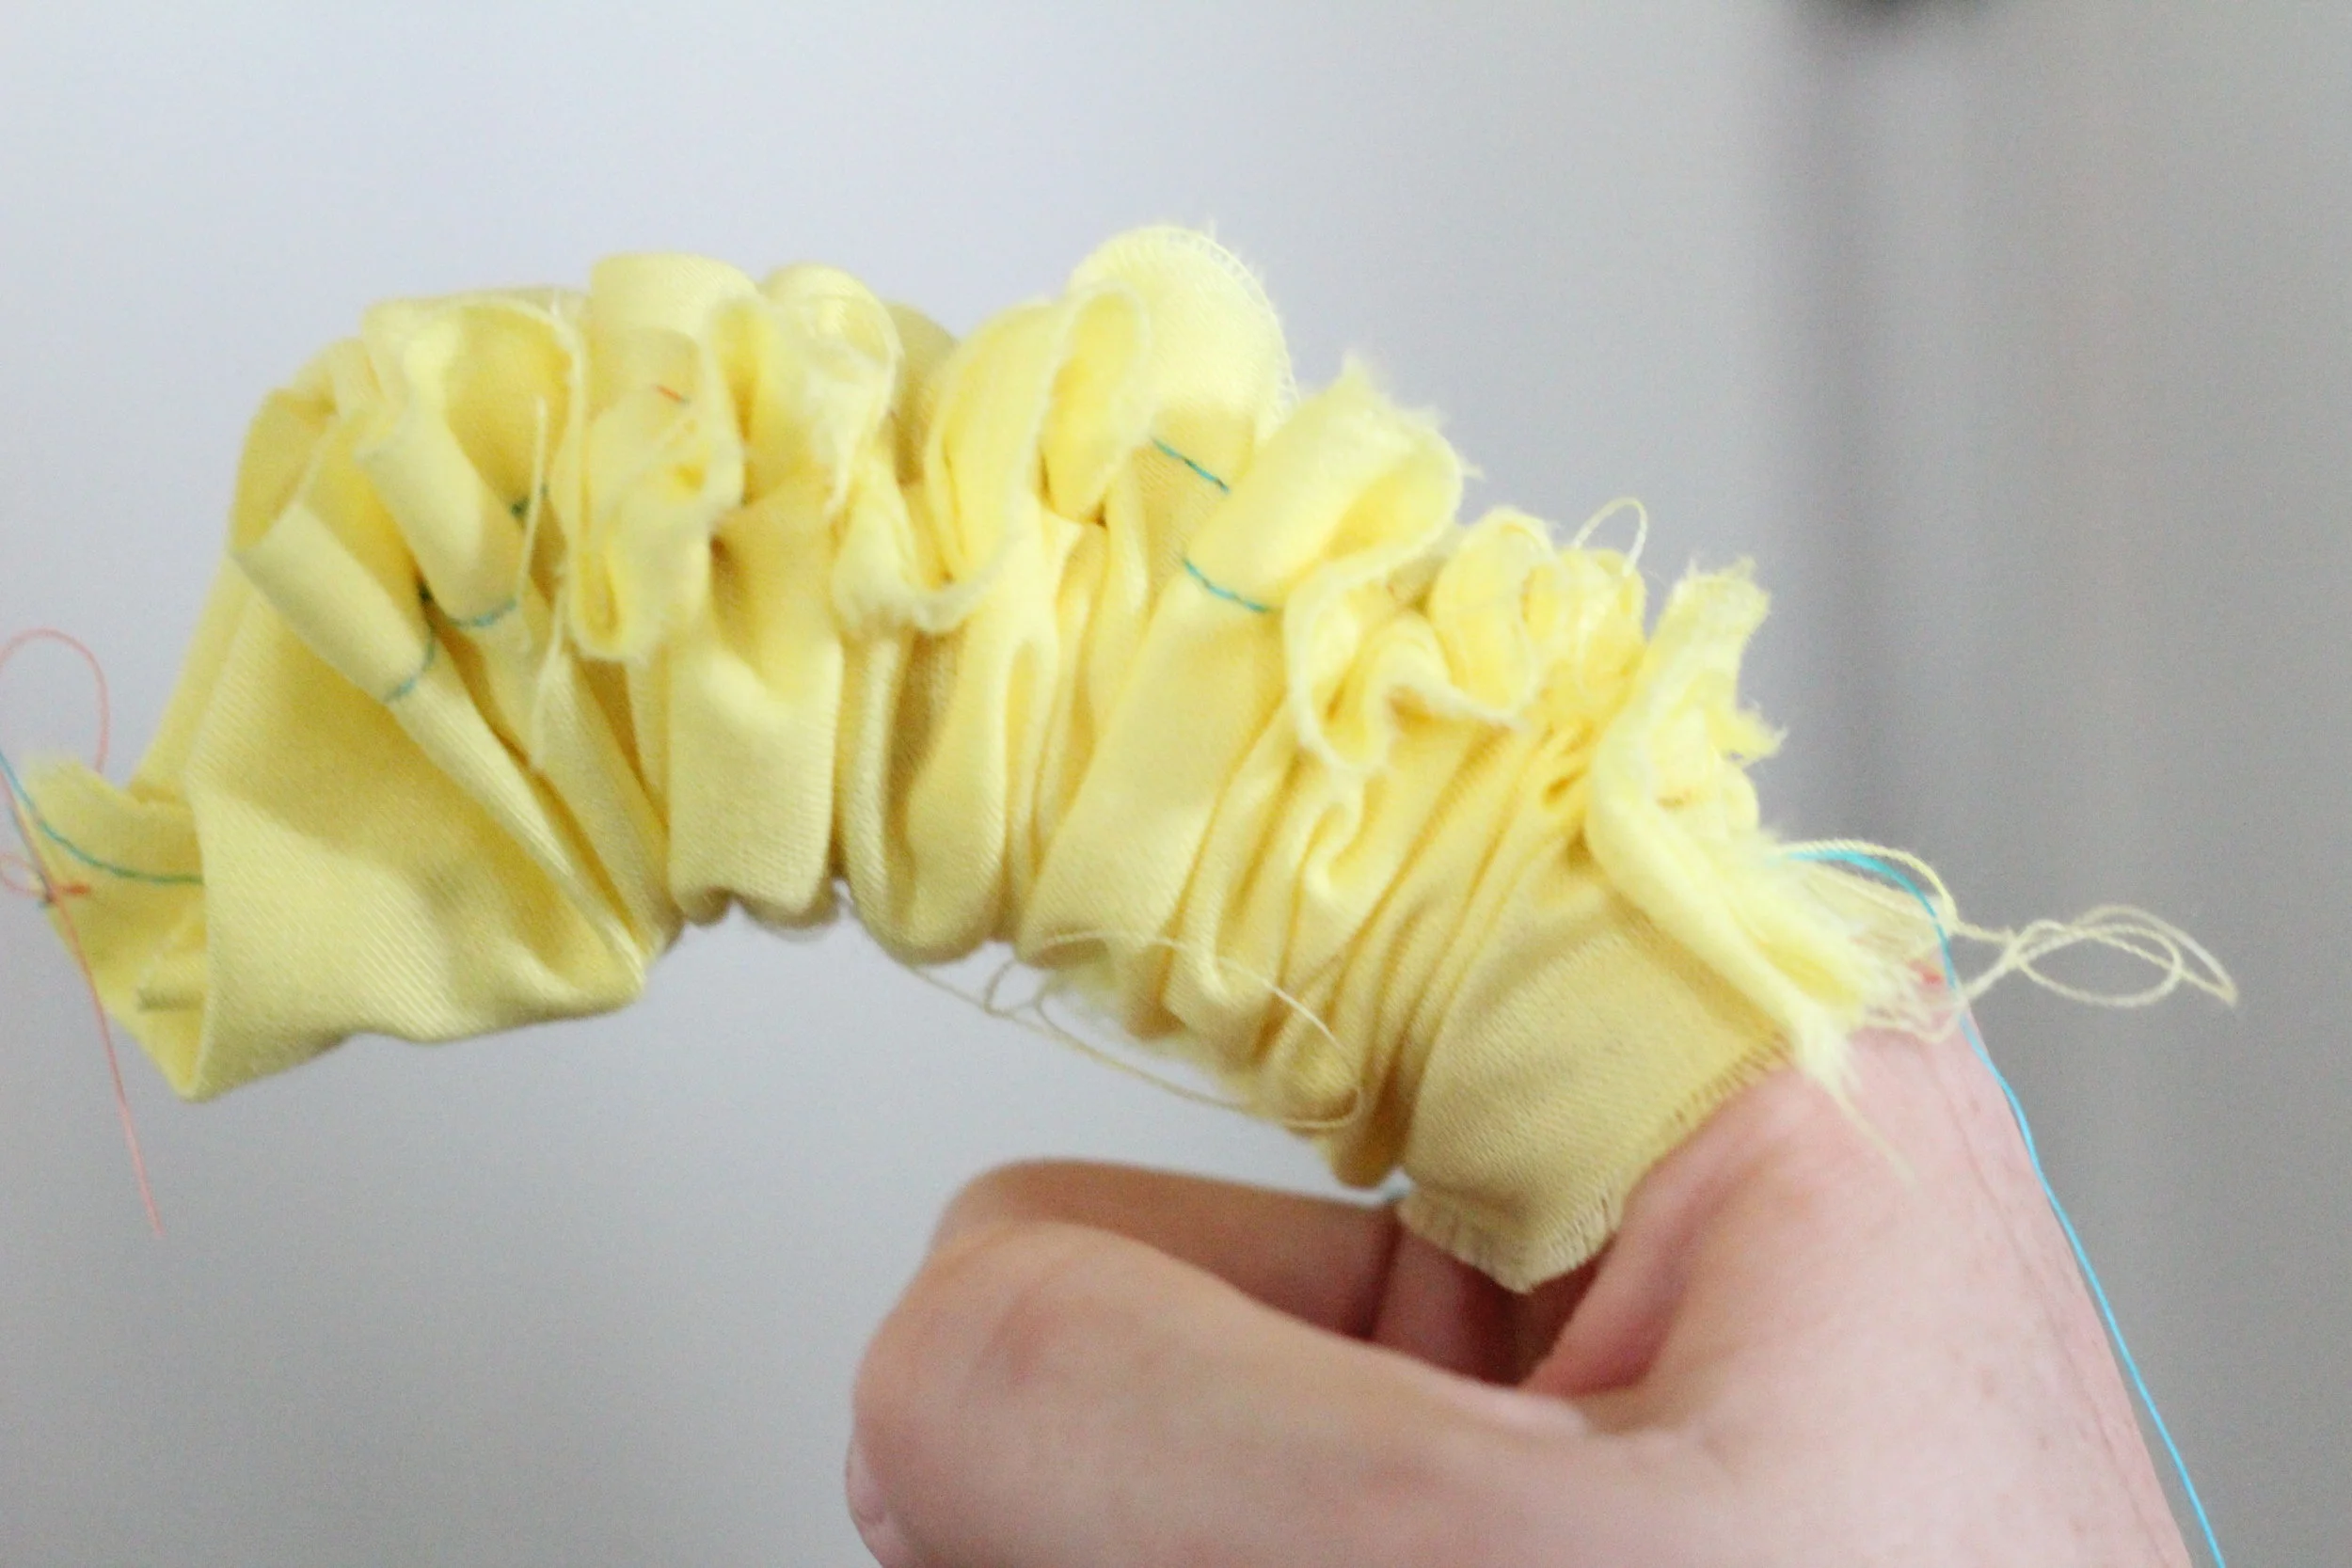
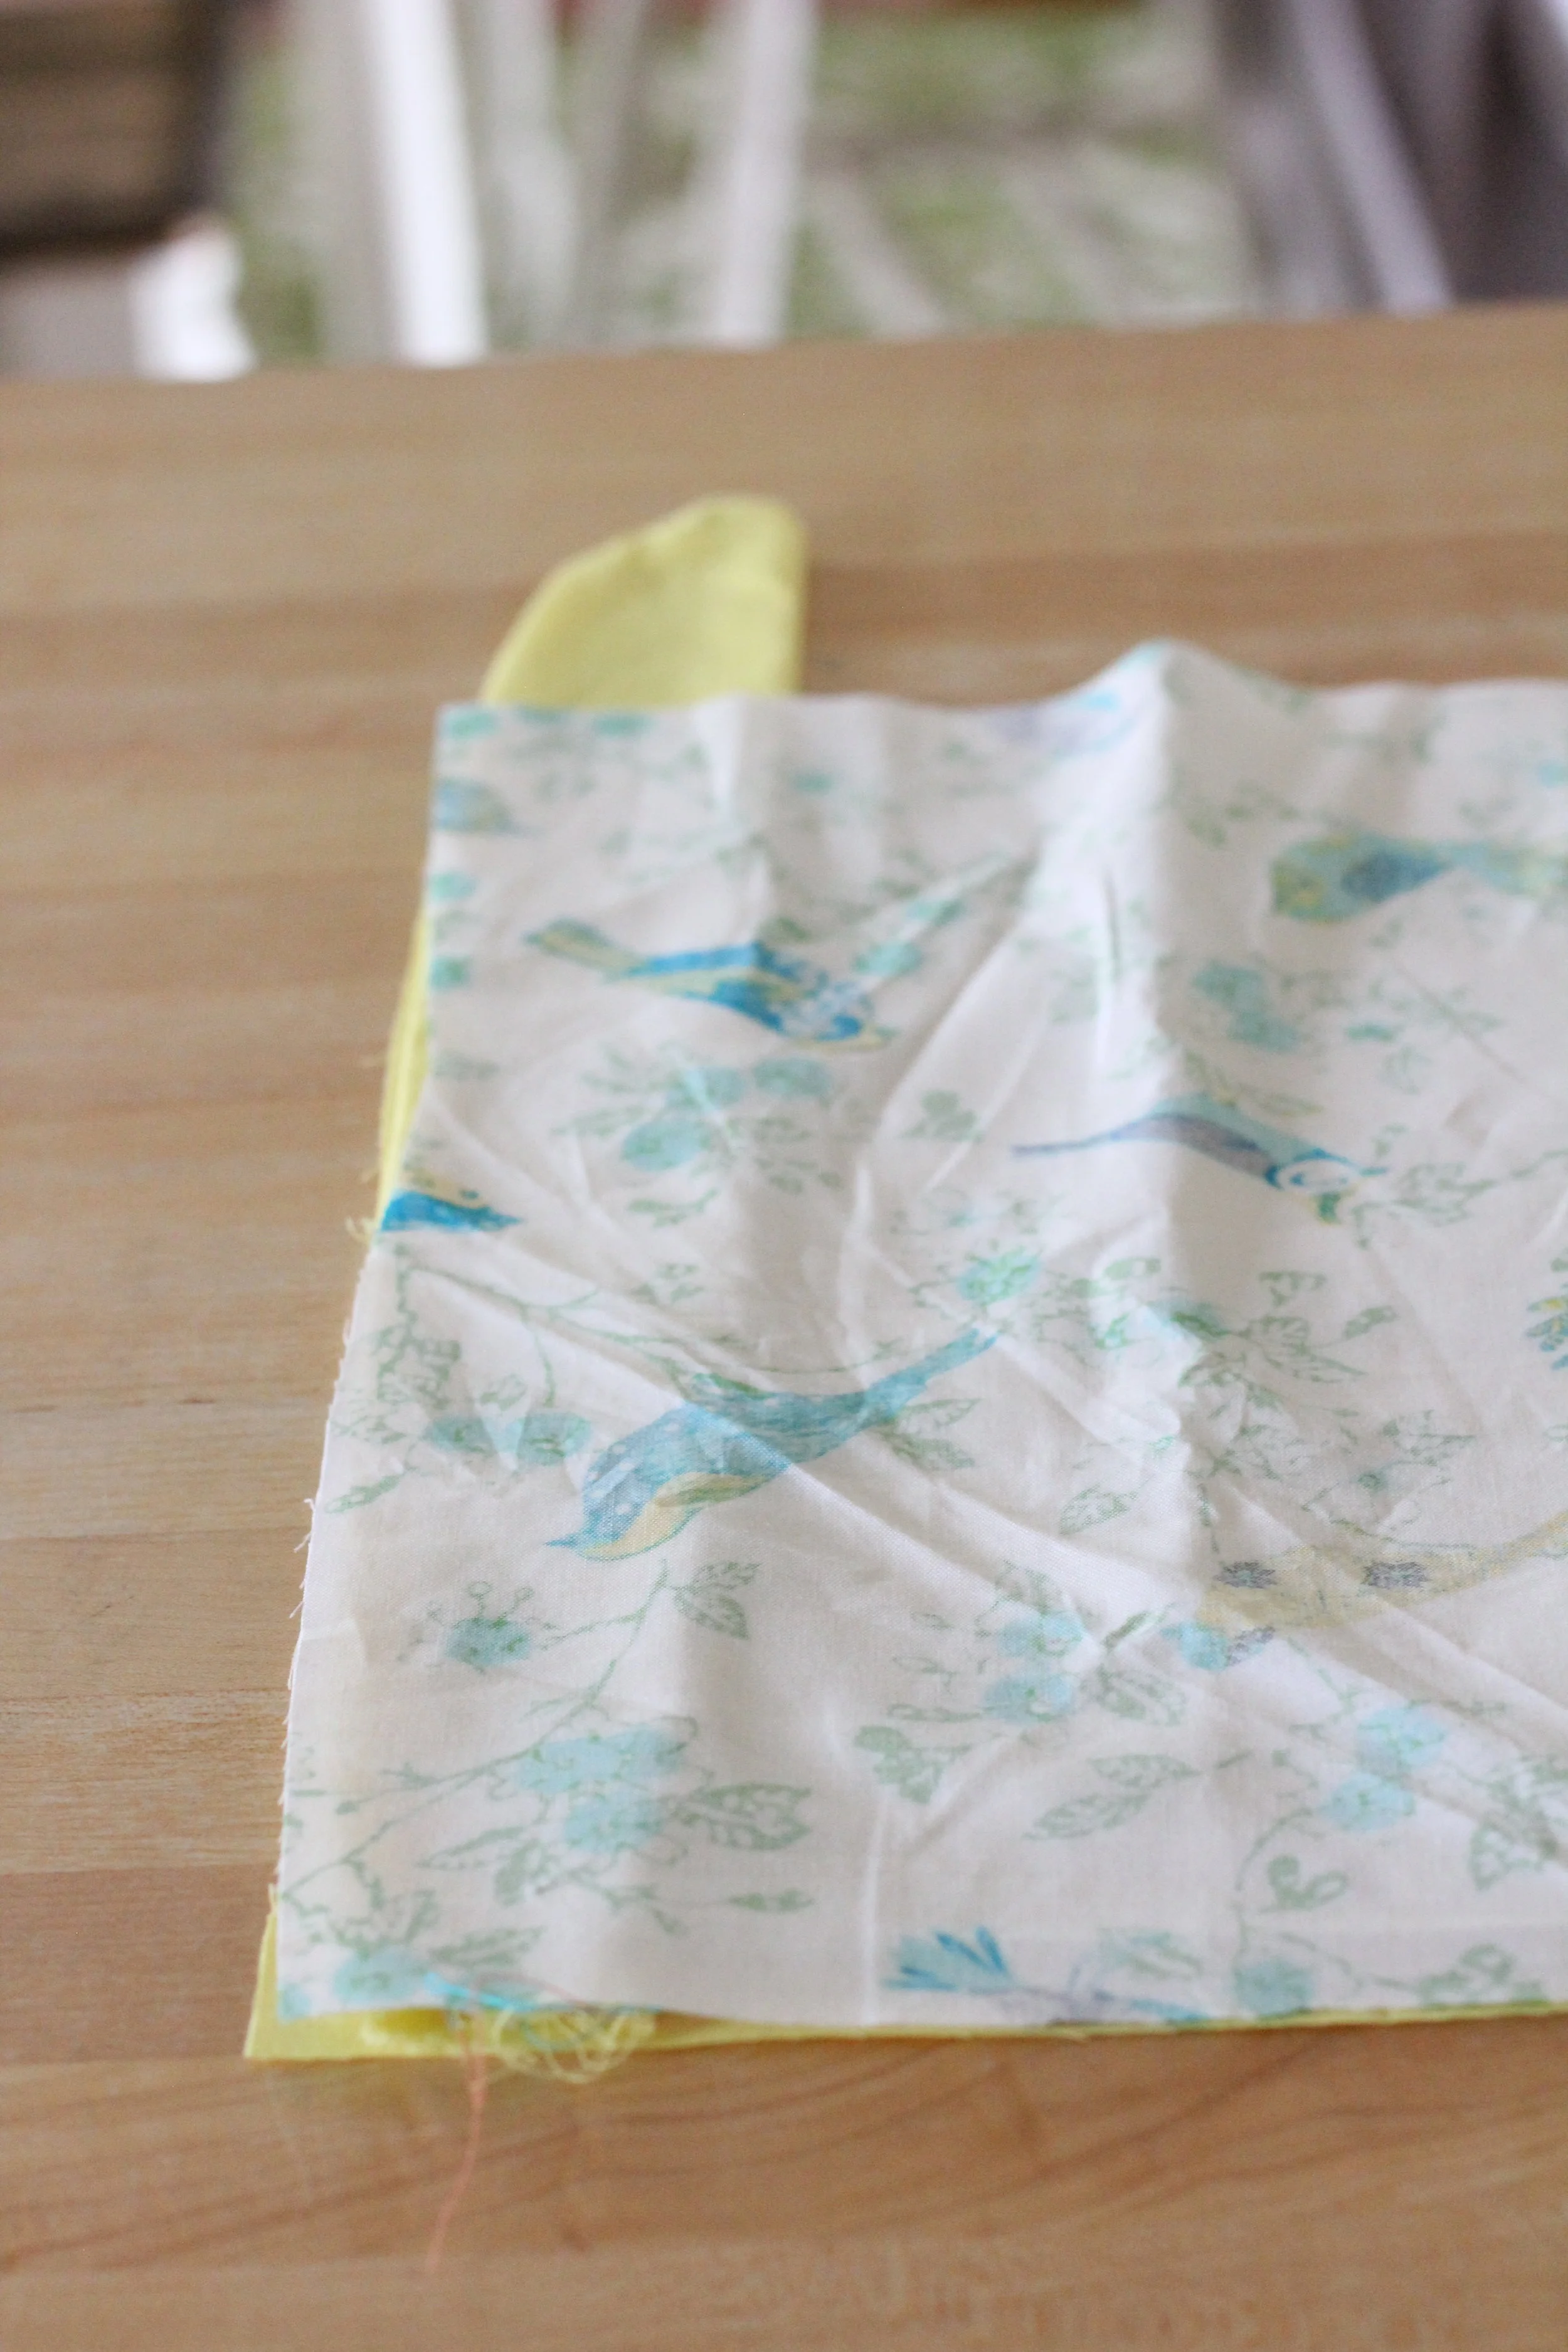
Cut two squares from each type of fabric and lay pretty sides together into 9" X 14". Set aside. For the strings to tie under her chin I decided to go with a thicker tie. I cut two strips of the same color into 3" X 12" and put pretty sides facing each other. Run a 1/4 seam down the length. For one side of the width run your seam on a diagonal like this:
Then all the rest of the way down. Then turn inside out.
visual for you because I could not for the life of me figure out how to turn it inside out
If possible, iron. I'm not usually a stickler for ironing but in this case I do recommend it ironing the yellow neck ties when finished turning them inside out.
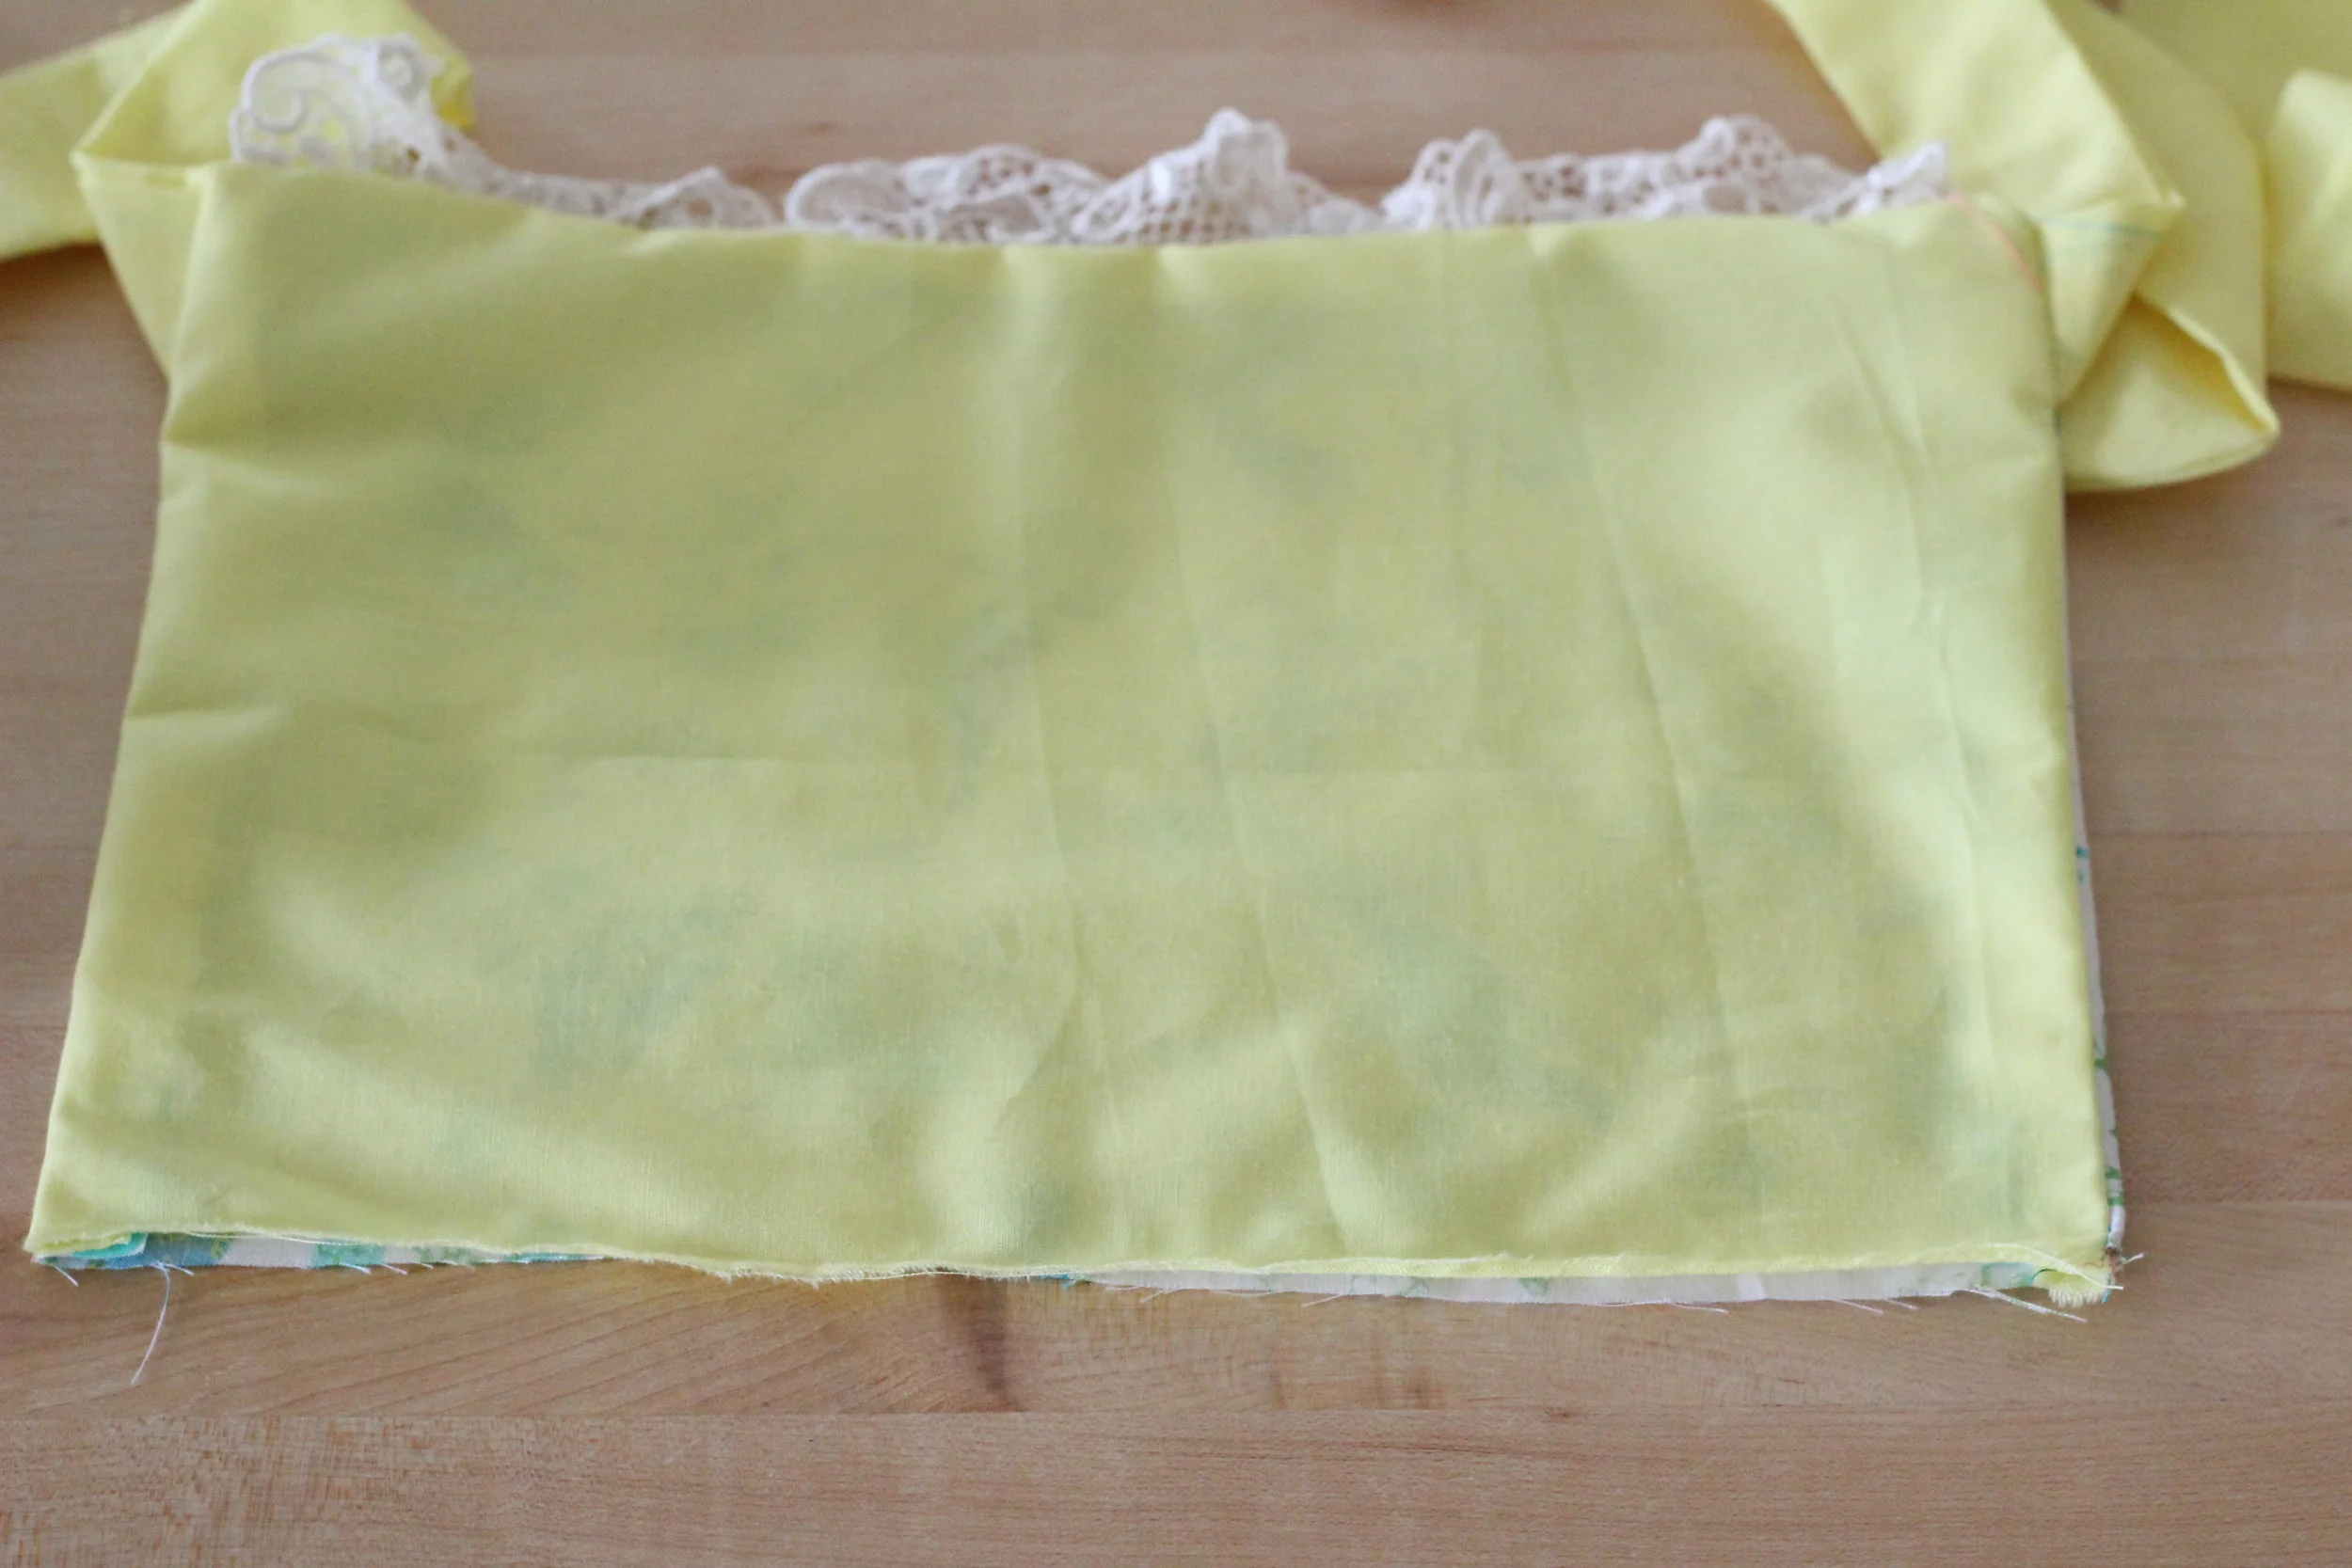
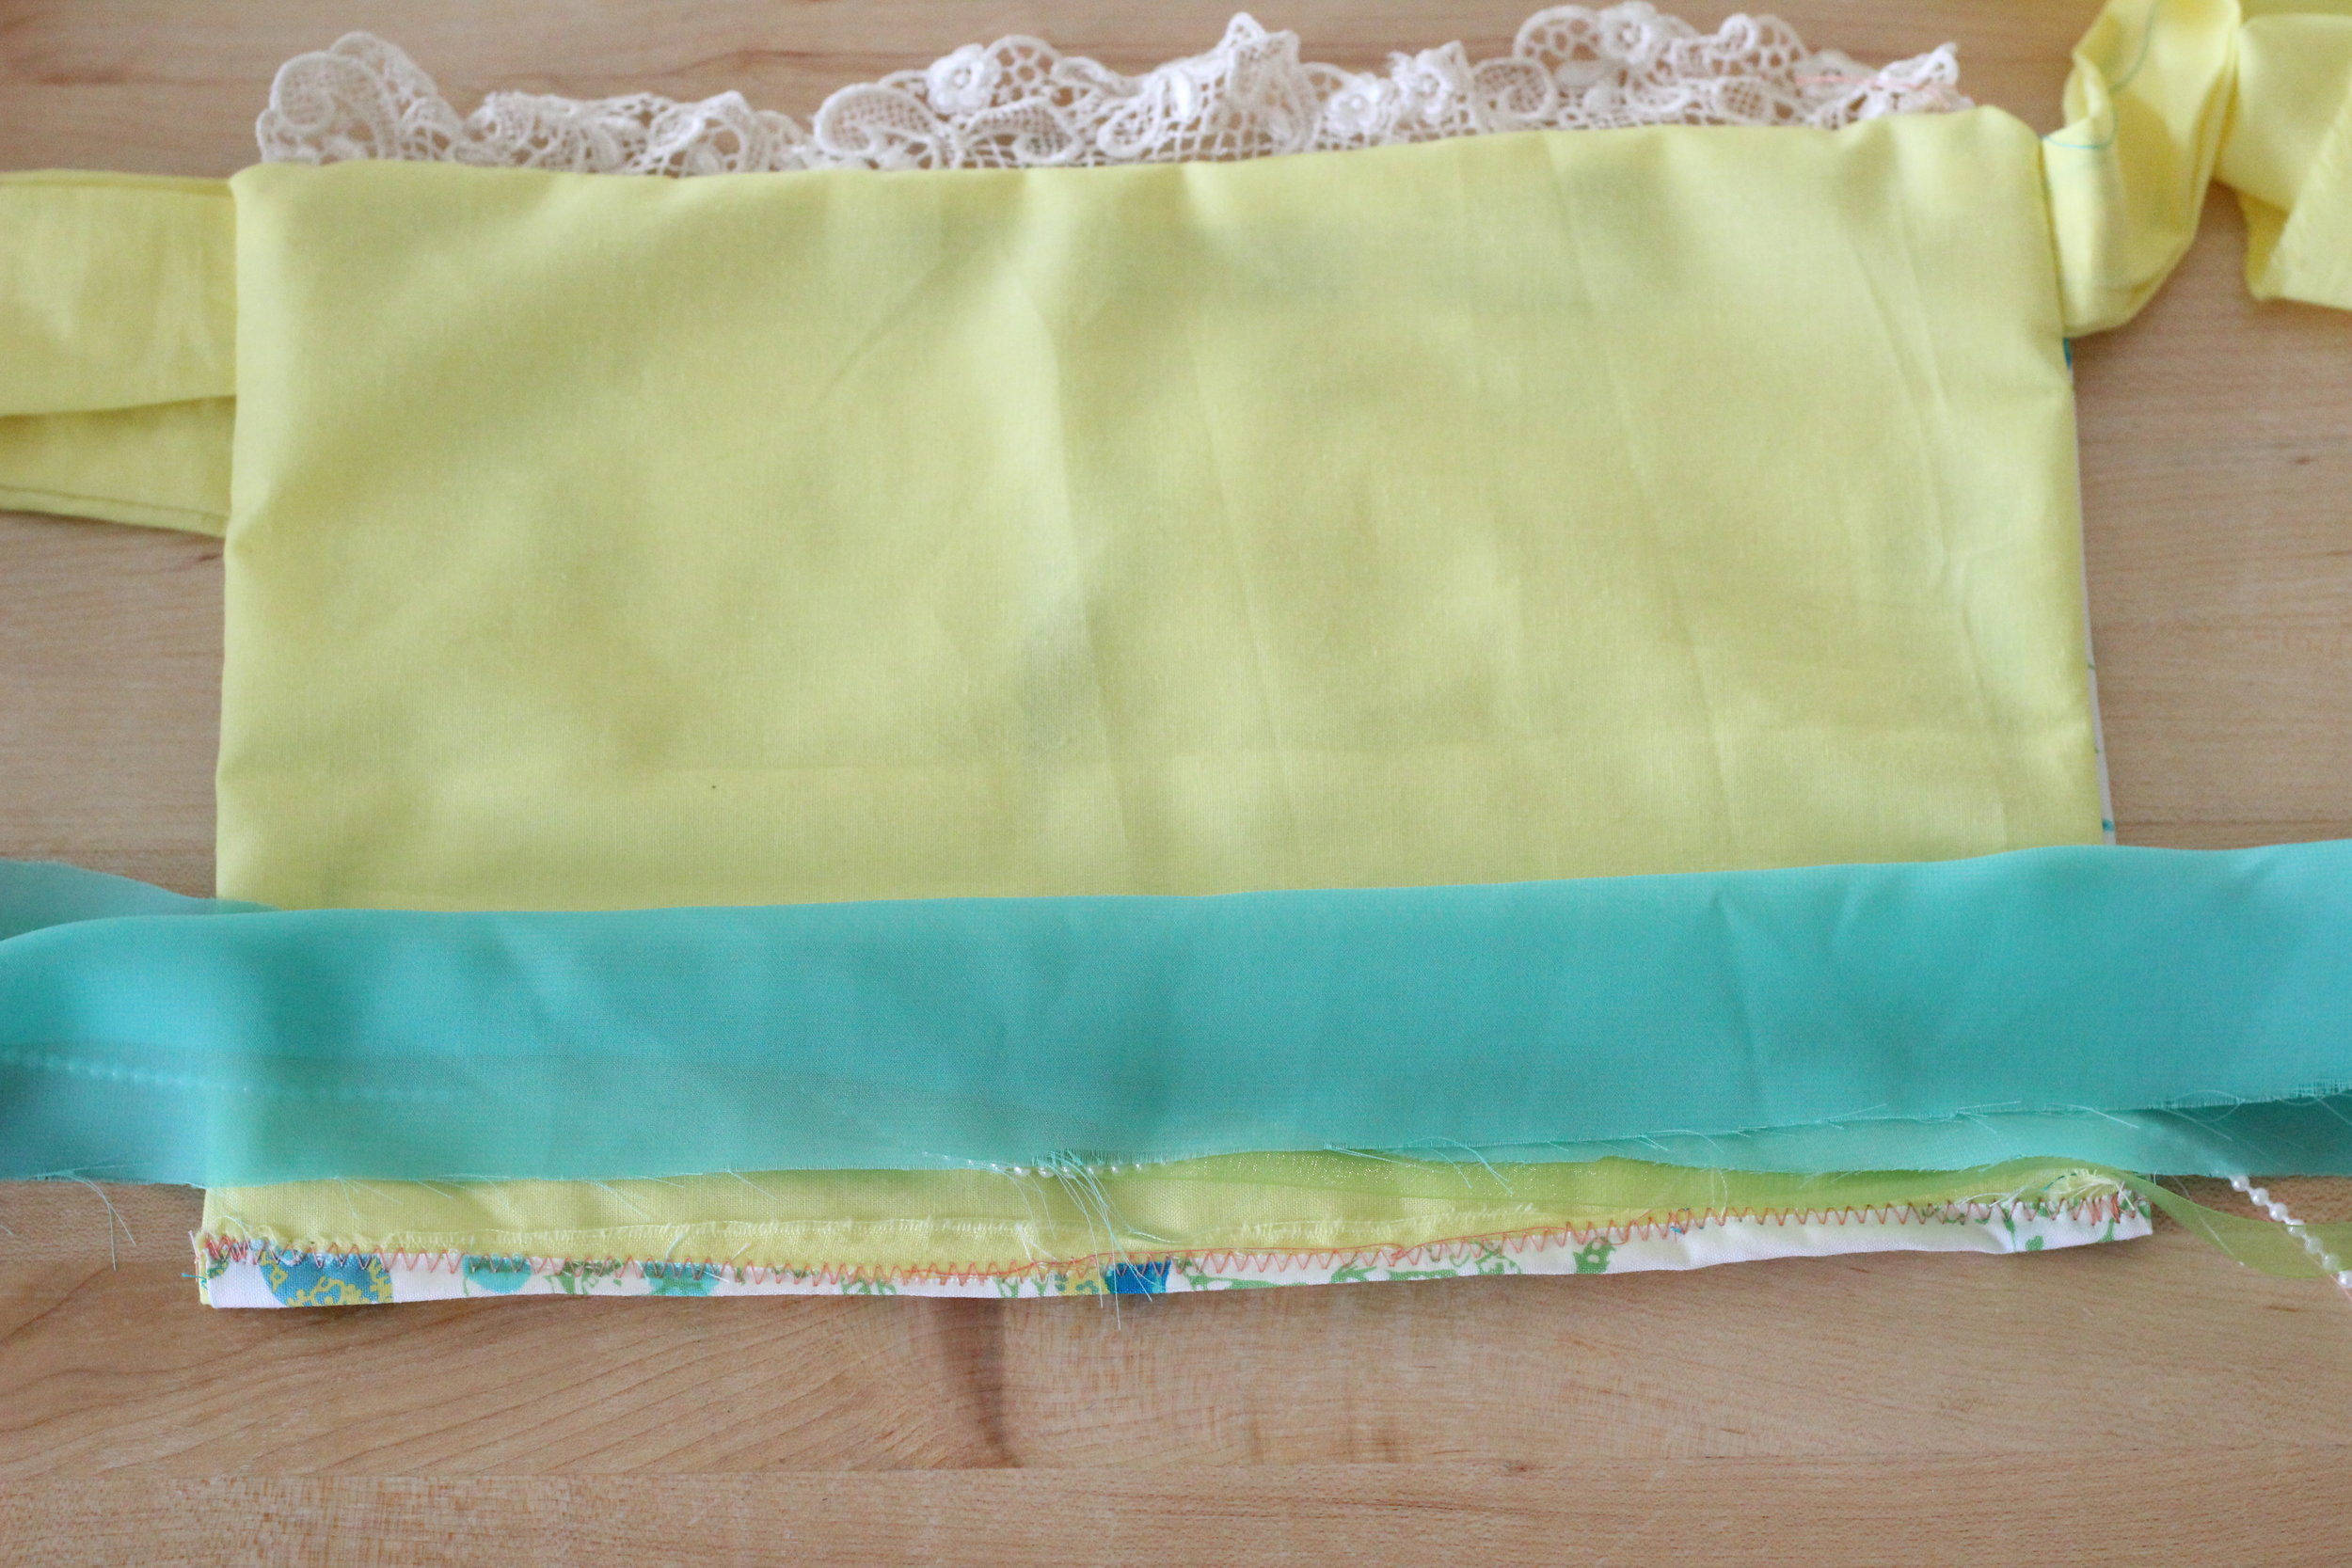
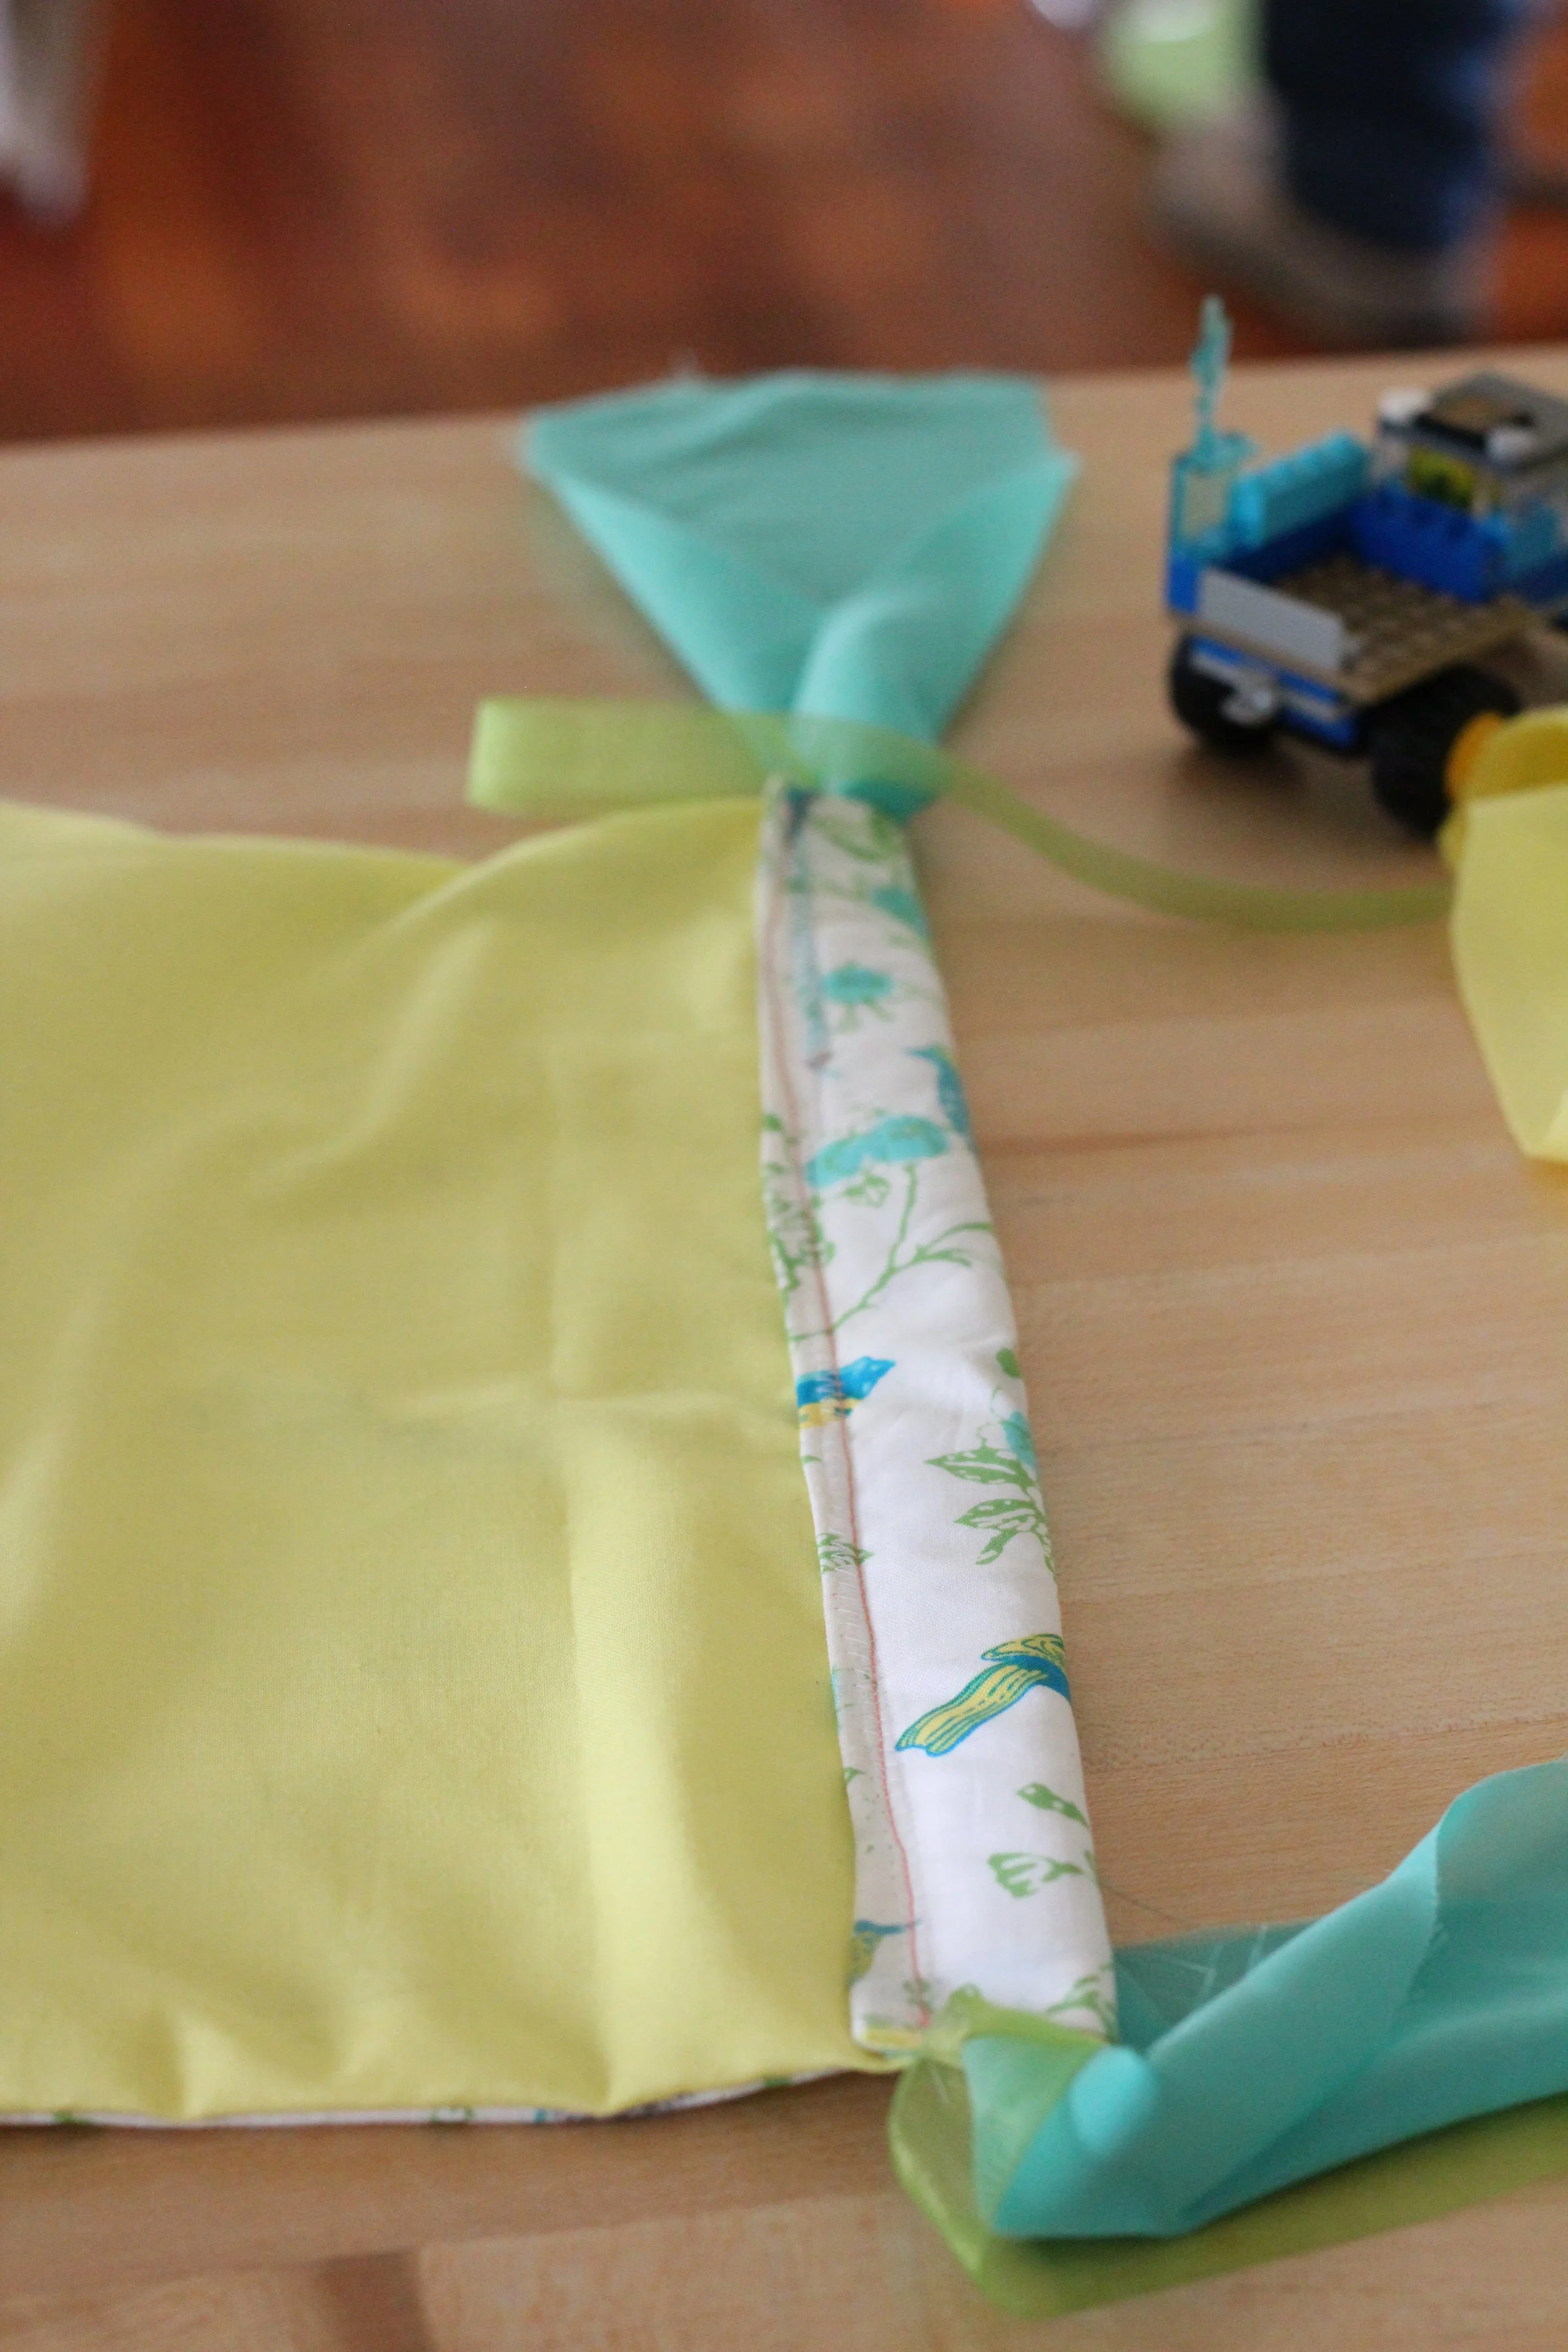
Take the 9X14 squares (pretty sides together) and line the first neck tie up so that the open side of the neck tie is lined up. Looking at this picture you would go from left to right. Lay the open sides on the width side of your blocks and sew a seam down on each side.
For the third side (this is where her forehead will be) I decided last minute to add in some lace. If you don't want it then skip this step and simply sew the third side closed. Otherwise, carefully position the lace on the inside with pins (i'm sure there is an easier way to do this!) and sew.
Turn inside out. Now, for the casing.
Now that the pretty sides are out, make a tiny fold and run a zig zag seam down the edge. Fold over about 1.5 inches and run a regular seam down it. Use a pin and thread your lace through and tie it. Or if you're feeling like a punk then simply sew with the lace already in it, like I did.
You're done!
