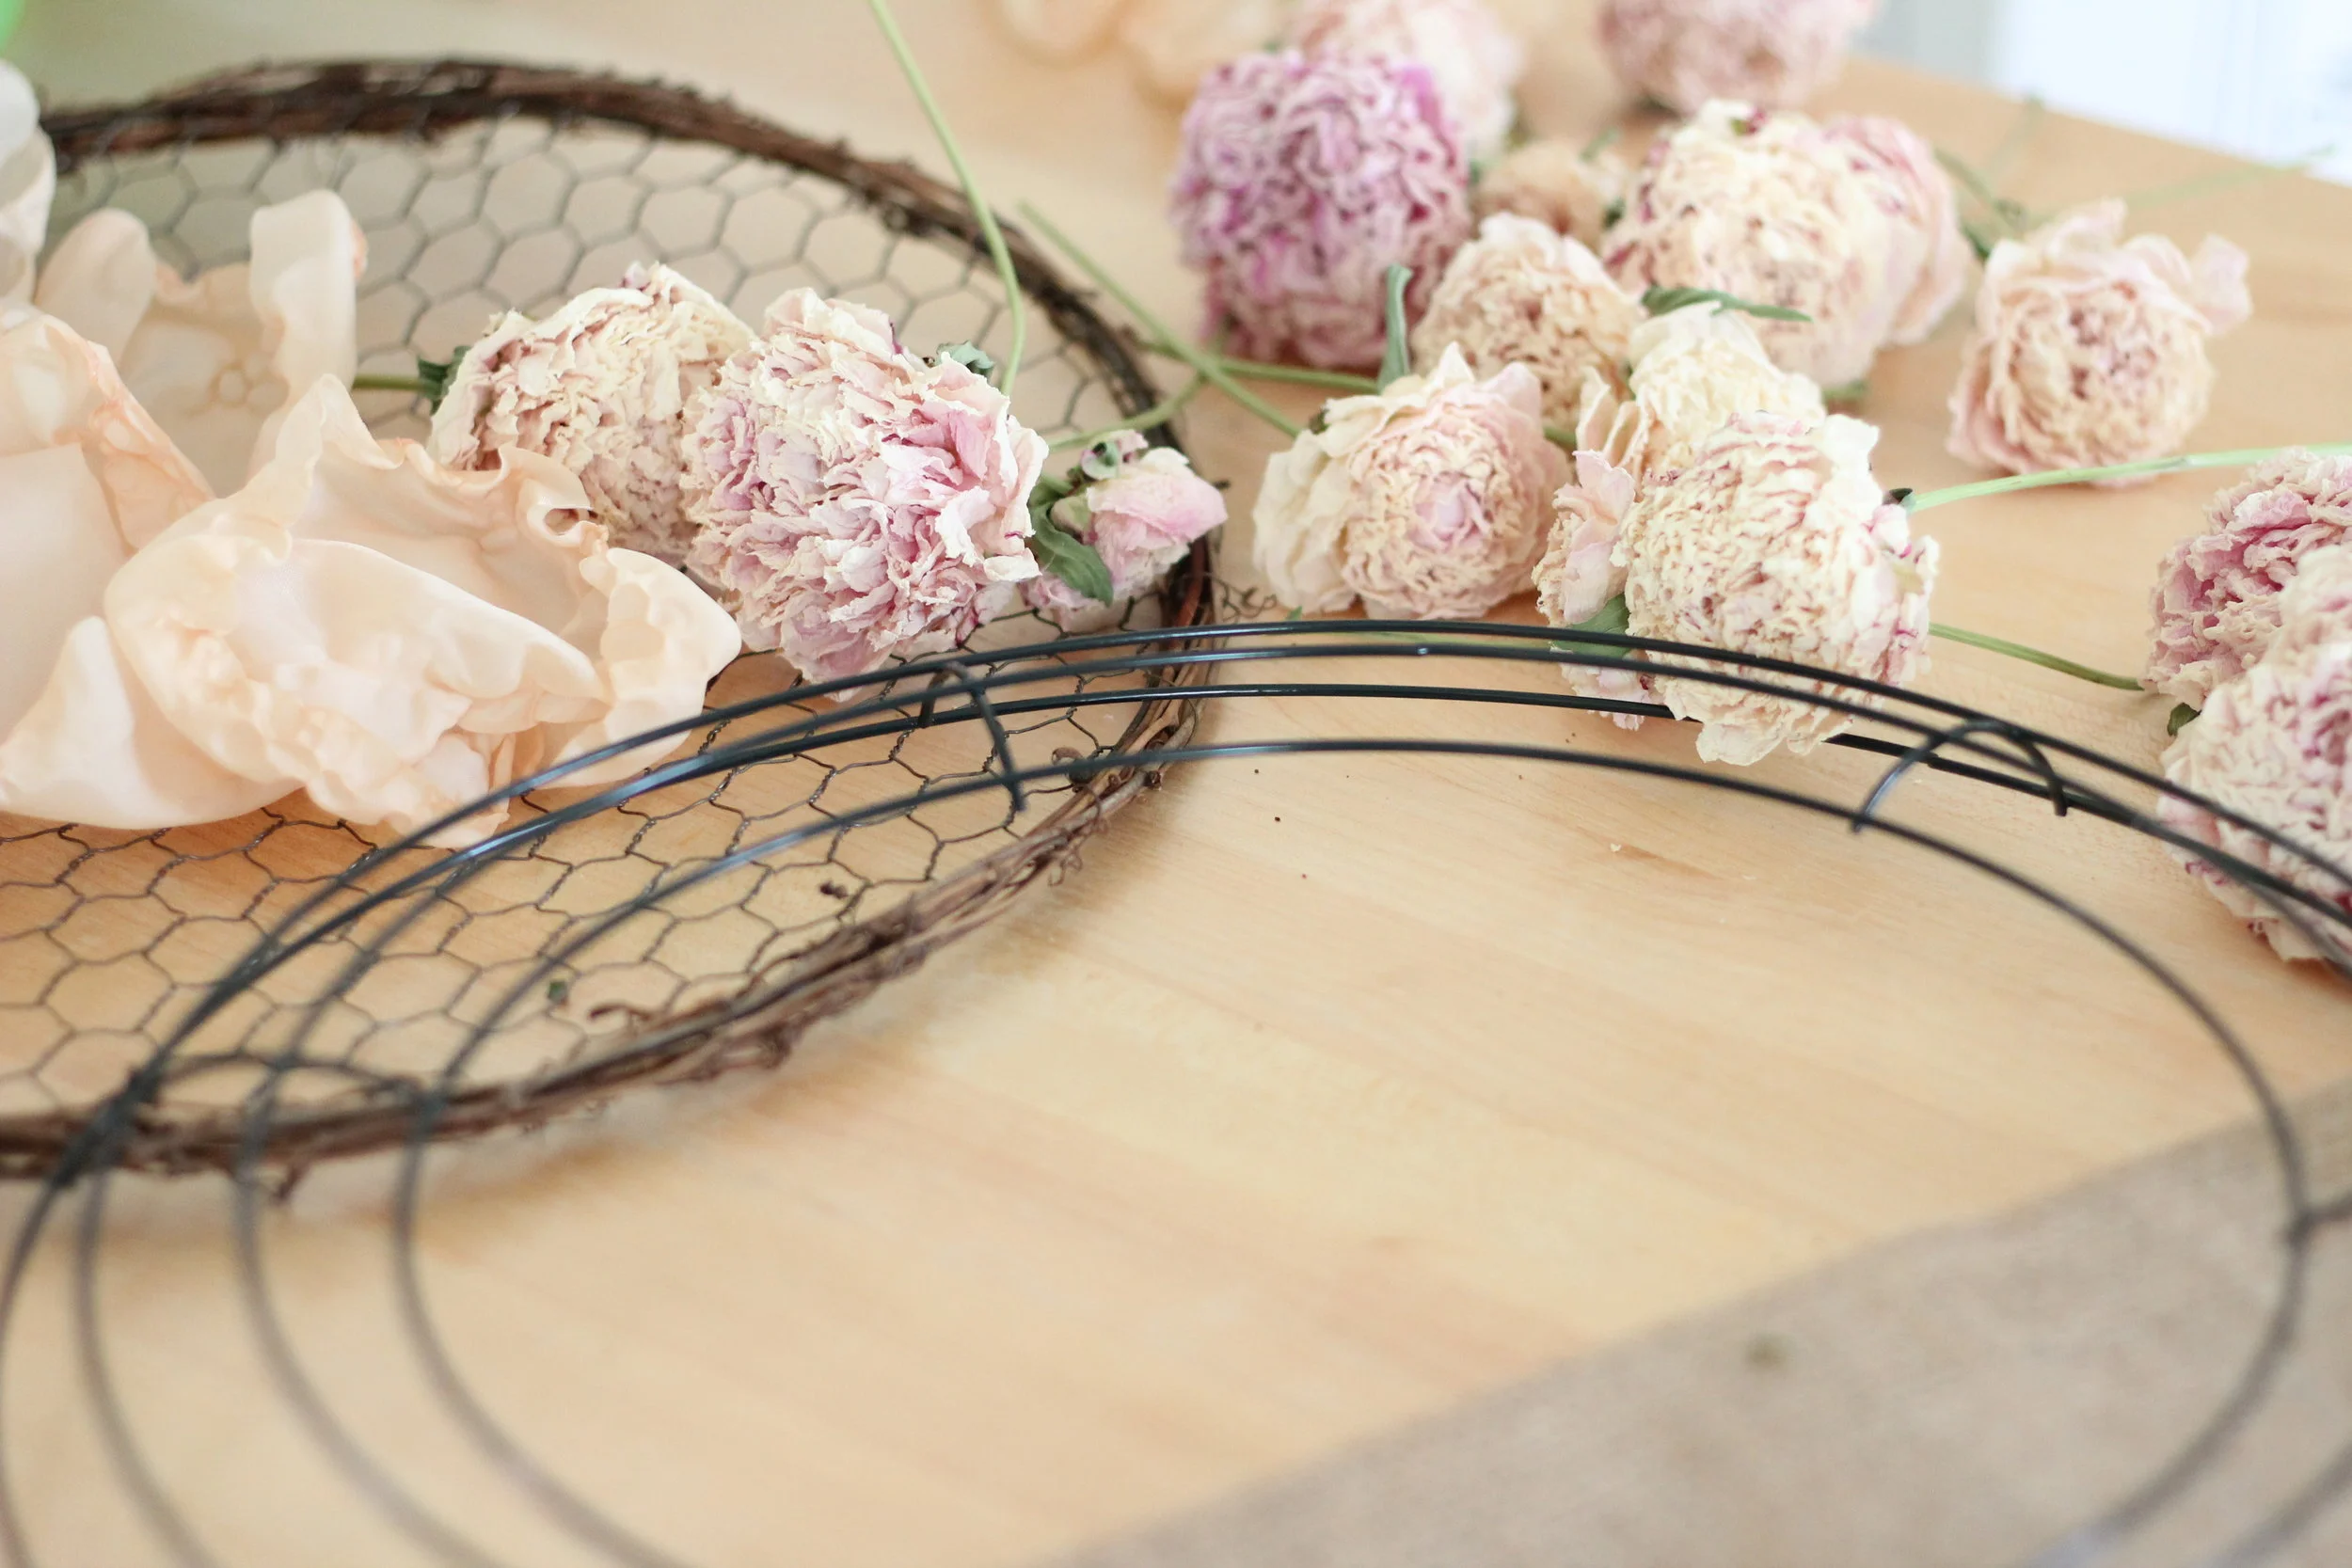
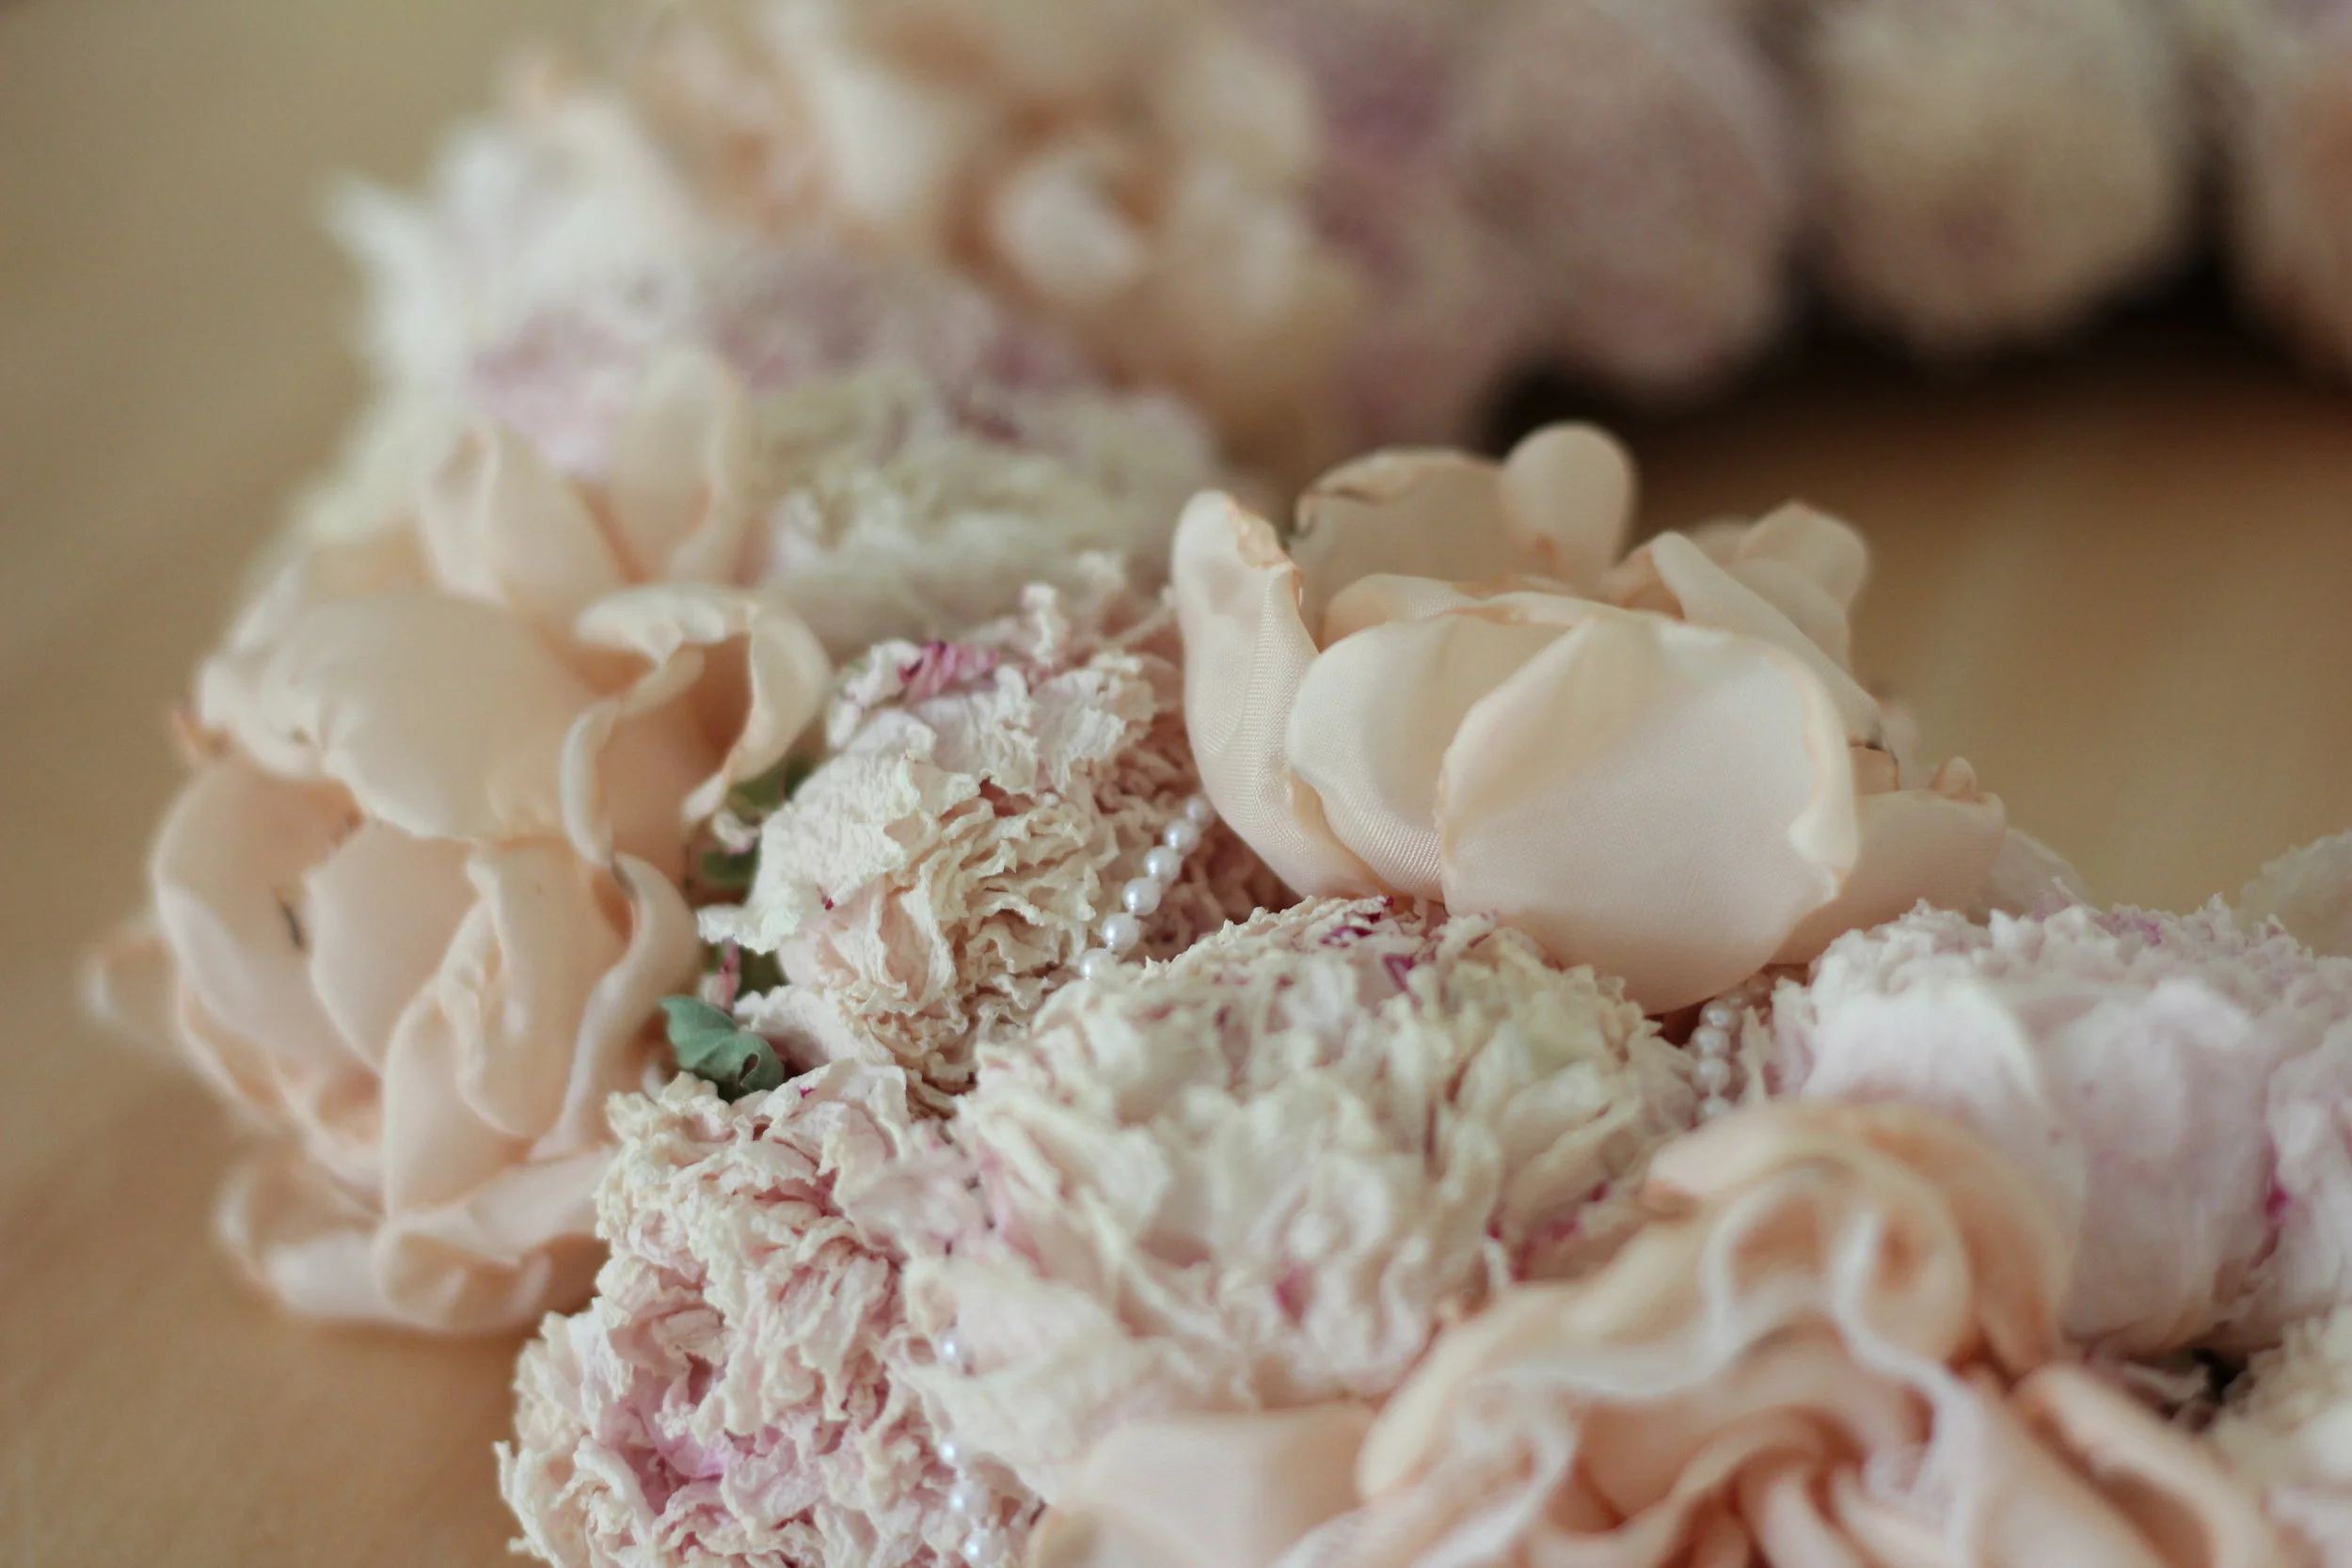
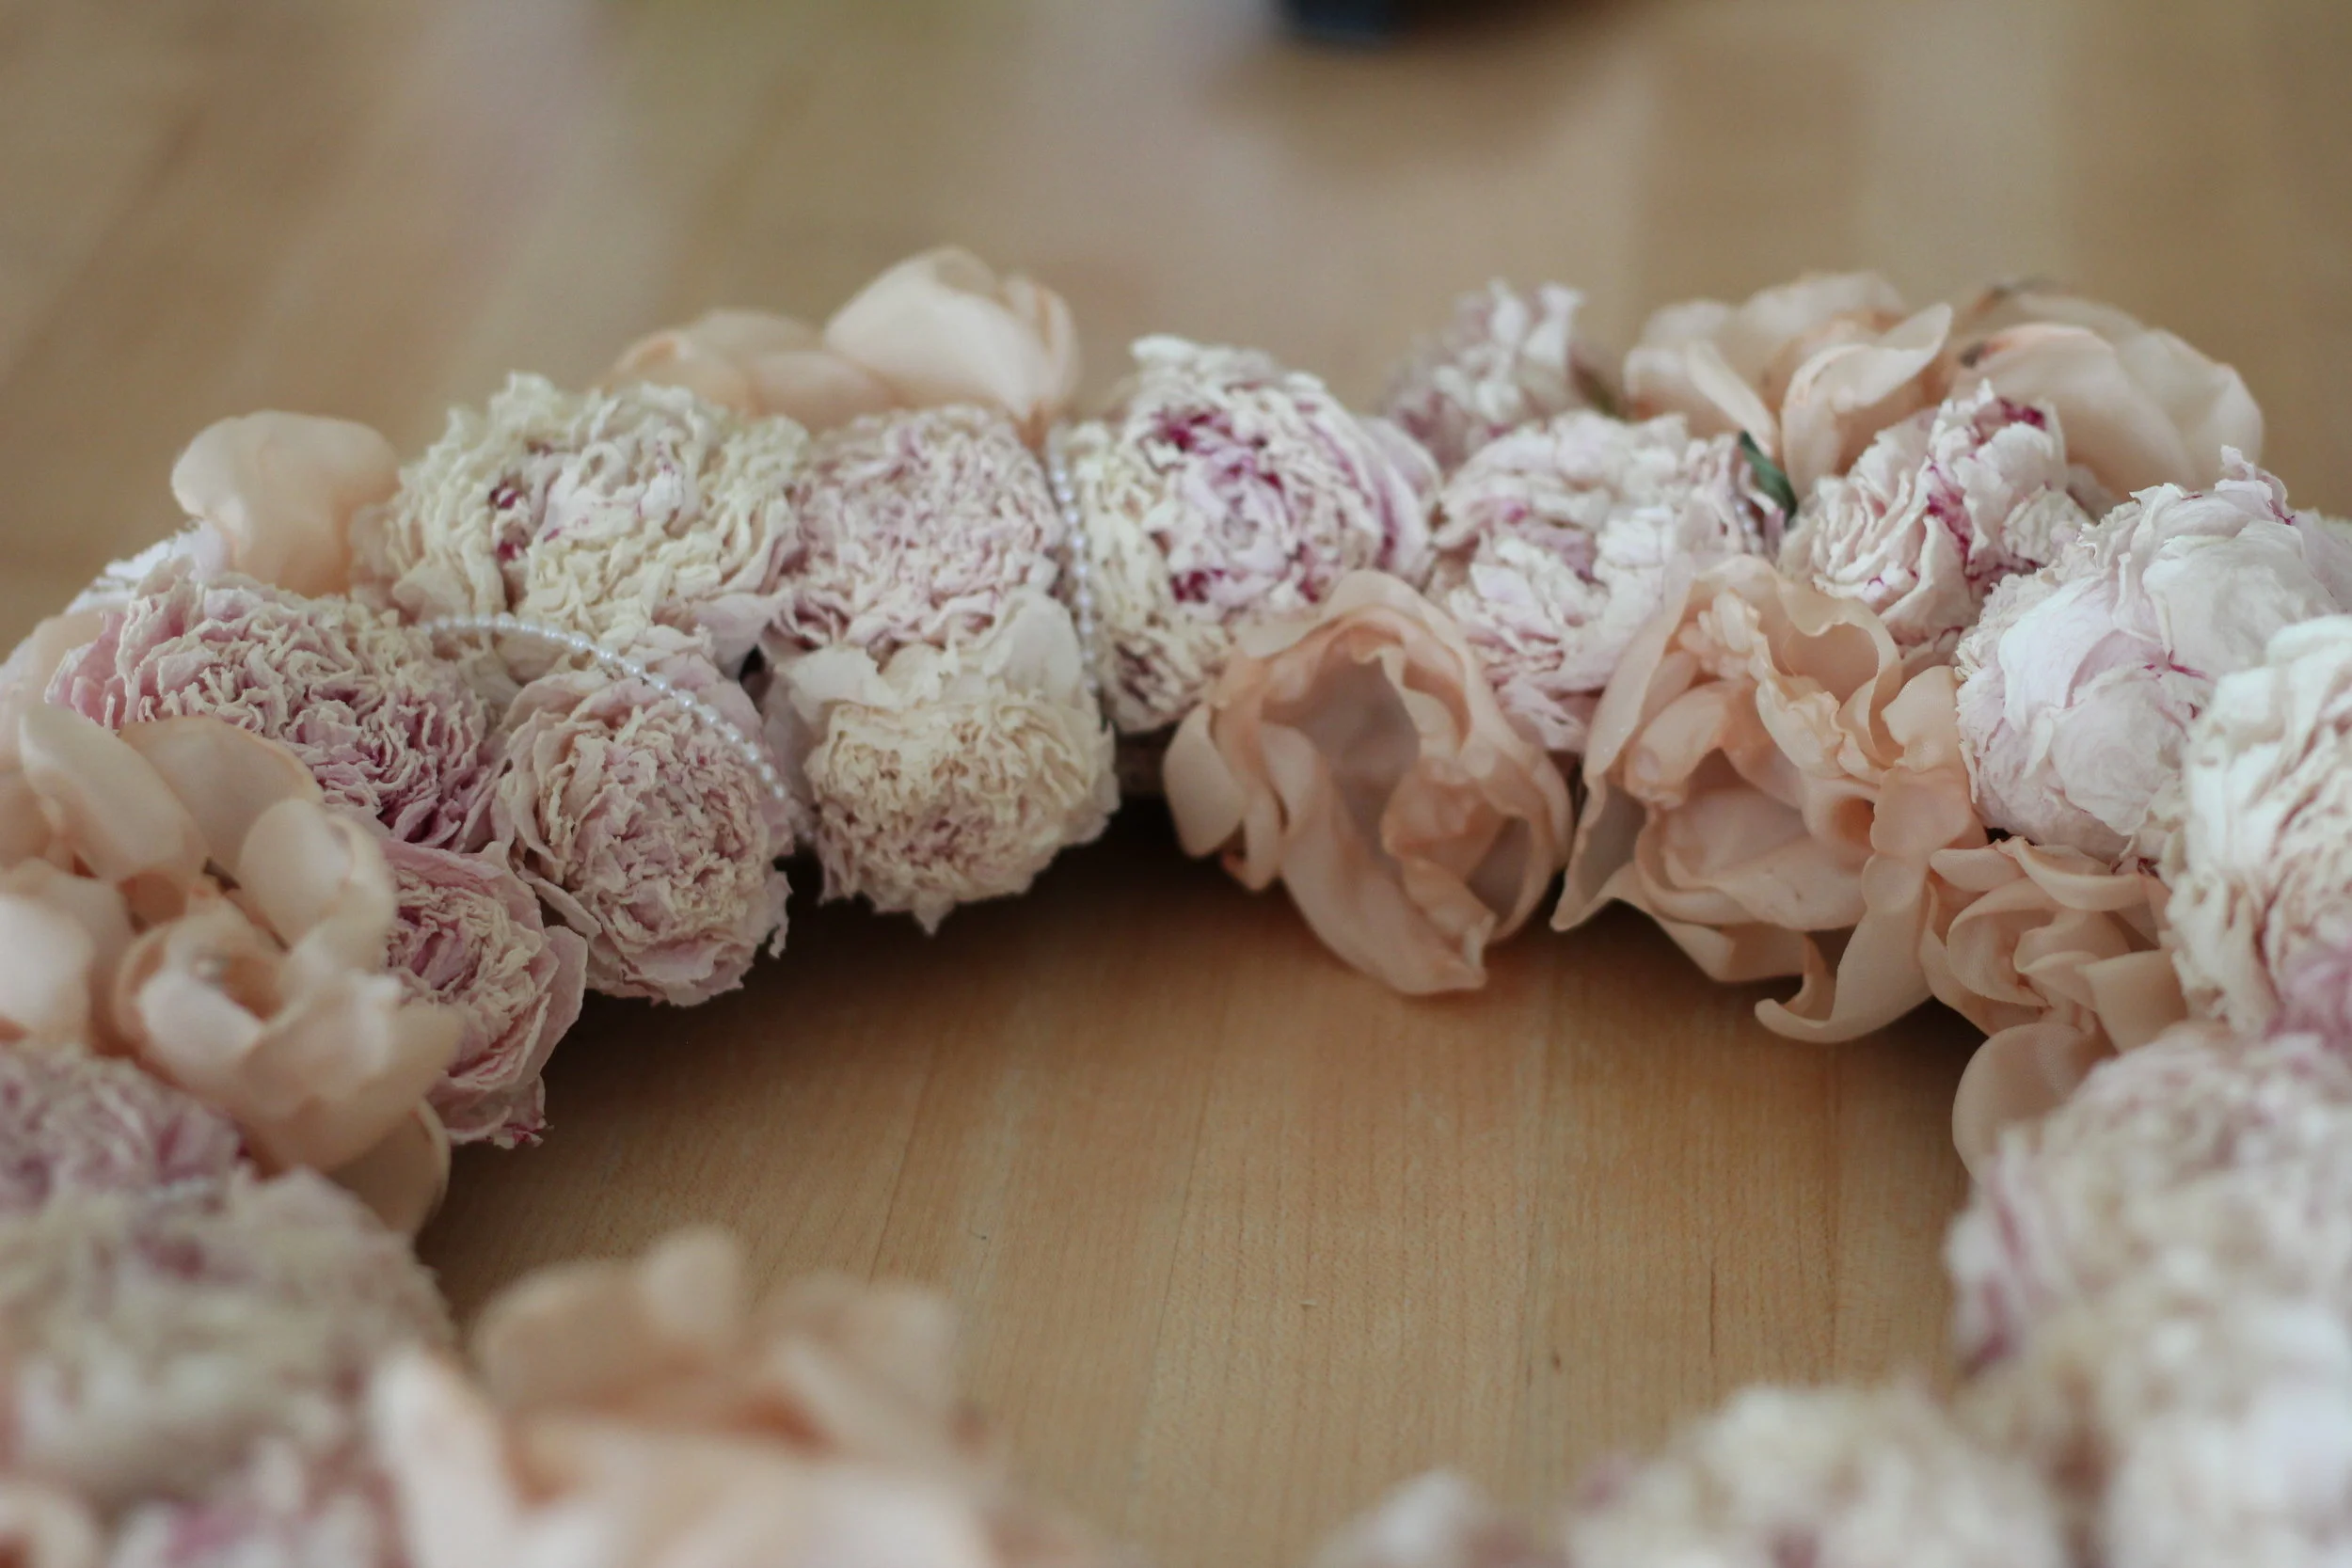
Peonies. Who doesn't adore them? They're like gigantic luscious roses but without the thorns. Many grandmas and Southerners will boast of these beauties that filled their garden beds and graced their doily-lined wooden tables along side victorian knick knacks.
It was my mom who first brought peonies to my attention and I have been enamored since. After I married, the first thing I did was planted peony bushes in my yard. The plants like to be settled for a few years before they really start blooming. Then, in late spring the buds on the ends of their thick, glossy branches give way to blooms that will fill the palm of your hand with silky crepe-like petals. These petals have a slight perfume from them and can be dried and used.
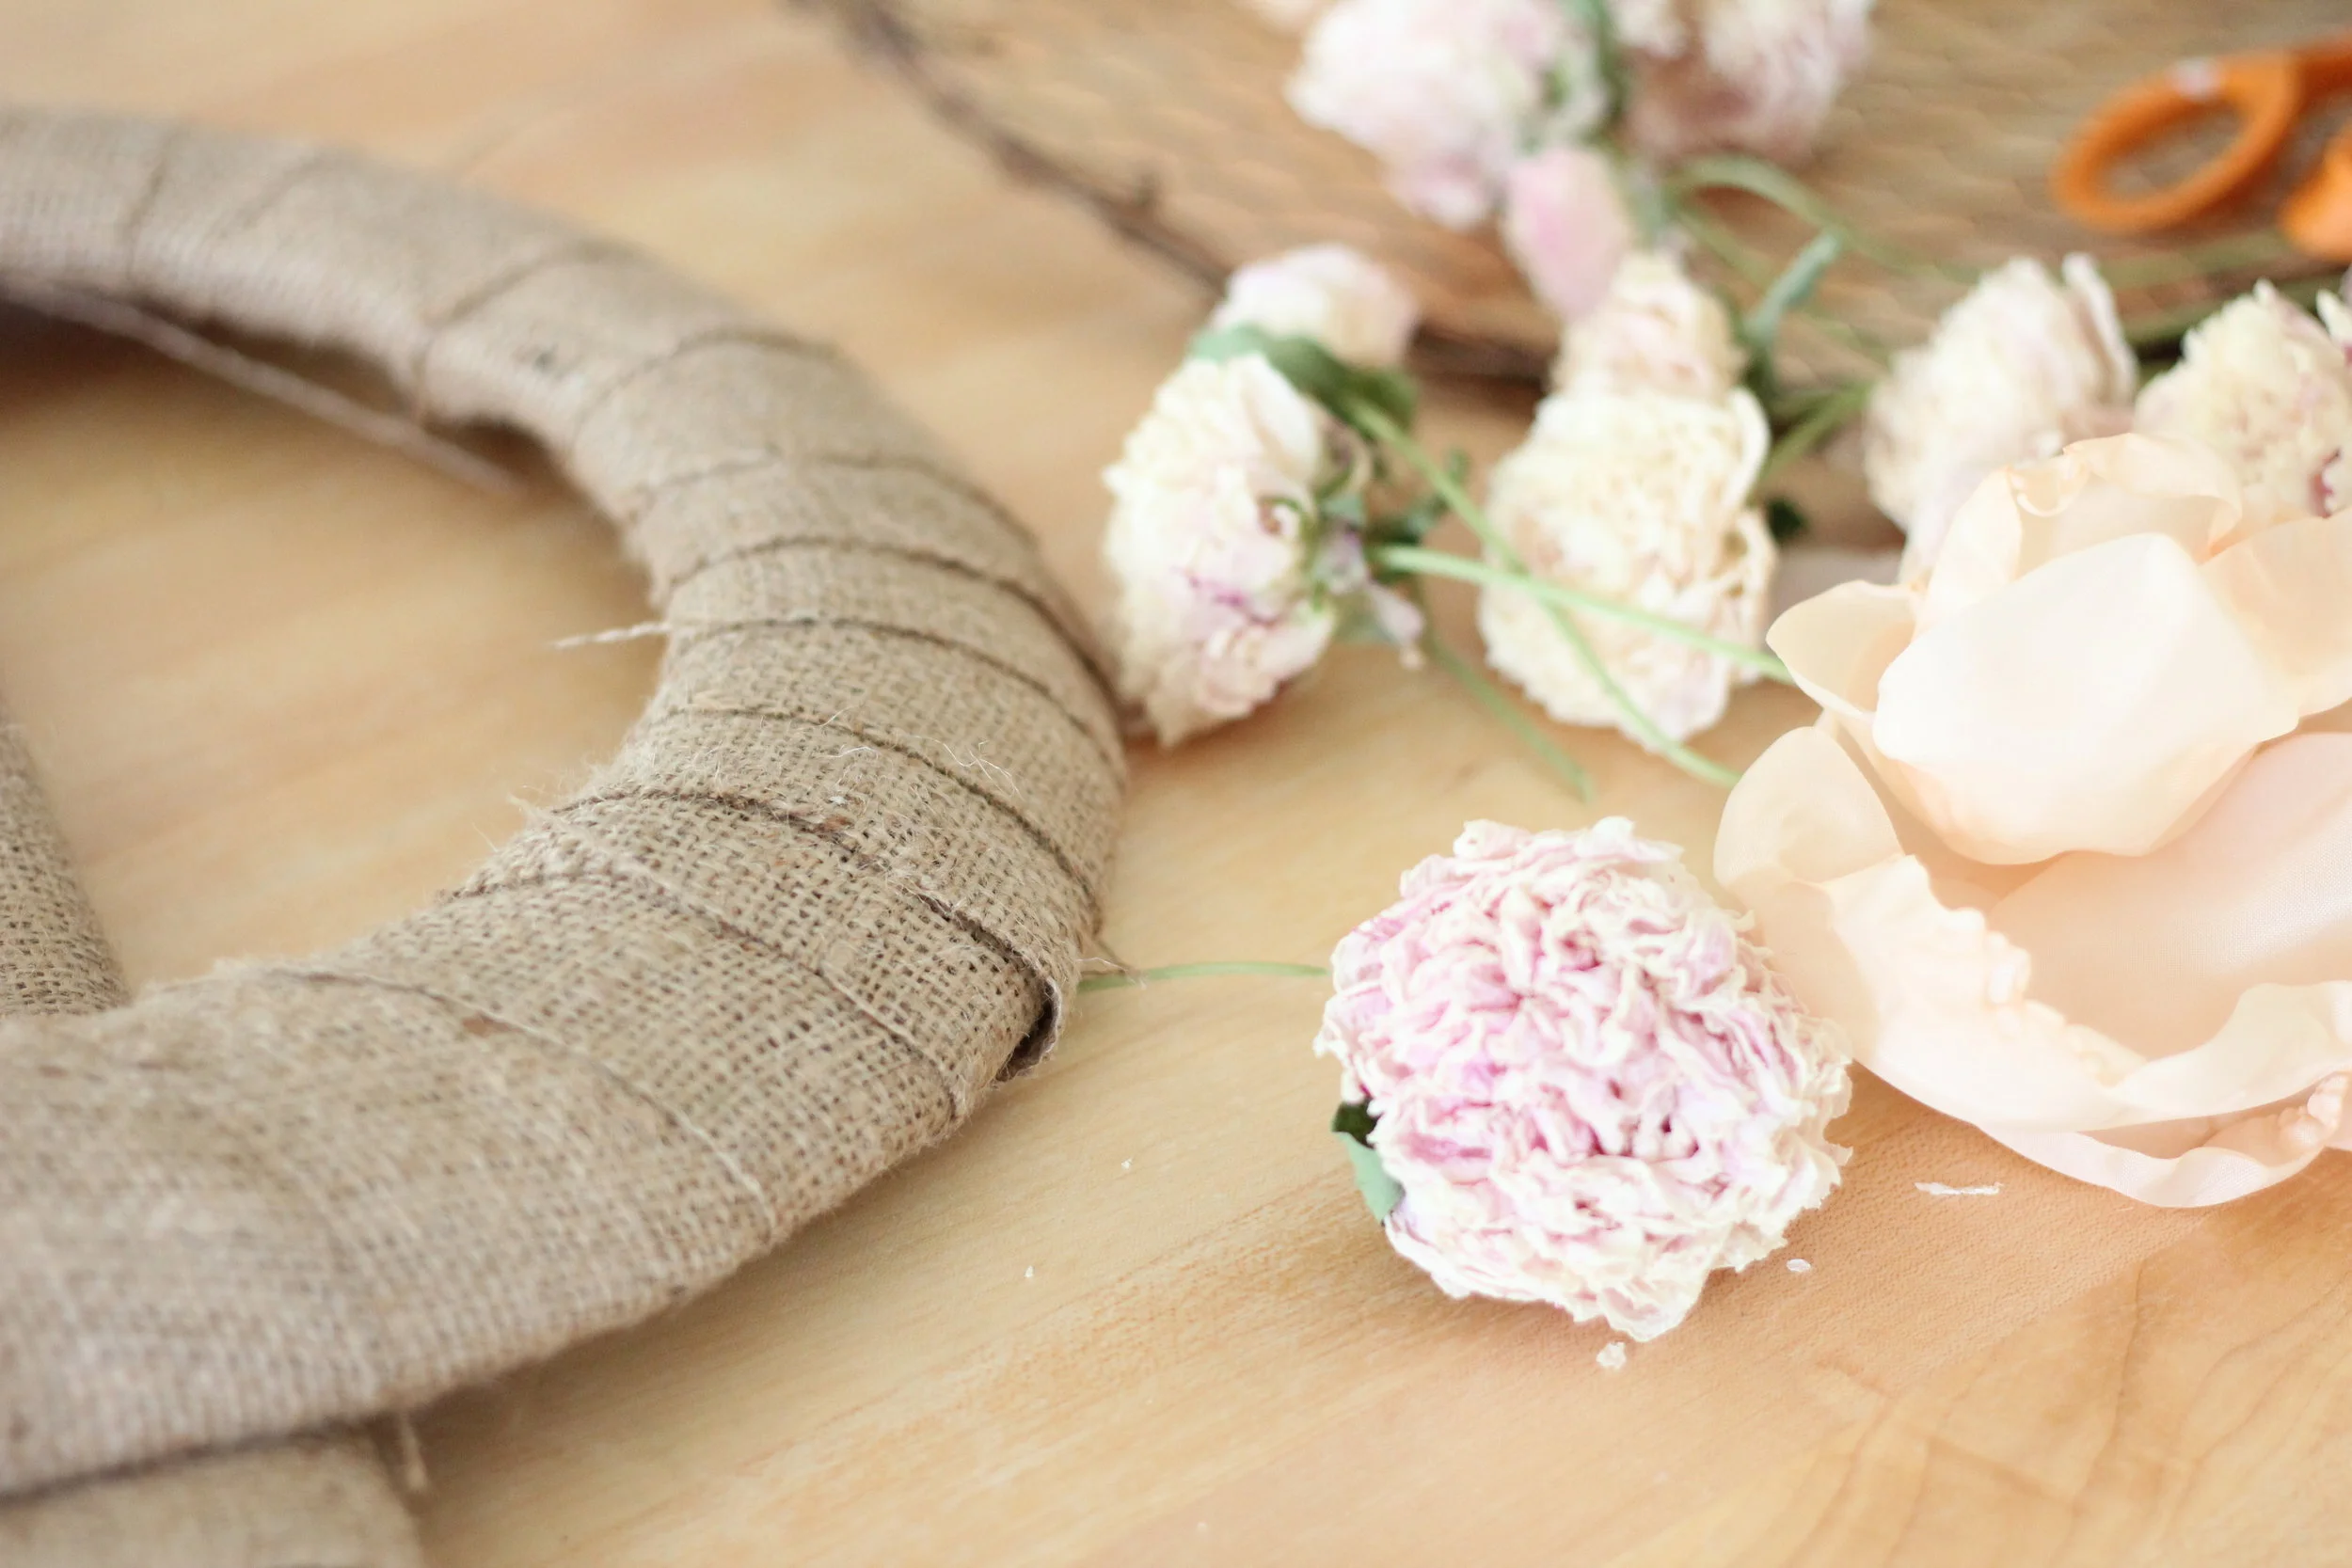
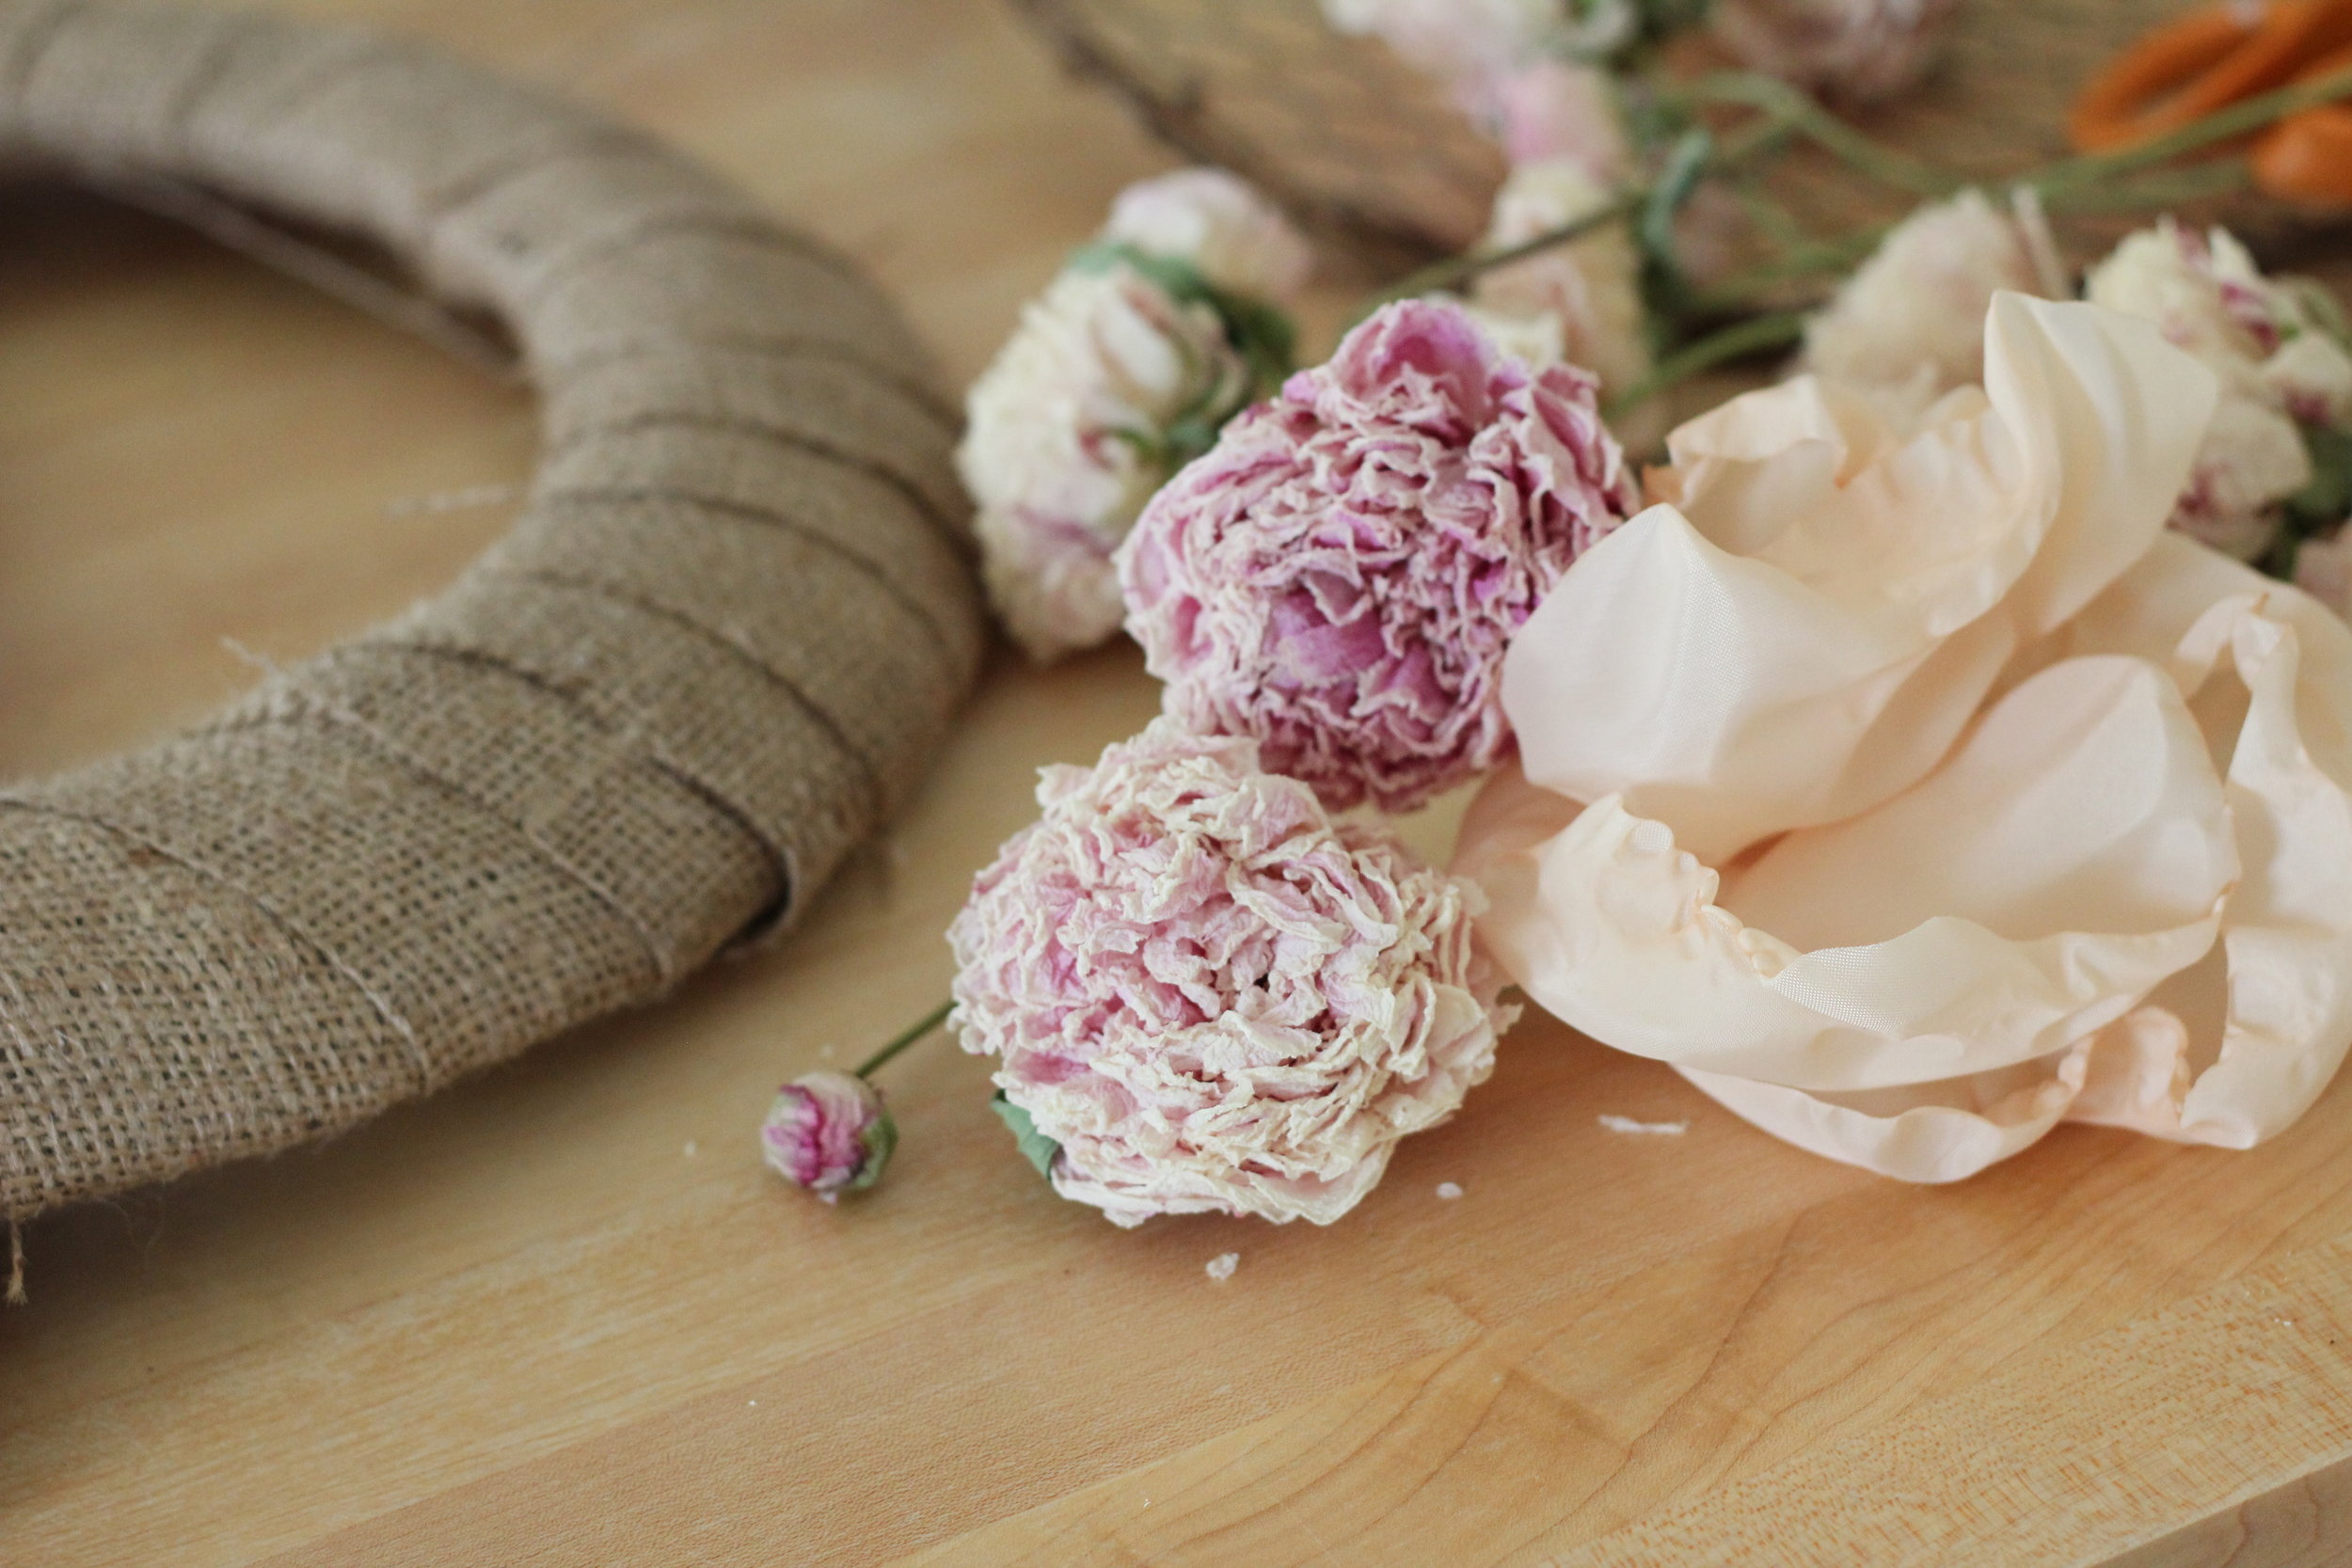
I harvest these beauties at their peak and naturally dry them until they are ready to be used in floral arrangements. Once they are dried their petals are still soft and pliable enough that they do not crumble too easily. As heavenly as they are fresh, they take on a faded, romantic Victorian-esque appeal.
For a tutorial on a peony wreath continue reading or you can buy one already made from my Etsy shop!
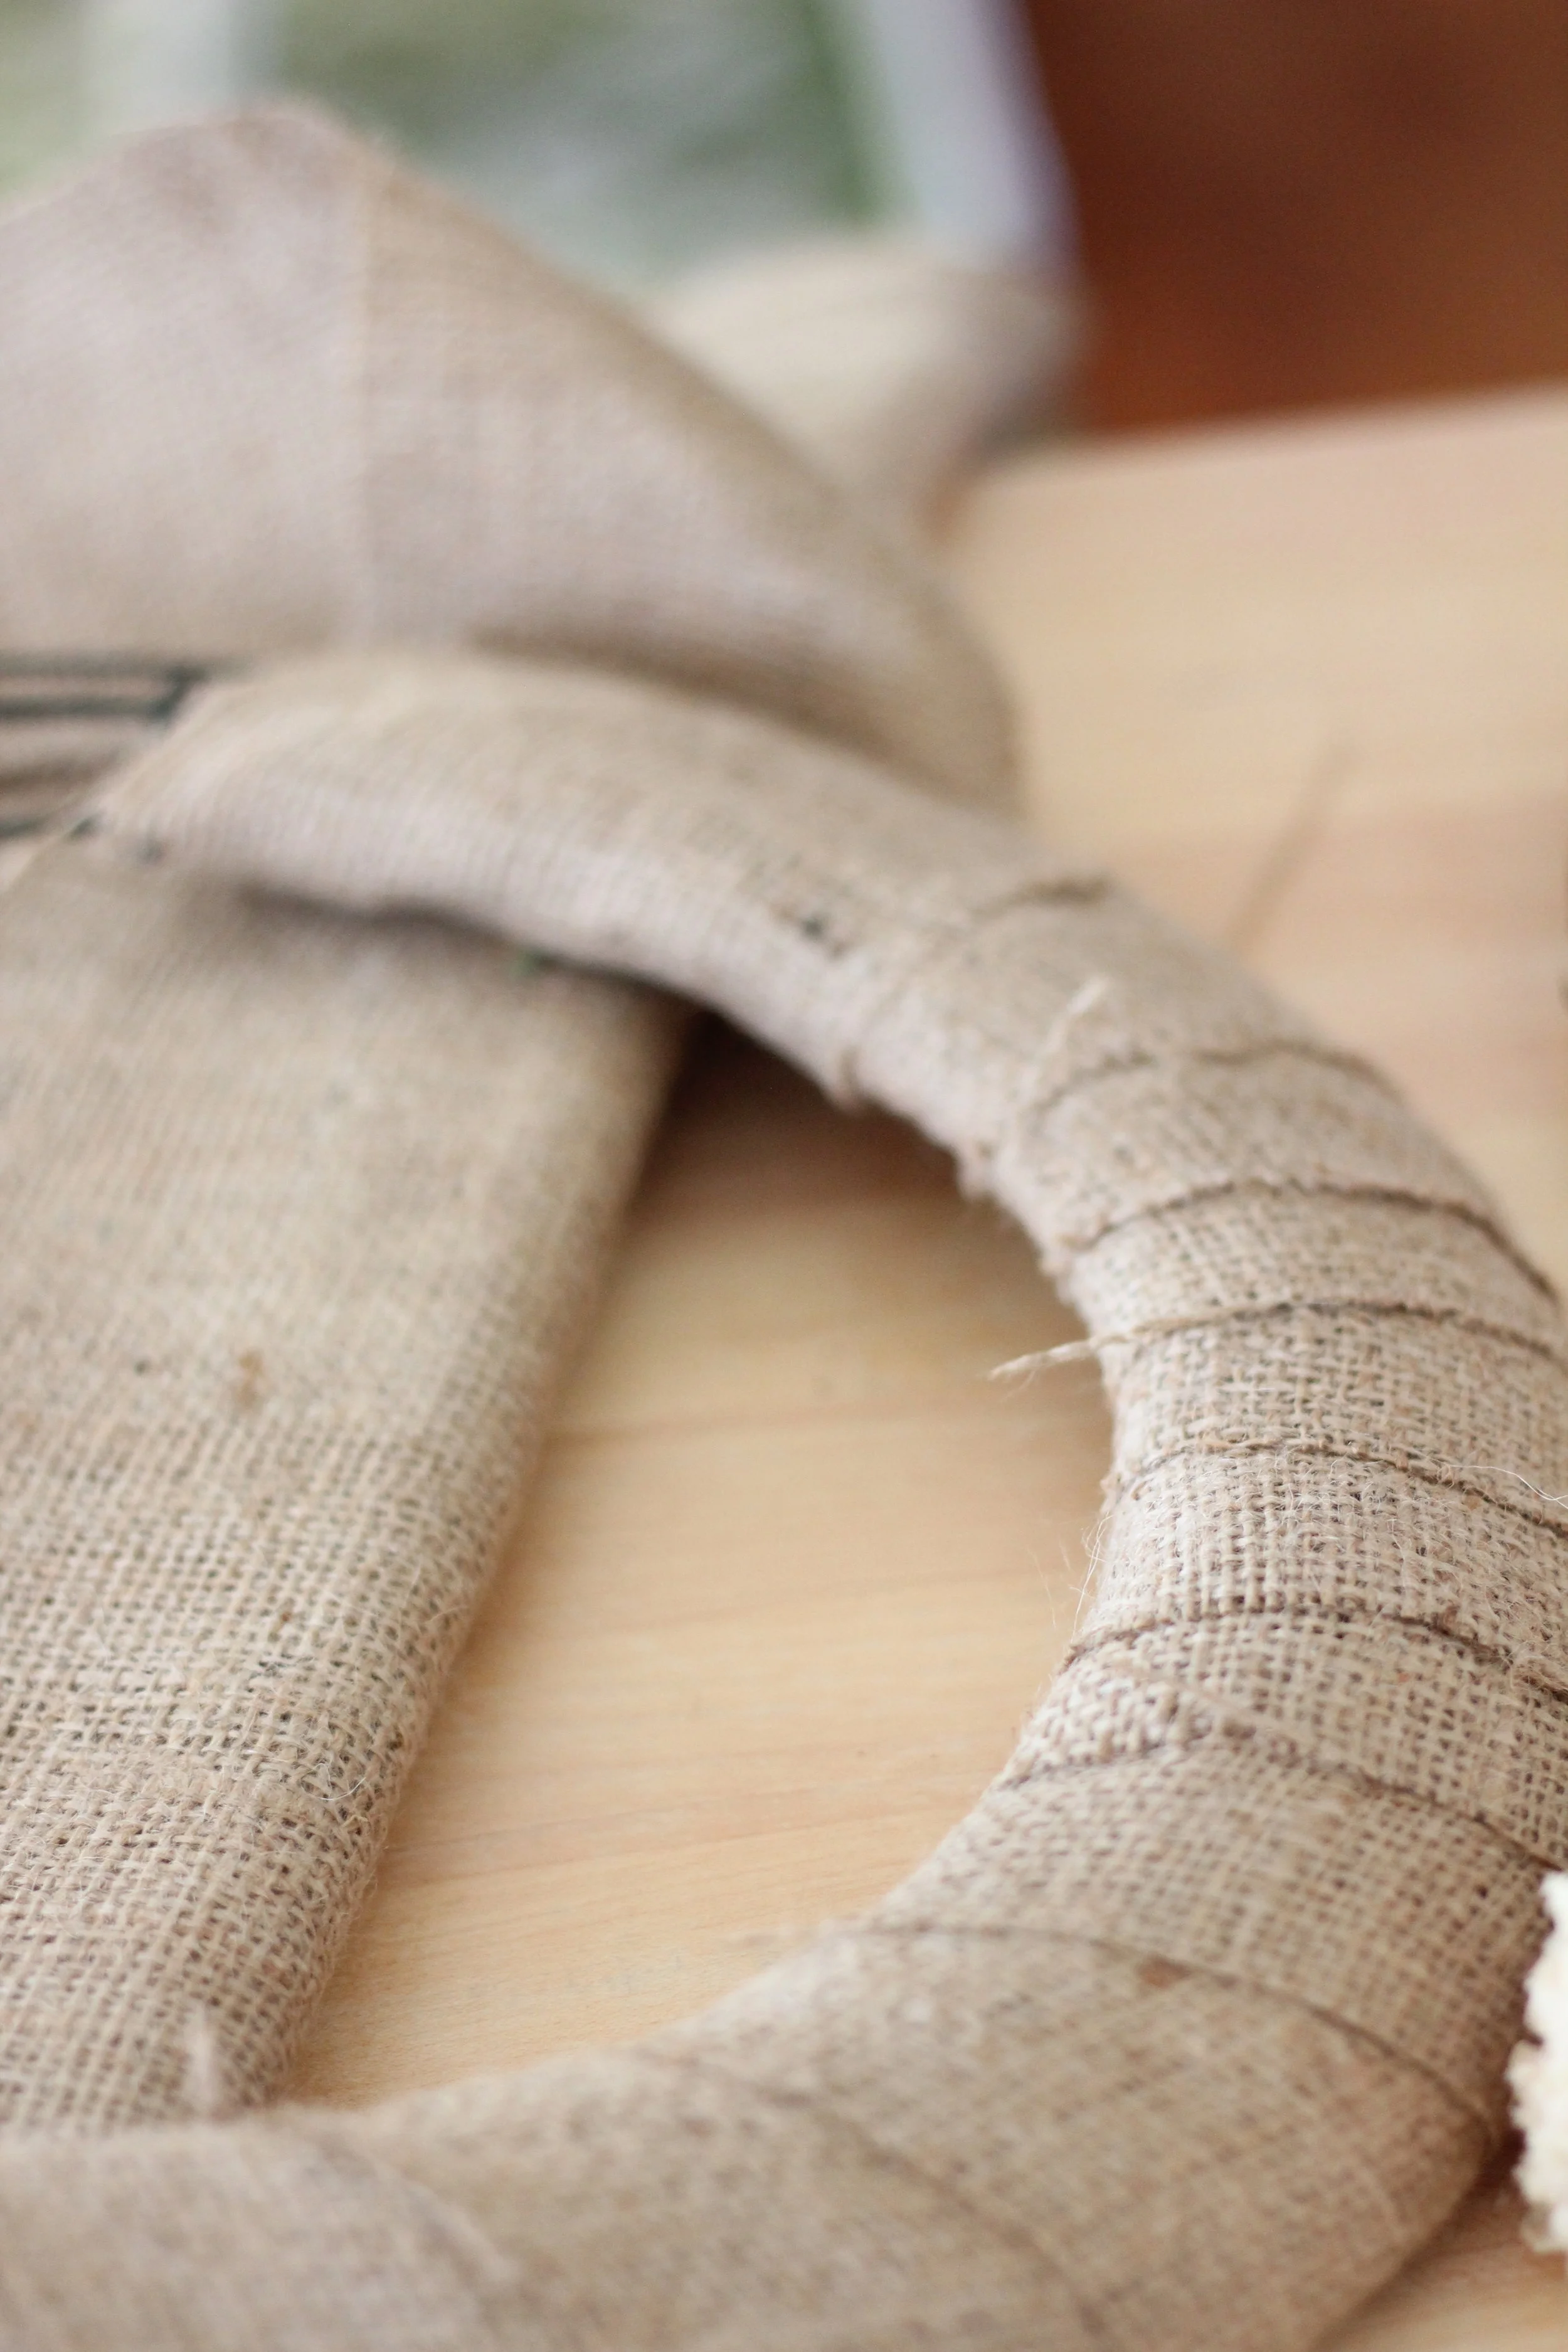
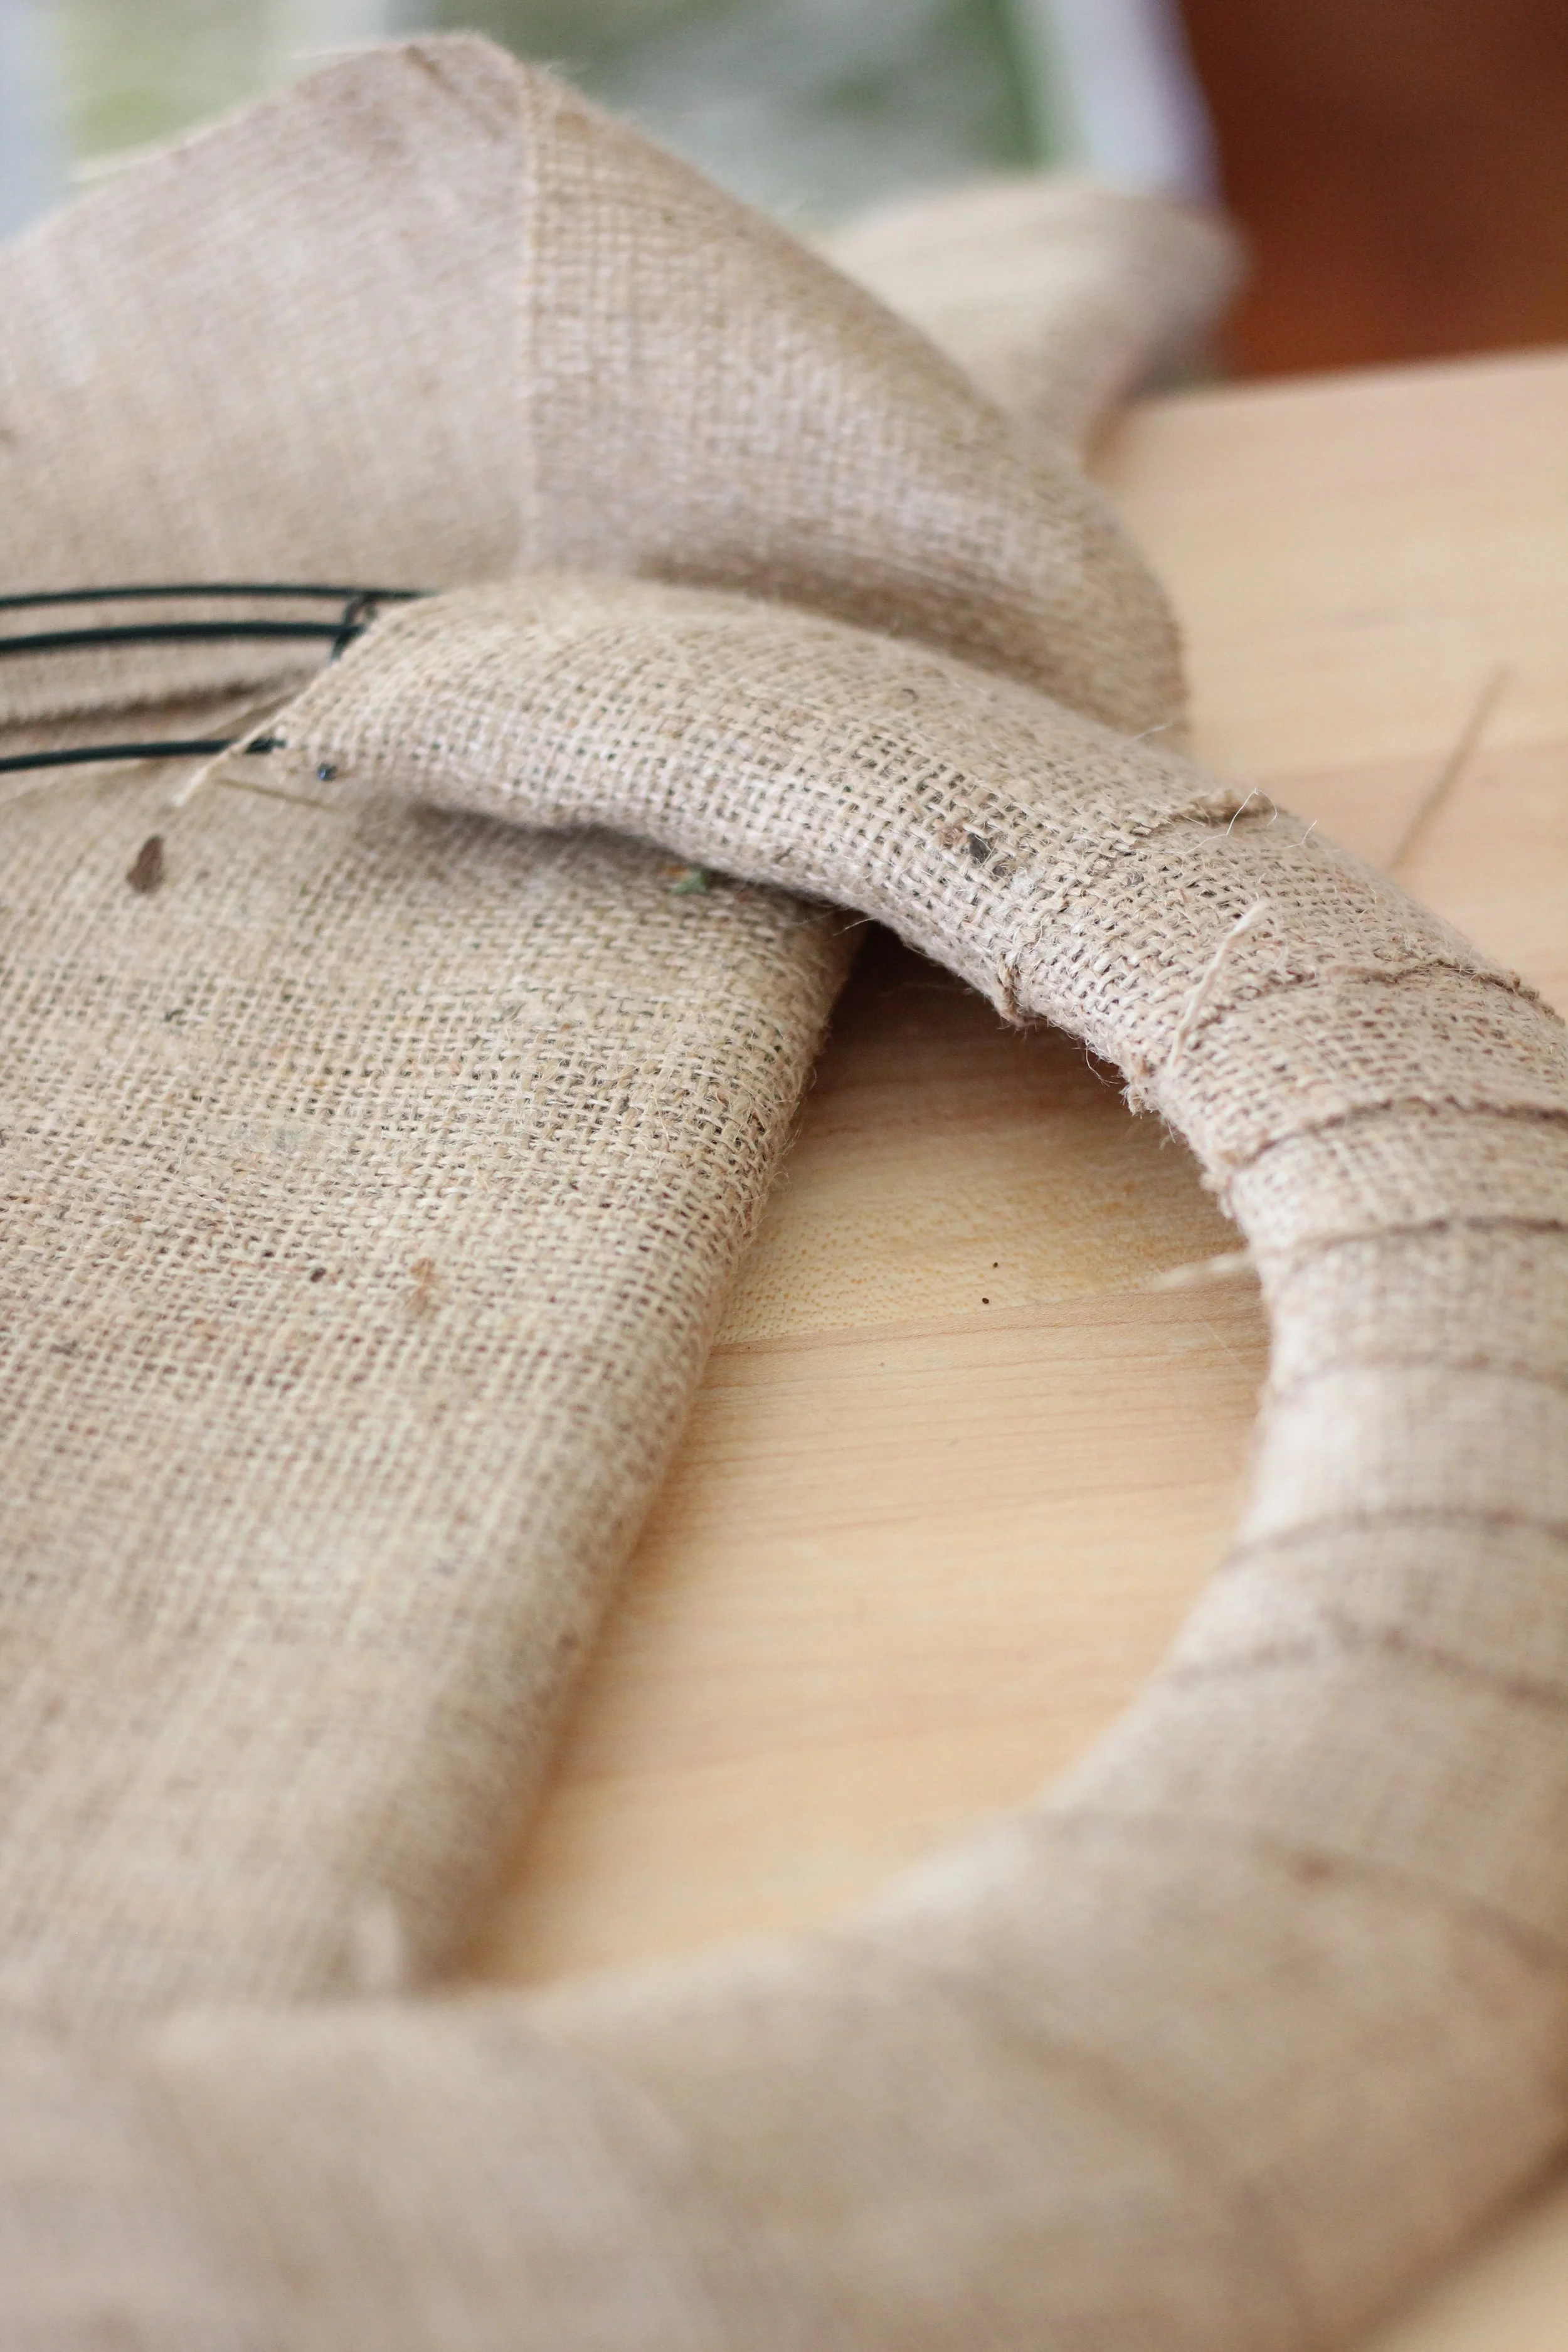
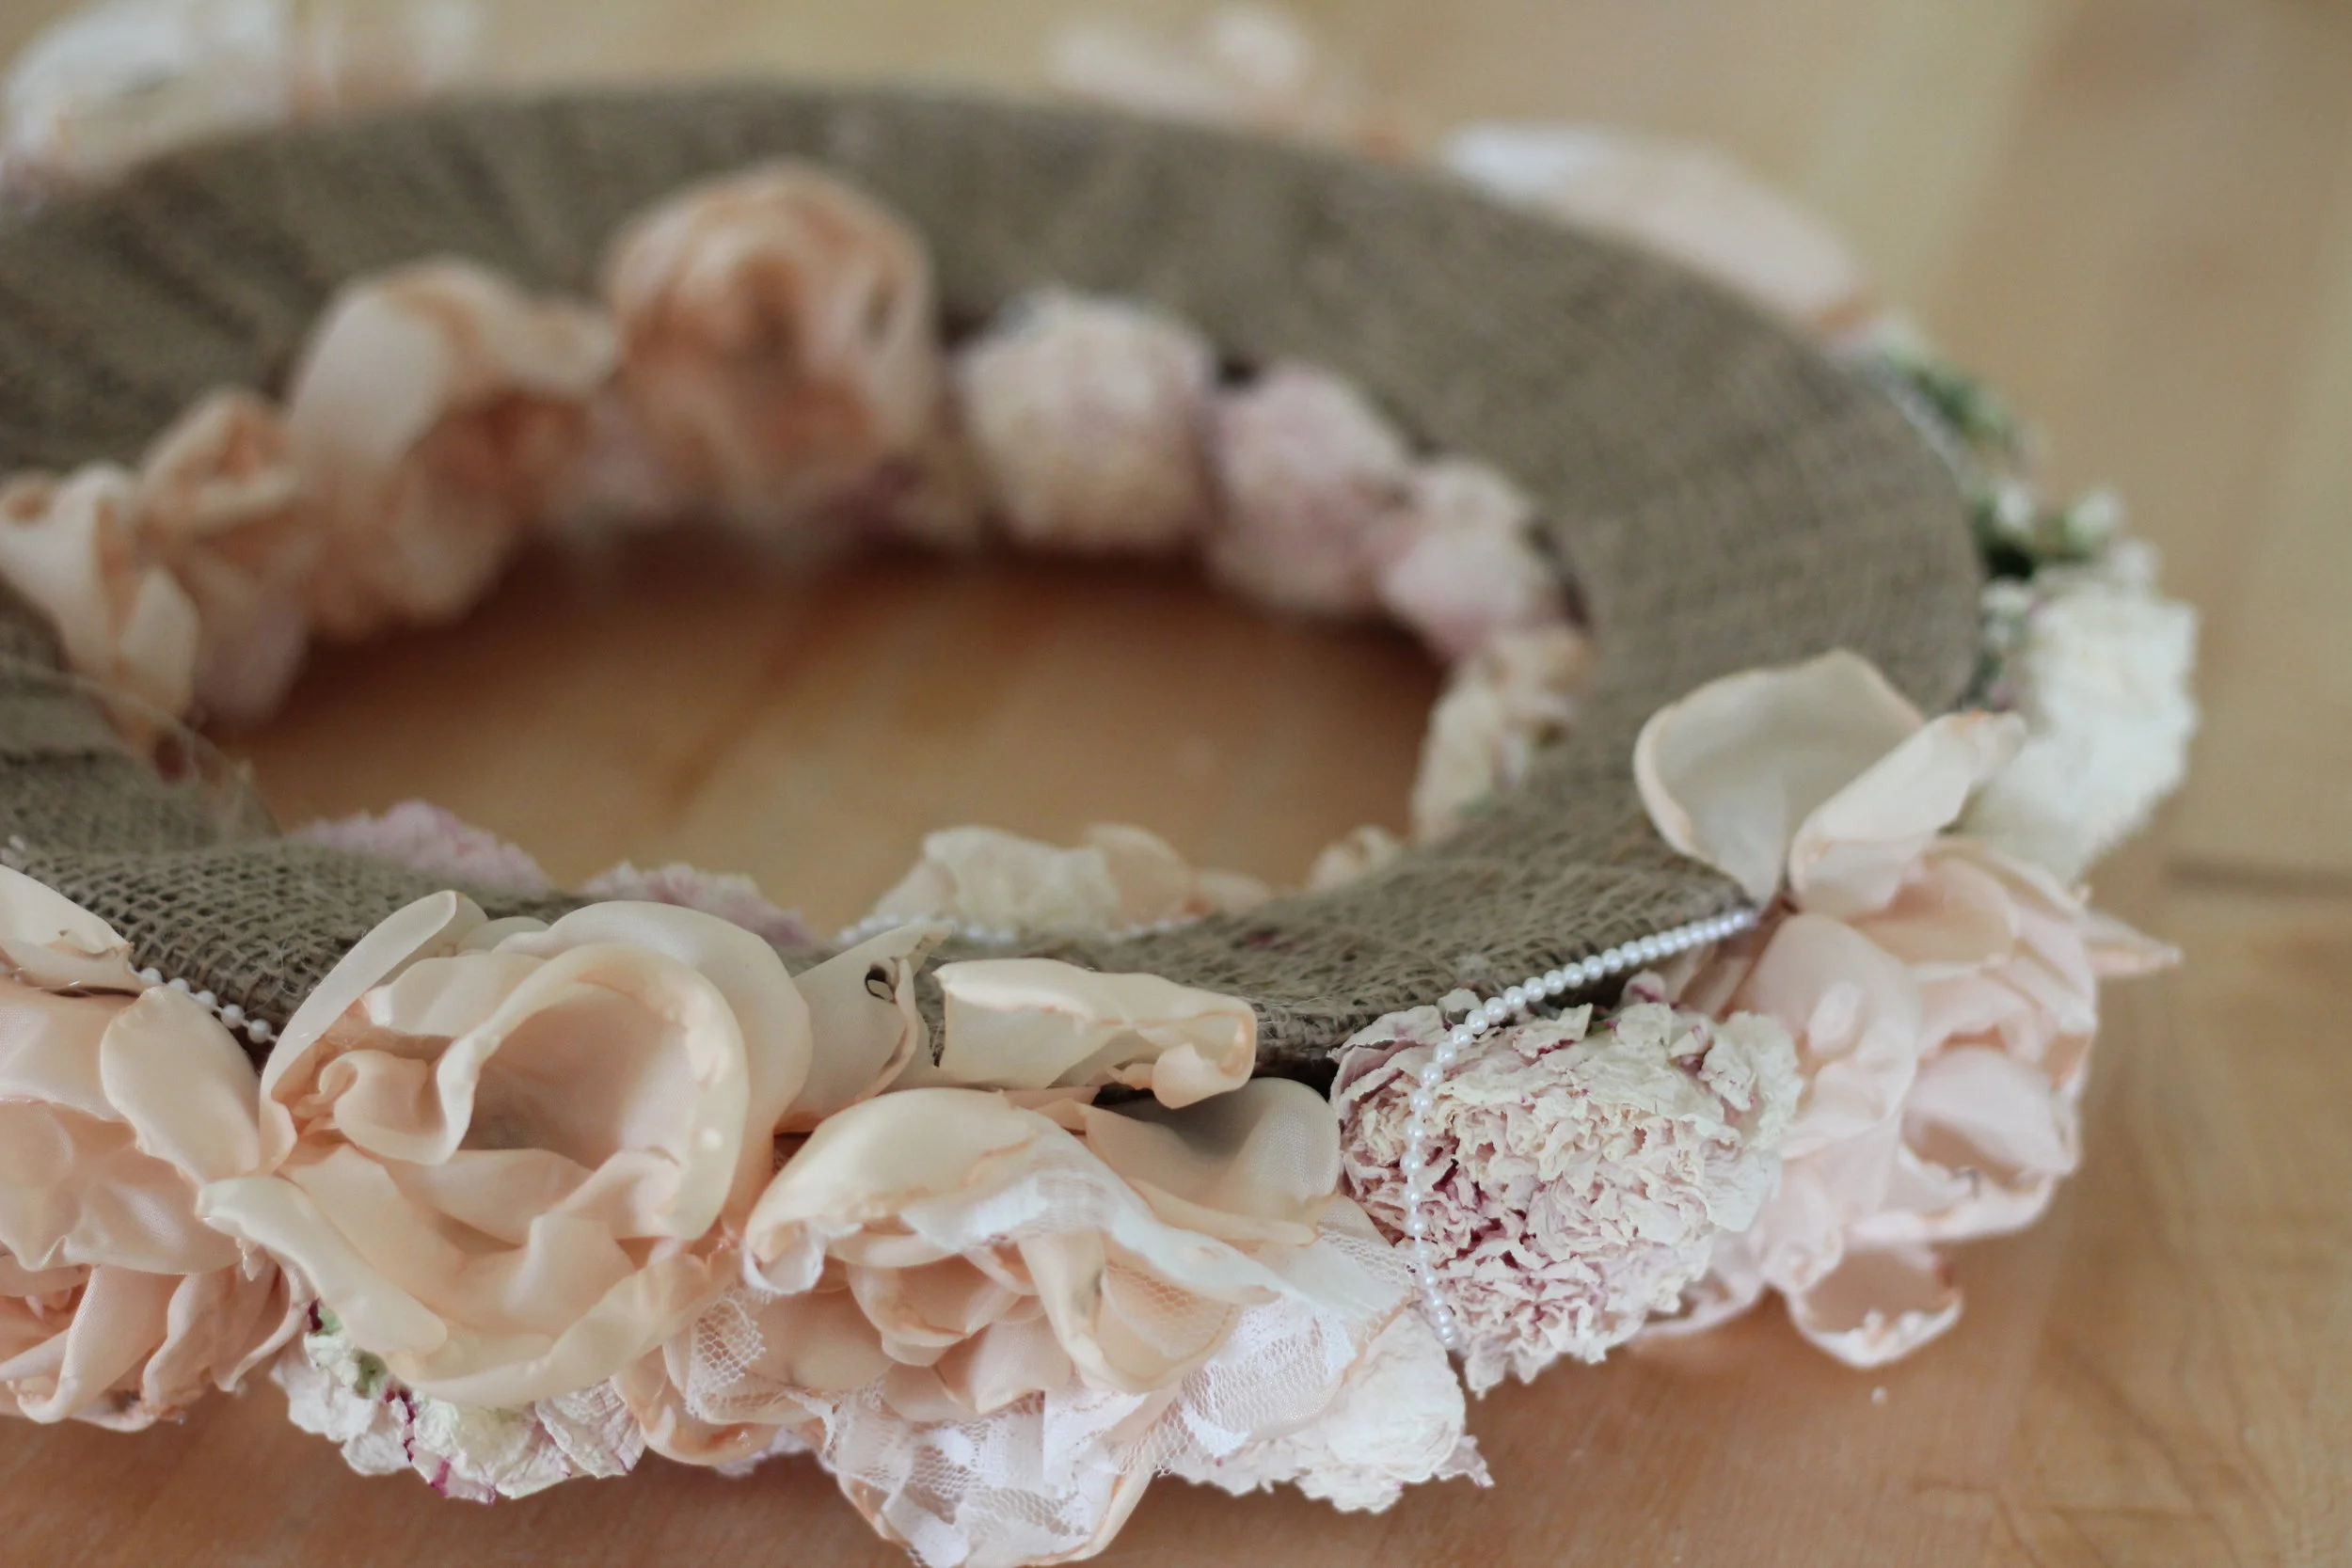
First I wrap 3-4 inch strips of burlap around a 14" wreath frame, dotting with hot glue every so often to secure as I go. Once that is finished, it should cover the whole frame and that is what the flowers will be glued onto.
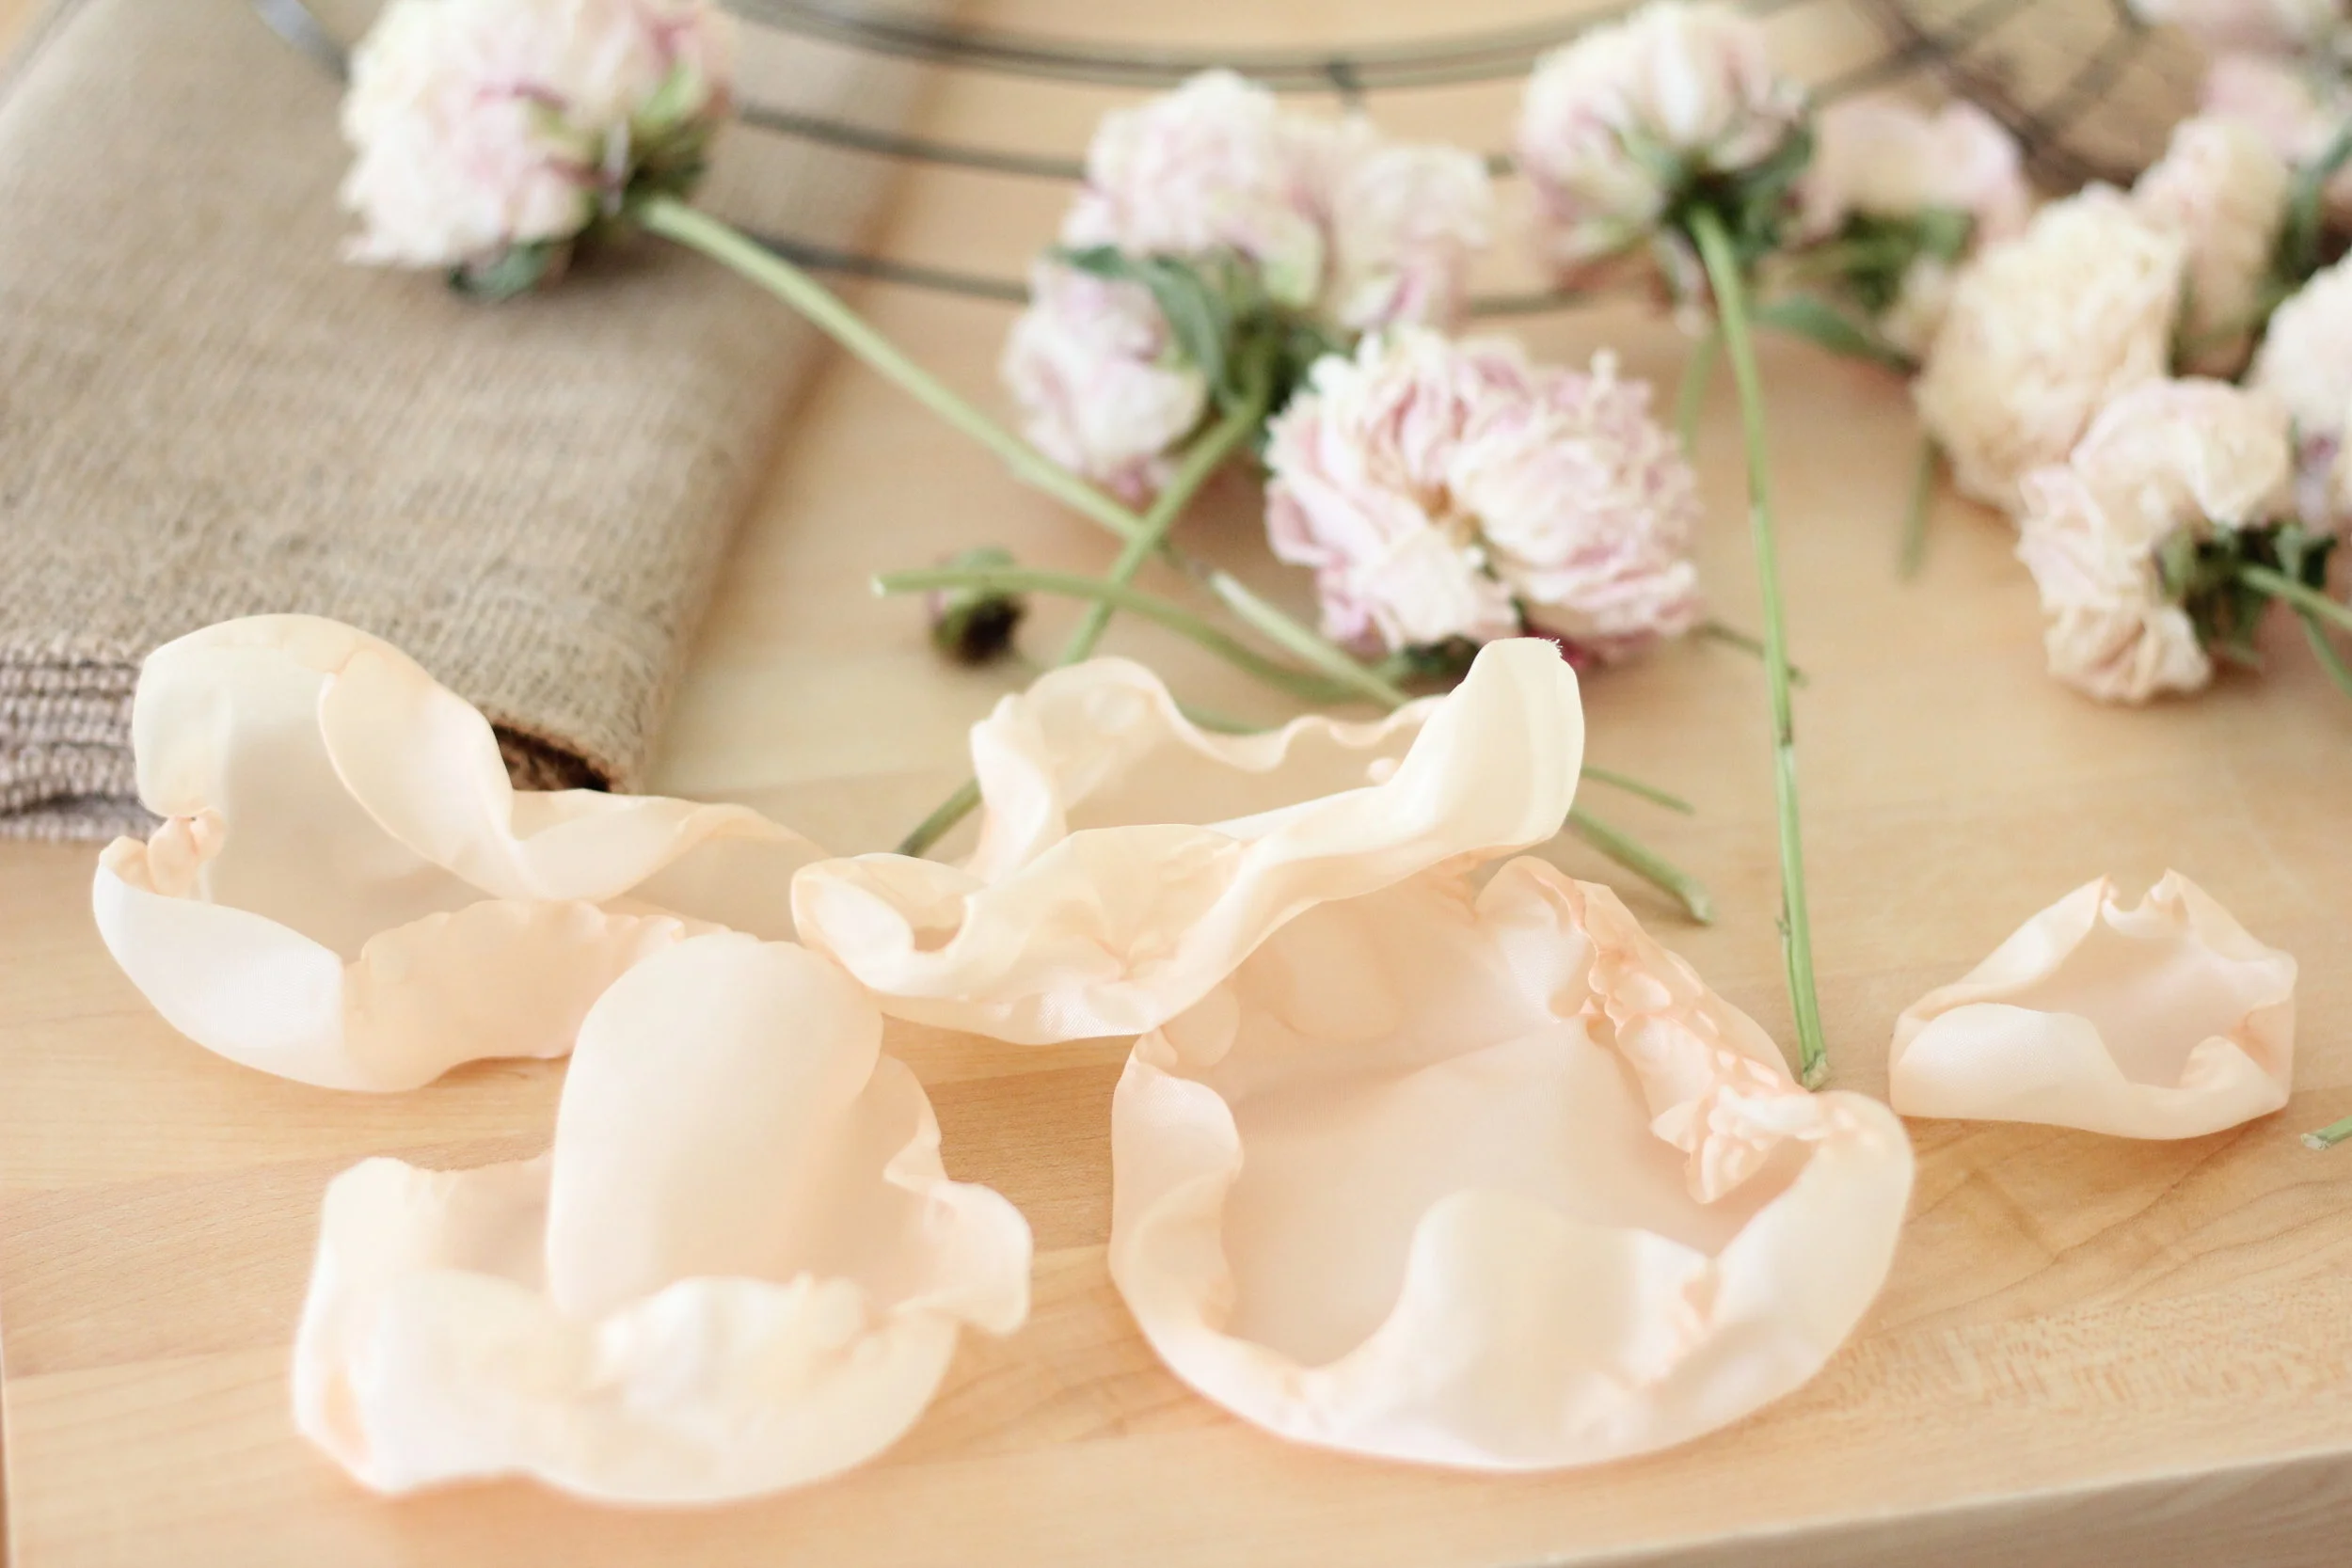
In addition to the dried peony flowers I also add in handmade silk flowers. Silk flowers need to be made from polyester materials (not cotton) because when they are held over a flame, they simply melt into plastic, creating a hard edge that resembles a real petal. To make these I roughly cut out circles that range from 5" to 2" in diameter. I usually cut out 5", 3", and 2" disks so that the flower has lots of depth and texture. Then (the time-consumer) I stand over my gas stove for an hour with the heat turned to low and lightly brush the polyester disk over the flame, turning it in a quick rhythm to achieve a somewhat uniform melt all the way around the disk.
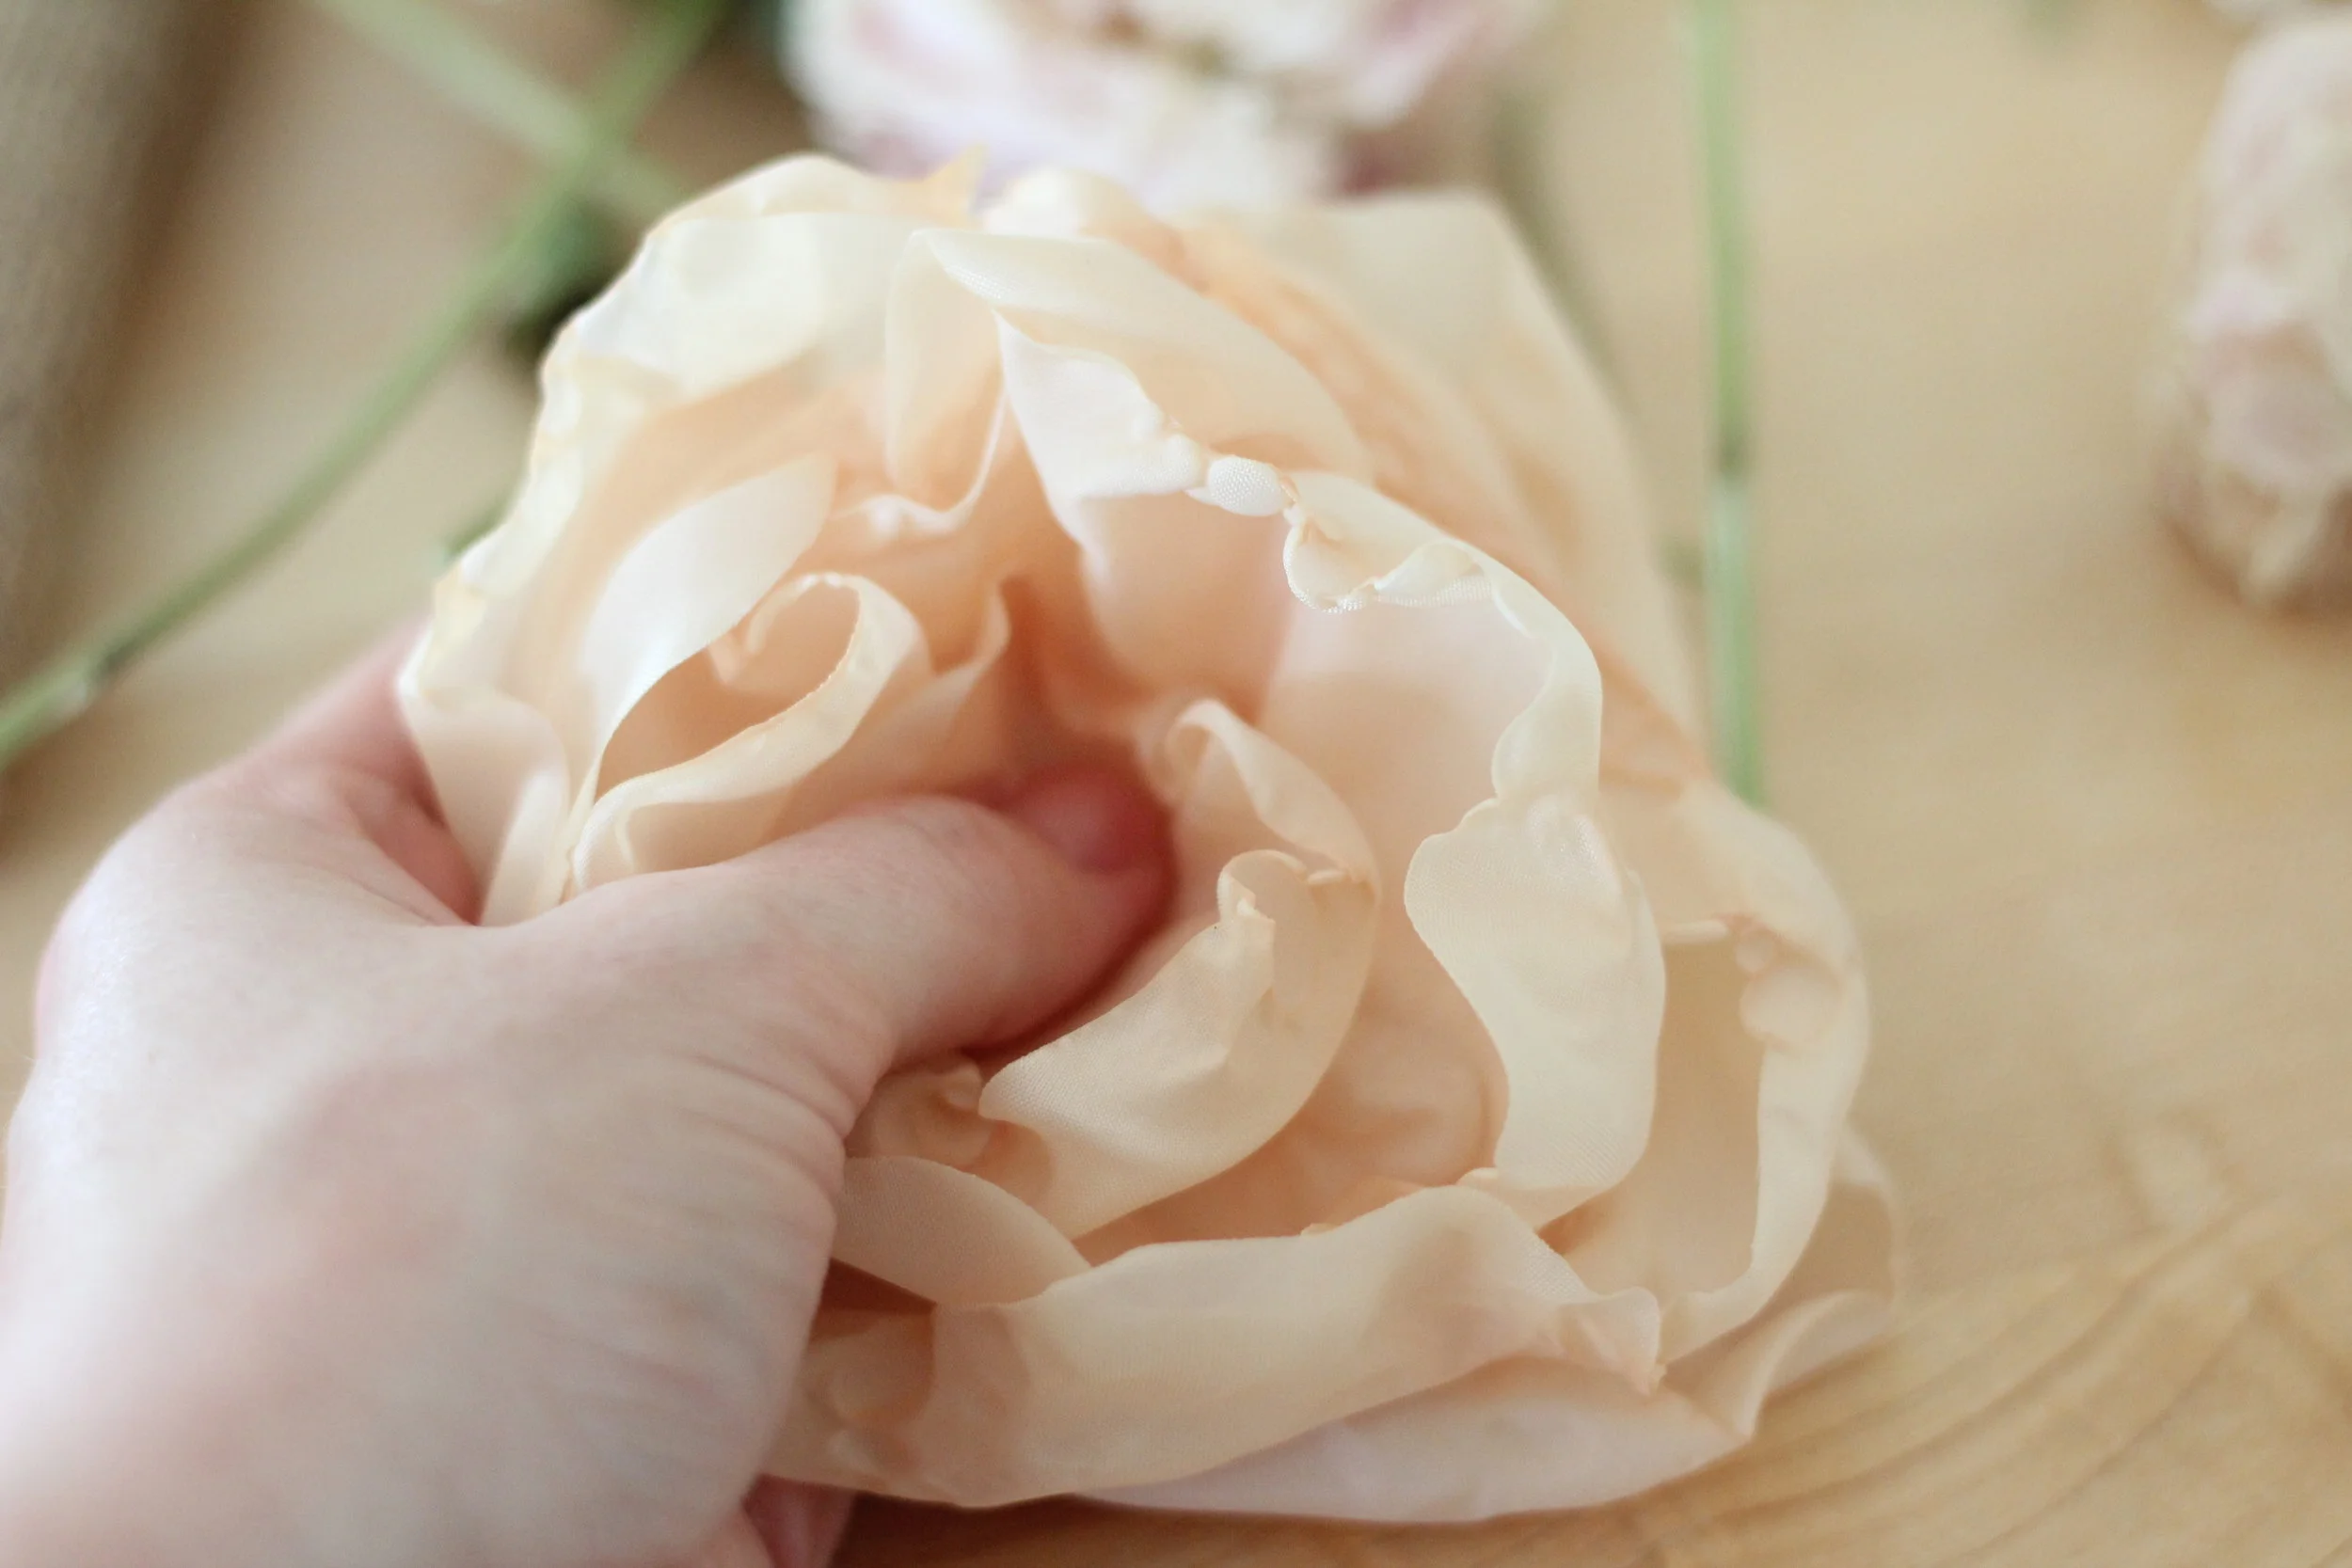
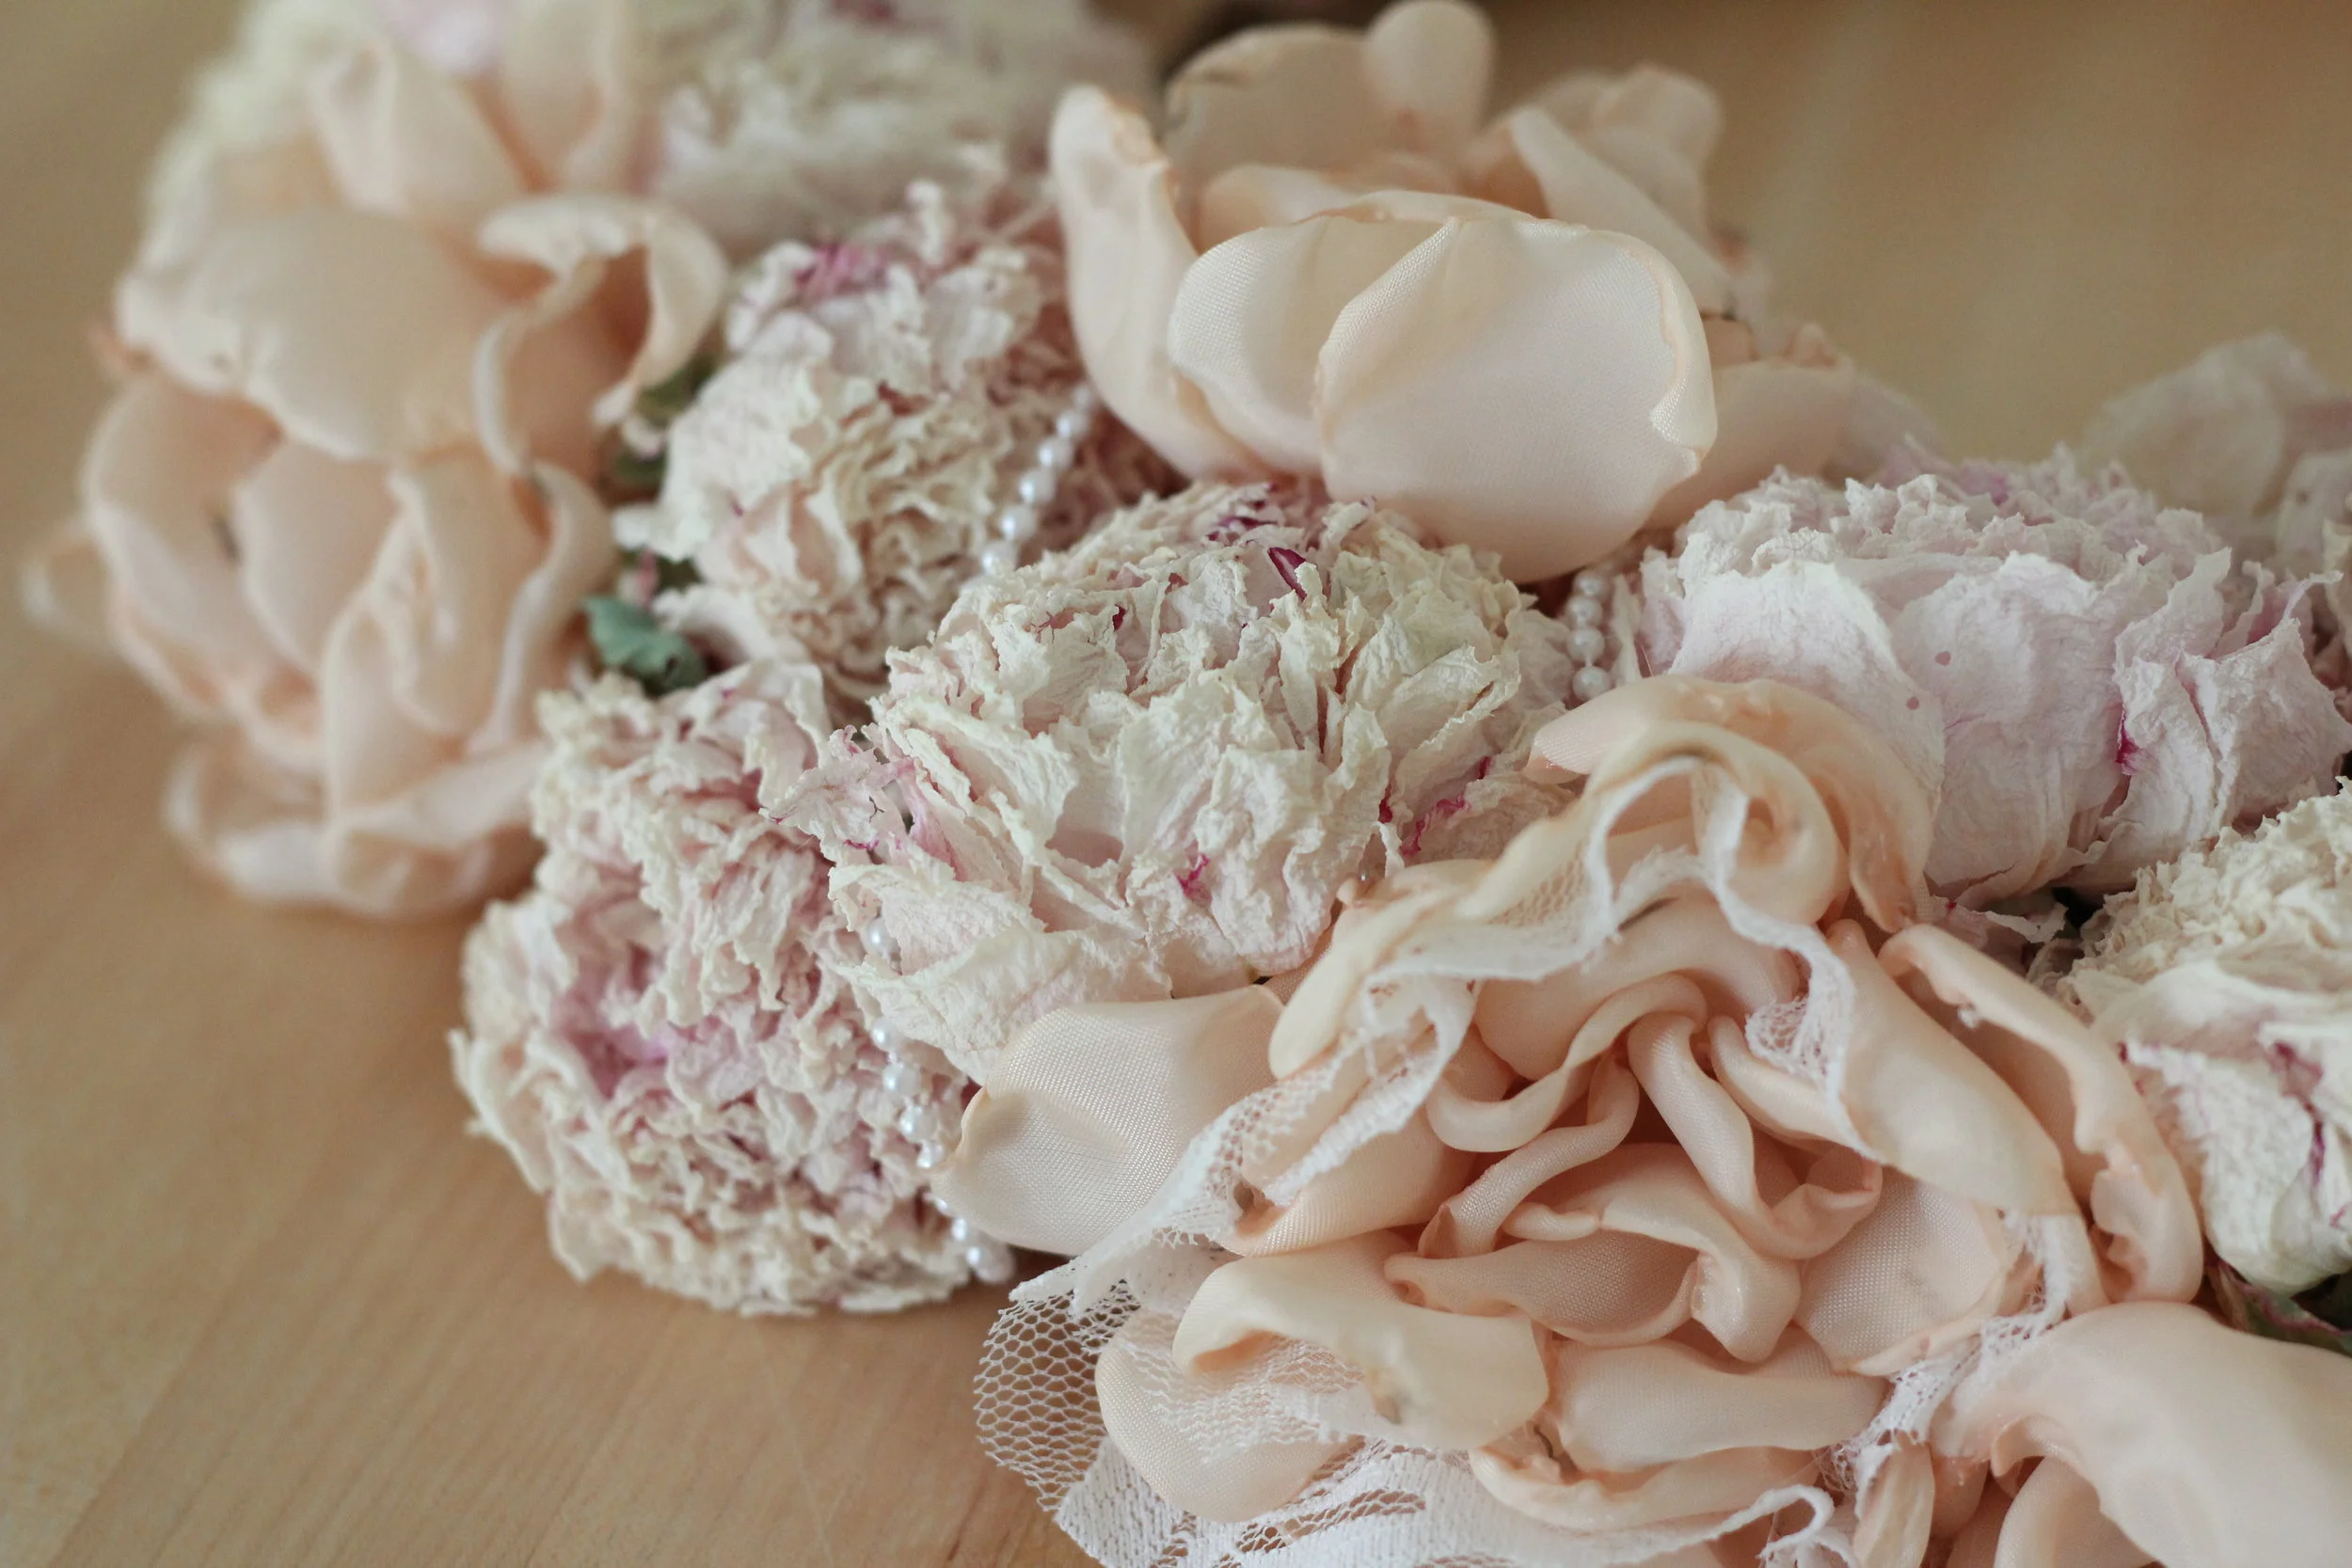
Then I gather about five to six of the disks, ranging in sizes to form a flower. You can either use a dot of glue between each layer or sew them to secure. For a fancier flower, I sometimes add a layer of cut lace in the middle of the flower. If you do add lace, you will not need to melt it since most lace has cotton and will not melt but will burn instead. So skip the flame and just try to cut without any choppy edges.
Finally the fun part, begin gluing your wreath with the handmade silk flowers and dried peony flowers in whatever pattern you desire. I prefer to scatter the handmade flowers randomly throughout the wreath so that your eye doesn't settle on just one aspect of the wreath but is continuously flitting from detail to detail. Also, I love to adorn my wreaths with a delicate strand of small white beads. Not too much to avoid overwhelming the peonies and letting them stand out.
